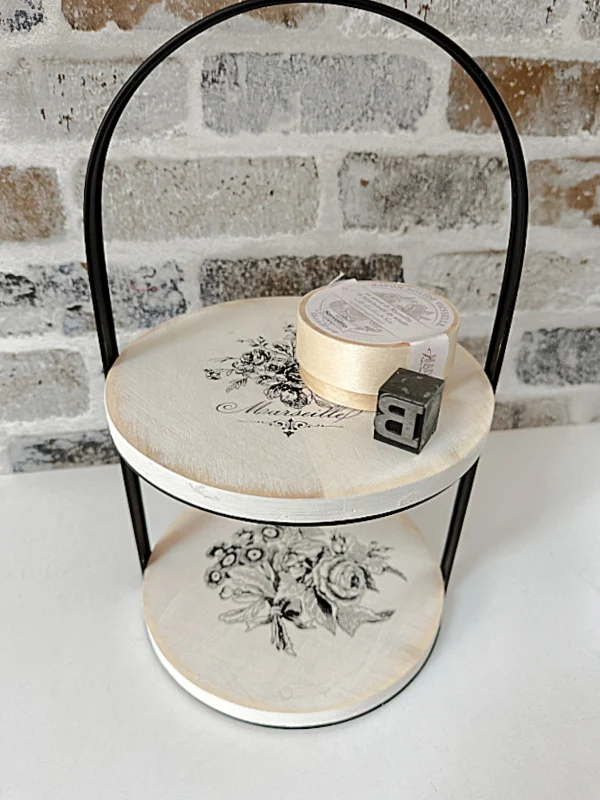
Shabby Chic Tiered Tray with Transfers
Today I'm trying a quick project using a package of great transfers I received recently.
This project can be done on any thrifted item or one you already have at home like I'm doing.
The package of transfers has a ton of great designs and you'll be using them for a long time!
Take a look...
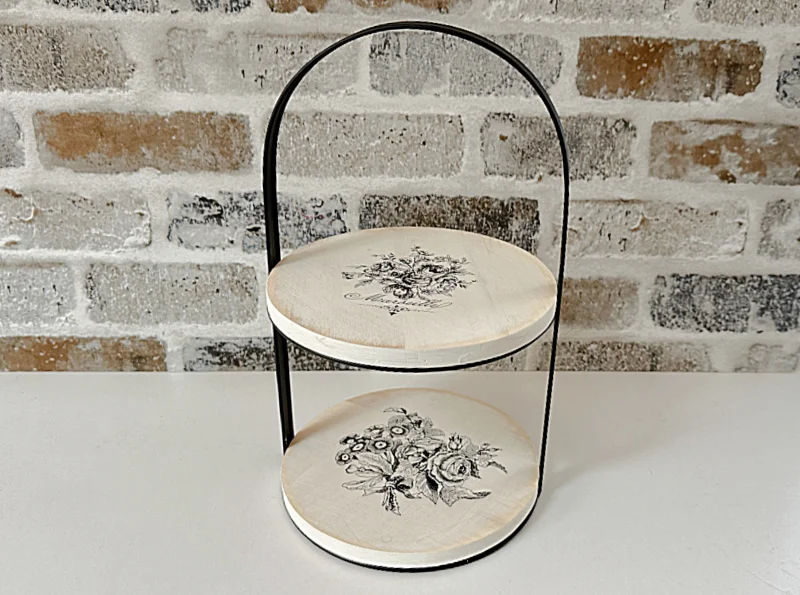
I'm creating this post today using a tiered tray I got at the Target Dollar Spot a while back. I see them all over the thrift stores too and you may even have one at home. If not, you can do this on a tray, a bowl, or even a galvanized steel item.
As you're reading through this post please pay attention to the bold blue links that will take you to more information and the products I used for this project. Also the READ MORE sections will take you to related Homeroad projects.
I began with this tiered tray that I have decorated for the Fourth of July in this photo. The mini banner was a project I made recently and looks adorable on tiered trays of all kinds.
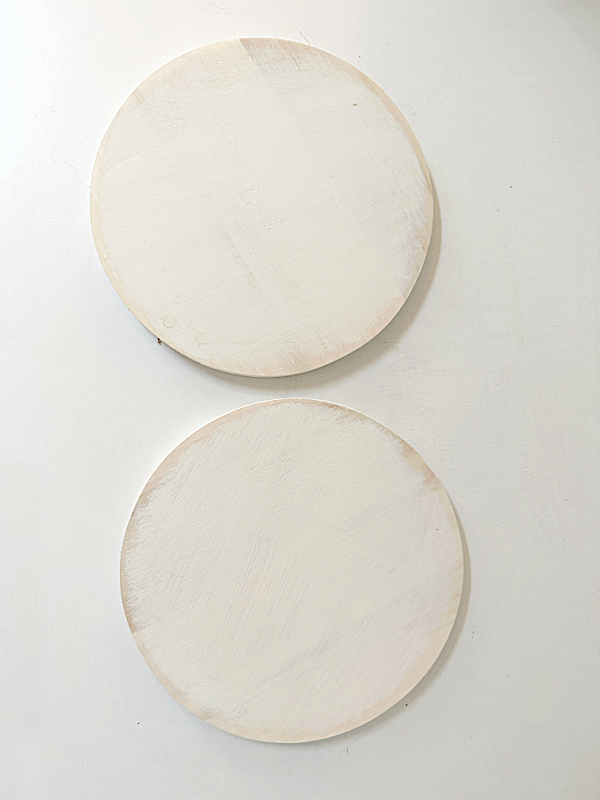
So first I removed the wooden trays from the rack. They are attached with just a few little screws on the bottom.
I am giving the trays a quick one coat of Waverly Chalk Paint in Parchment.
Once the paint dried I lightly sanded the edges of the trays so the wood showed through.
The next step is to dust off any chalk dust that may be on the trays from sanding.
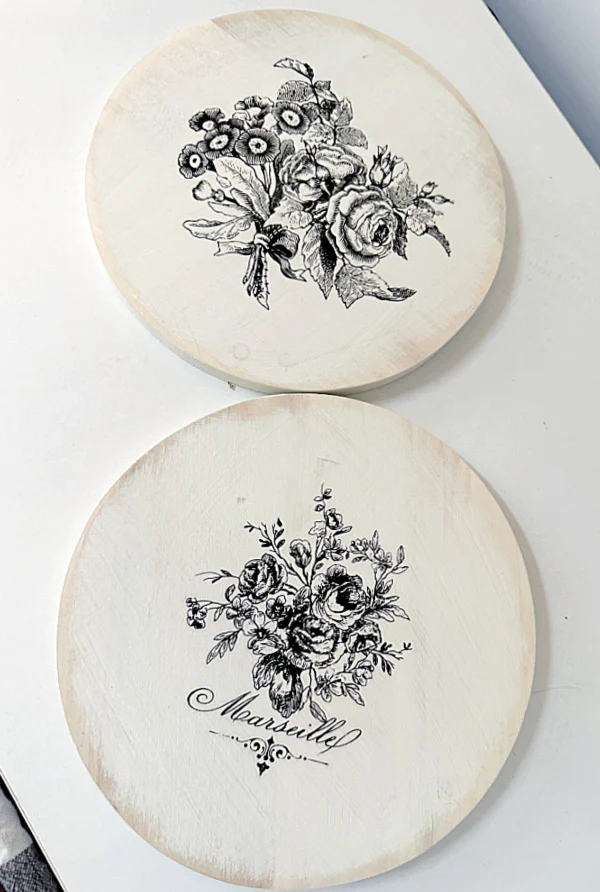
Using this new package of Classic Vintage Labels Decor Transfers by redesign with Prima I received from Piglet's Closet. I chose 2 images that went together, in this case 2 rose florals. You can search the search bar at Piglet's closet for this and other great products.
I cut out the labels and centered them on my round boards.
Next, using the wooden stick that comes with the transfers, I rubbed the top of the transfer until it looked lighter through the plastic.
Once the design was adhered to the wooden trays I lifted the plastic. The design looks amazing!
For protection I gave the trays a coat of matte sealer right over the image.
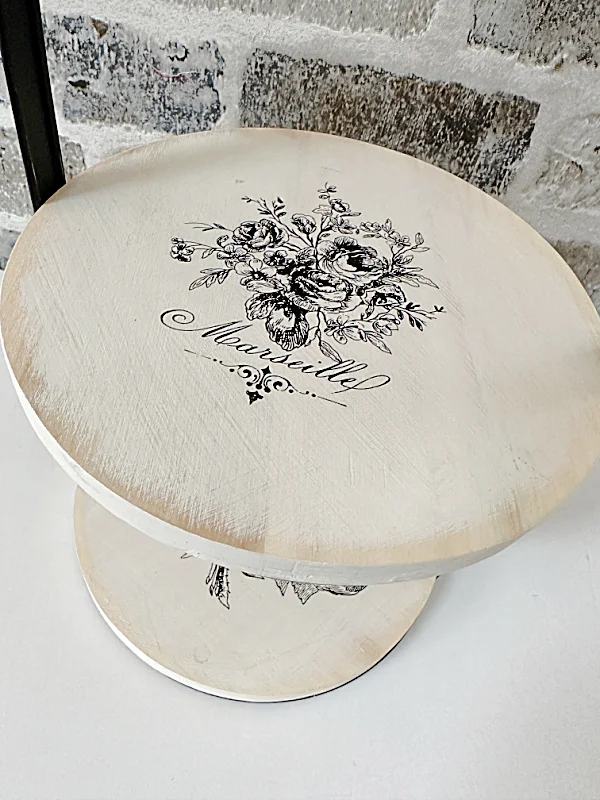
I re-attached the trays to the metal rack making sure my designs were in the same direction.
That's it, a quick and easy project that made a huge difference!
Please pin for later >>
If you're a seller this is a good way to re-create something for just a few dollars, there are 29 vintage labels in the tube so you'll be busy with plenty of new projects!
Thanks so much for visiting and before you go please take a minute to sign up for the Homeroad emails so my next DIY tutorial will go out straight to you!
Piglet's Closet provided me with the transfers, all opinions are my own.

