Vintage Farm Stand Sign
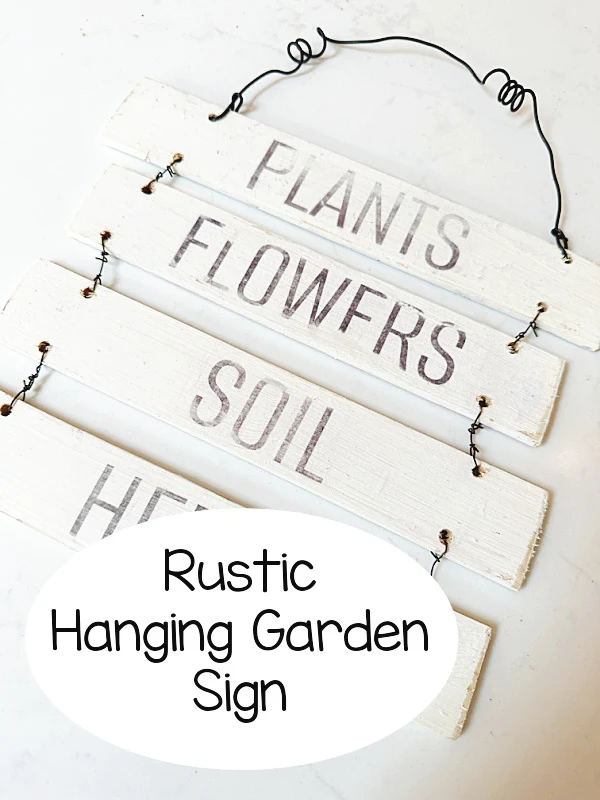
The minute I saw this fun old sign I knew I had to give it a try.
This sign looks like something you'd see at a farm stand on the side of the road and I love the look!
Grab a few pieces of scrap wood and a computer print out and follow along.
Take a look...
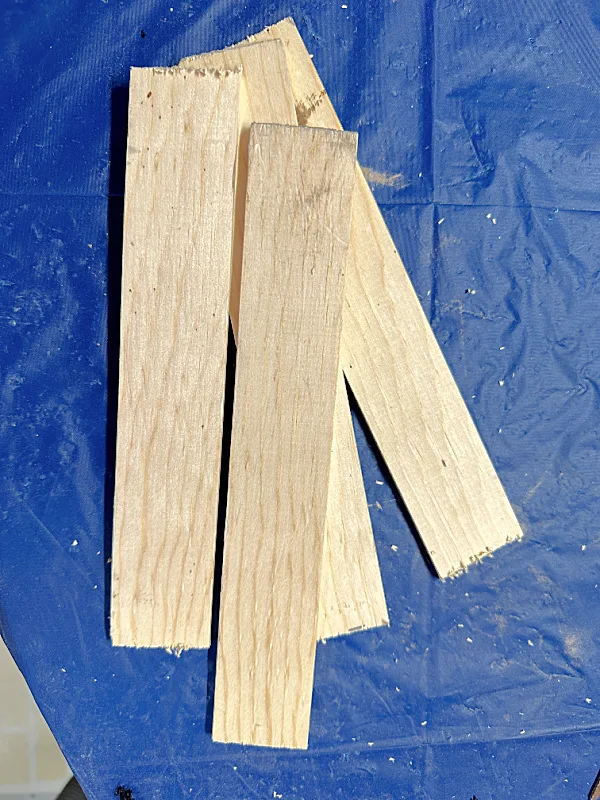
I began with a length of trim moulding that was leftover from a frame project.
As you're reading through this post please pay attention to the bold blue links that will take you to more information and the products I used for this project. Also the READ MORE sections will take you to related Homeroad projects.
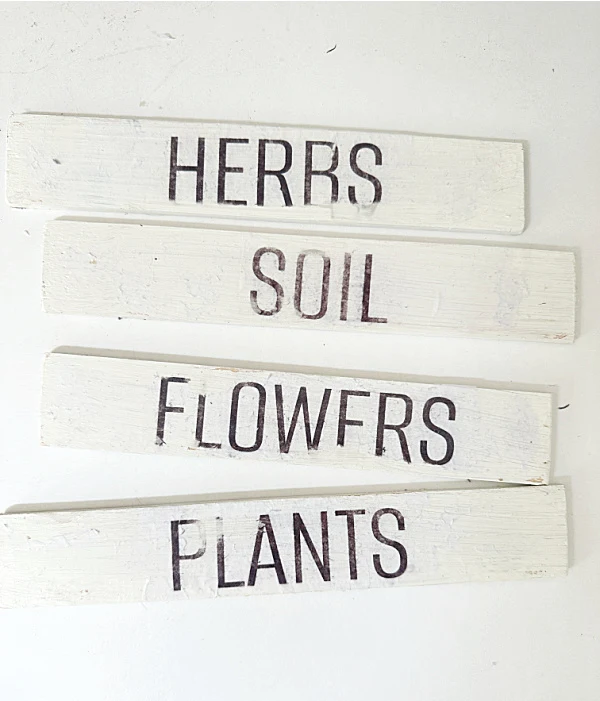
I cut the moulding into 4 pieces that were approximately the same length, about 10-12" long. I painted them an off white color called Plaster by Waverly then sanded the edges.
I used a computer program called Pic Monkey. I use this program all the time for my photo editing and to make printables for my tutoring gig.
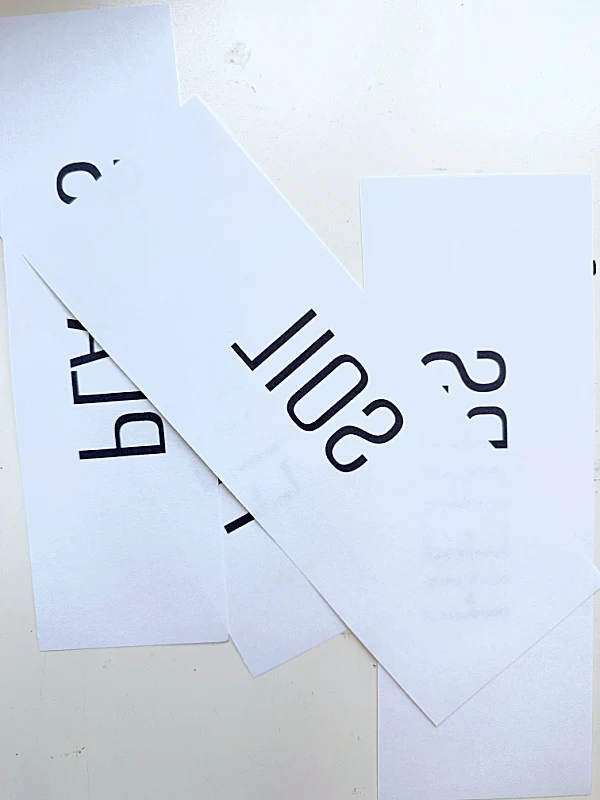
I picked a blank page and a font that was similar to the sign I saw and wrote out my words: plants, herbs, flowers, and soil. You are welcome to slide this printable off and use it yourself!
Next, I printed the page in reverse on my Epson Ecotank printer. To say that this printer saves me a ton of money on ink is an understatement. When I purchased it about 3 years ago it came with a years worth of ink. I bought more ink once since then and I use it all the time. I highly recommend this printer!
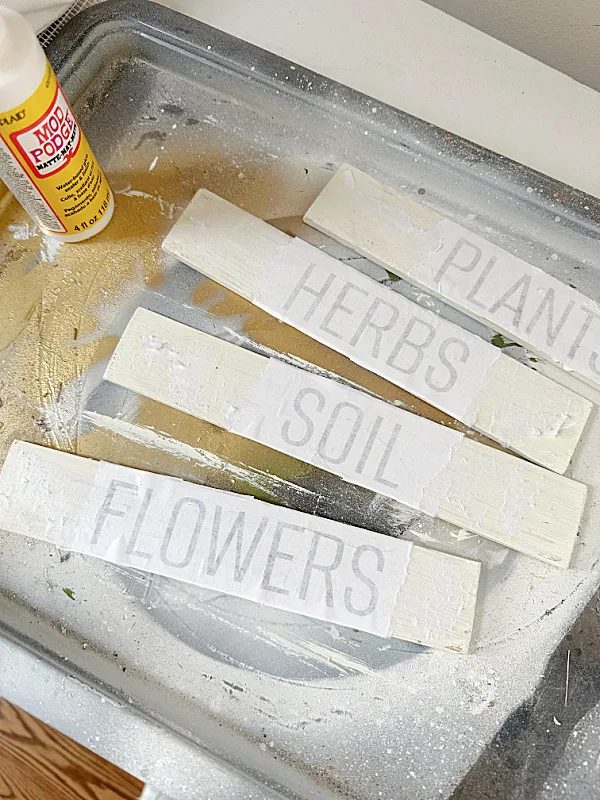
I cut out the words, trimmed the paper and used Mod Podge to coat my boards. I laid my reversed printed papers ink side down into the Mod Podge and let it dry overnight.
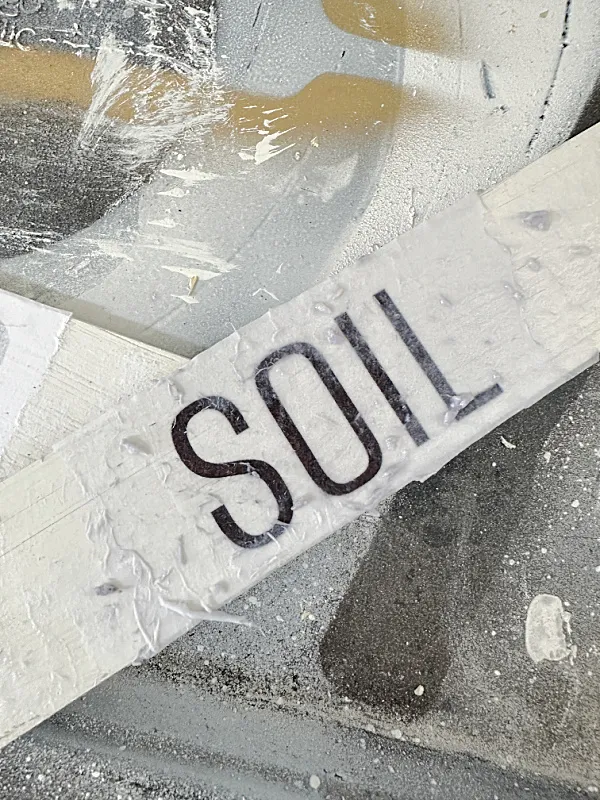
In the morning I wet the boards and rubbed the paper until all that was left was the word on the wood. You need to do this gently or you will rub off the letters. As you can see there are a few places the letters are damaged but I think that adds to the vintage vibe. If you wanted to you could use a Sharpie marker to fix the damage. I have to add that I find this process works best on a painted surface, especially a paint that is not too chalky.
READ MORE: EASY TRANSFER METHODS
The next step was to spray the boards with a spray sealer to protect them from the weather.
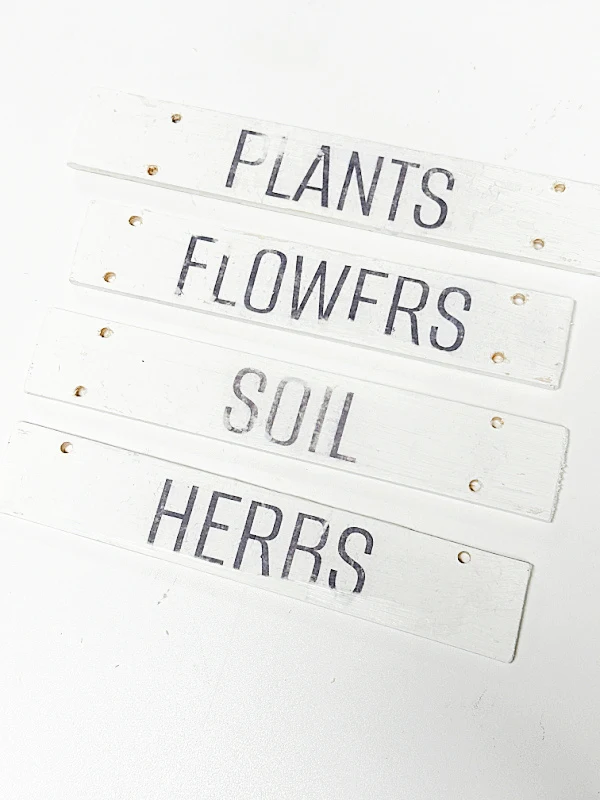
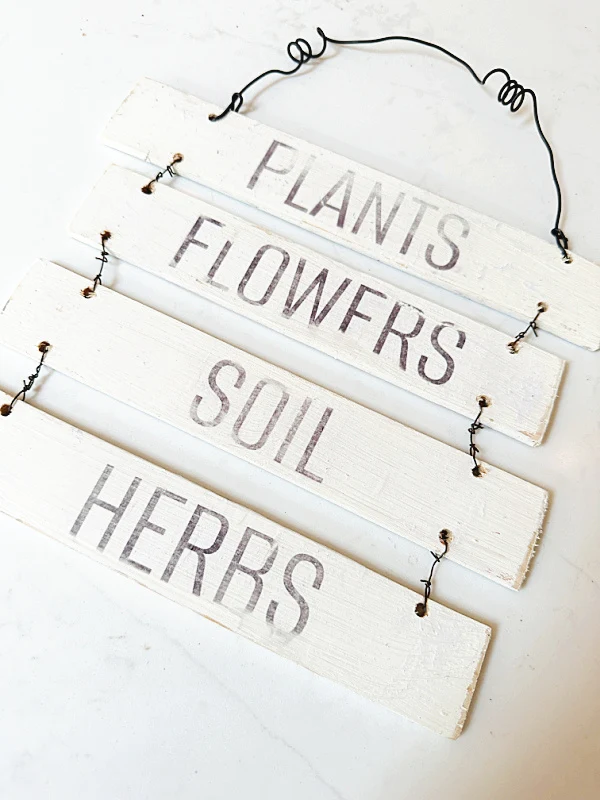
I then laid out my boards the way I wanted to hang them and drilled holes so they could be connected.
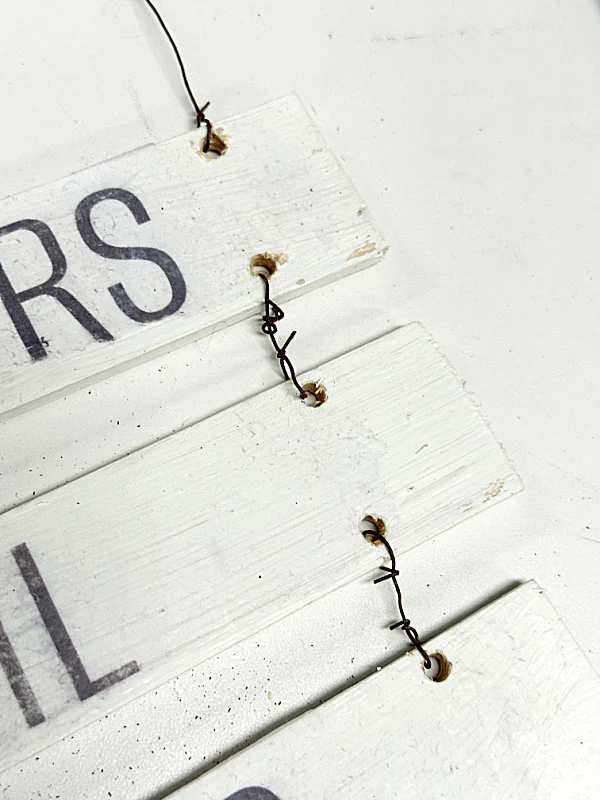
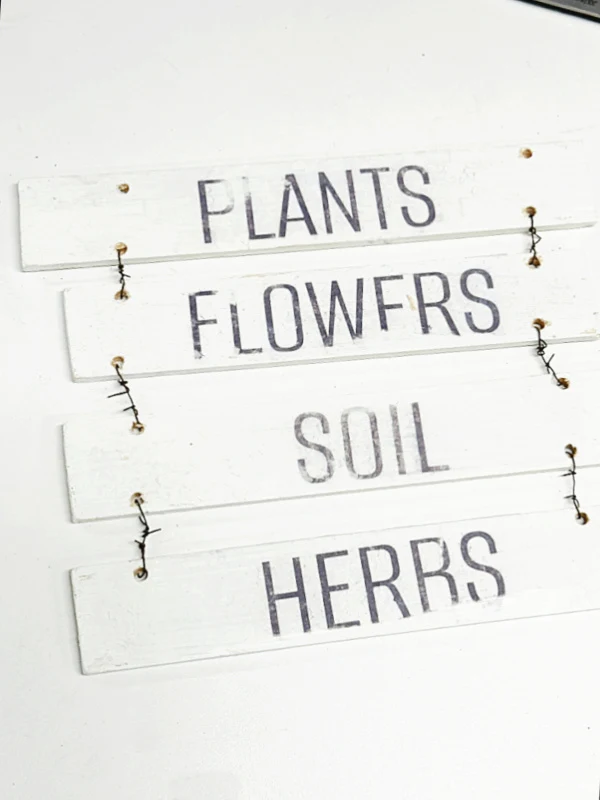
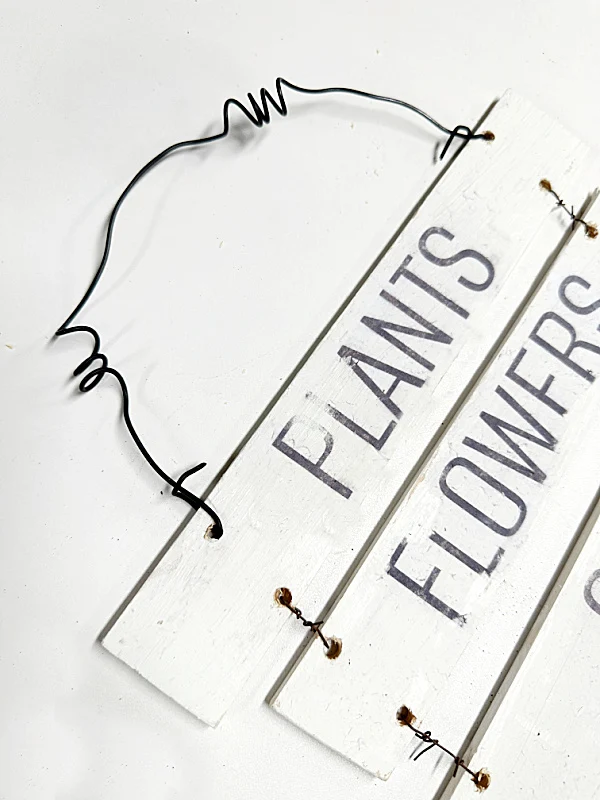
I used thin rusty wire leftover from another project to connect each board.
At the top I made a hanger of rebar wire to hang the sign.
Please pin for later >>
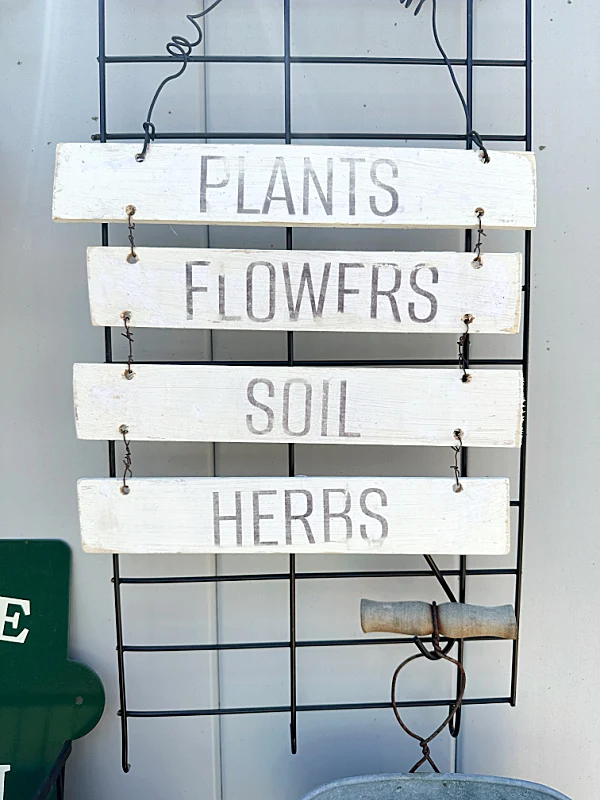
I don't have a roadside stand so I'm hanging the sign on the potting bench I made a few years back.
I moved the potting bench this year along the fence in our yard and I love the way it looks from the house. I also use it all the time!
I hope you'll give this easy technique a try and create a fun vintage looking sign for your garden.
Thanks so much for visiting and before you go please take a minute to sign up for the Homeroad emails so my next DIY tutorial will go out straight to you!


