No Sew Appliquéd Fall Pillow
Hi Friends! I'm at it again, creating another recycled fabric, no sew pillow for those that want to make it quick and easy with no sewing machine.
I was inspired by one of my favorite websites once again only I'm getting the look for less.
The best part... I'm recycling old fabric to make the cutest pillow!
Take a look...
I began with a trip to the pile of donations in my basement. Right now the pile is huge and getting bigger.
My last daughter is moving out and I've been nesting! Kind of like when I was pregnant and organized my world to accommodate new babies, this time I am clearing out the junk and preparing for this thing called an empty nest at 64 years old!
So while searching the pile I salvaged a couple of orange checked napkins, an old, but clean neutral colored tea towel (you could use drop cloth fabric too) and an old bolster pillow.
As you're reading through this post please pay attention to the bold blue links that will take you to more information and the products I used for this project. Also the READ MORE sections will take you to related Homeroad projects.
I began by measuring the pillow I bought at Ikea recently but decided I didn't like. I cut the neutral tea towel the same size as the pillow and added an inch all the way around then cut it out. This was going to be the background for my neutral letters.
Now full disclosure, I was a teacher for 35 years so cutting out the letters free hand was no problem for me. You can trace letters or use a ruler to get the letters the way you want them.
After the letters were cut out I placed them on the bumpy side of an iron on adhesive called Ultra Bond.
The letters were placed as they should read. I used parchment paper between the iron and the letters so the iron wouldn't stick to the adhesive that was facing up between the letters. Then I cut out the letters with the Ultra Bond on the back.
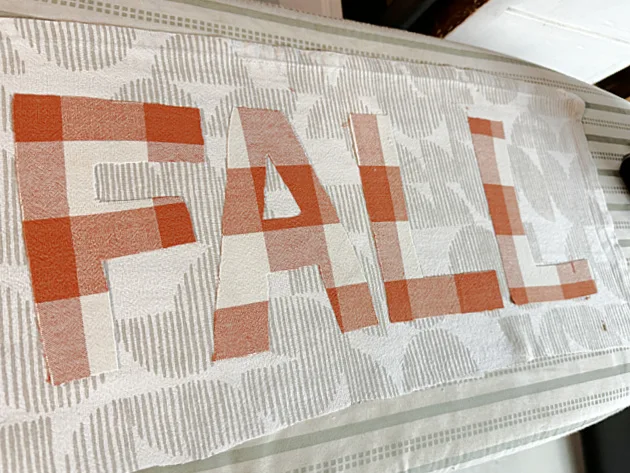
Once the letters were where I wanted them to be, I peeled off the backing paper then ironed the letters onto the neutral fabric.
Now the front of the pillow was finished.
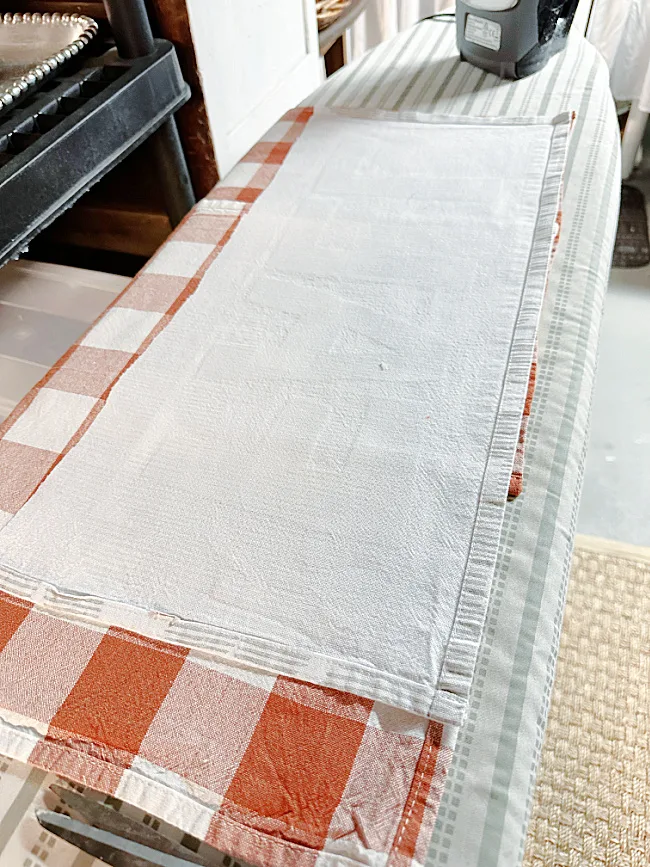
Next it was time for the back of the pillow. I used 2 orange checked napkins and placed them on the neutral fabric to get the right size.
The flaps of the 2 napkins overlap in the back. Note*This photo is reversed, the finished edge should go down first. Lastly, I cut the backing napkins to be the same size as the fabric on the front with the letters.
I put right sides together and used SureBonder Fabric Hot Glue to go around the entire pillow. I cut the corners of the pillow to make better corners when you turn the pillow inside out.
Now I let the hot glue dry for a few more minutes and stuff the bolster pillow into the fold.
That's it!
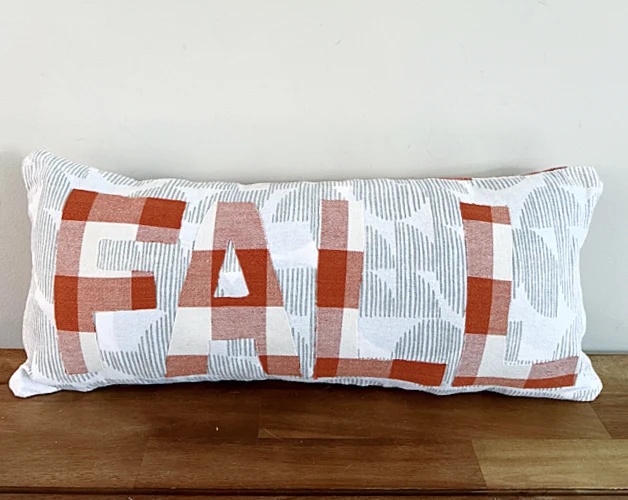
I love this pillow, it's adorable and so easy to make.
Now certainly this project can be done in the exact same way if you sew. Instead of the hot glue step just go around the whole pillow with a sewing machine.
I hope you like this project and are inspired to make an easy pillow of your own. This can be done for any holiday but I especially like that FALL only has 4 letters! LOL.
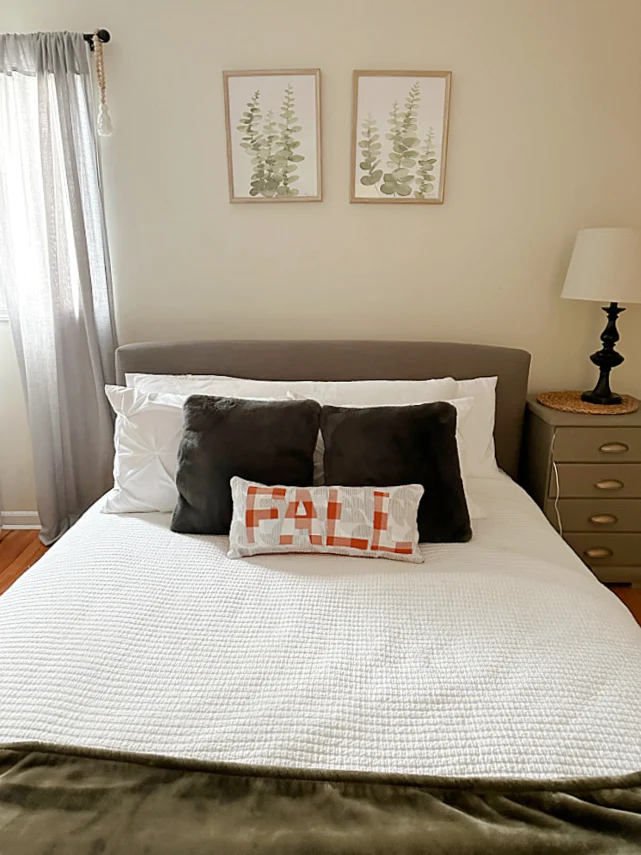
It is looking beautiful in our guest room!
Oh and if you haven't met my photo bomber Sam... he follows me everywhere!
The pumpkin jar above was a recent Dollar Tree transformation.
If you'd like to purchase a similar pillow, this one was my inspiration!
Please pin for later --->>
Thanks so much for visiting today and before you go please take a minute to sign up for the Homeroad emails in the pop up so my next DIY tutorial will go straight to you!


.jpeg)


