Cement Coating an Outdoor Table
Today is a fun mother daughter project at Homeroad! We are going to up-cycle a damaged outdoor table top and make it beautiful again!
My very talented oldest daughter and I have done many projects together over the years.
Today's project was a pretty easy one with a great outcome!
Take a look...
My daughter Kasey found a Pottery Barn cement outdoor table on our local Marketplace.
As you're reading through this post please pay attention to the bold blue links that will take you to more information and the products I used for this project. Also the READ MORE sections will take you to related Homeroad projects.
It was in very rough shape but the price was right so she grabbed it. Since the tabletop had so much damage the seller decided to give it to her for free!
This was original a $2500 table so it was definitely worth saving!
Moving this 250 lb. cement table involved a truck, two men and my young and strong daughter.
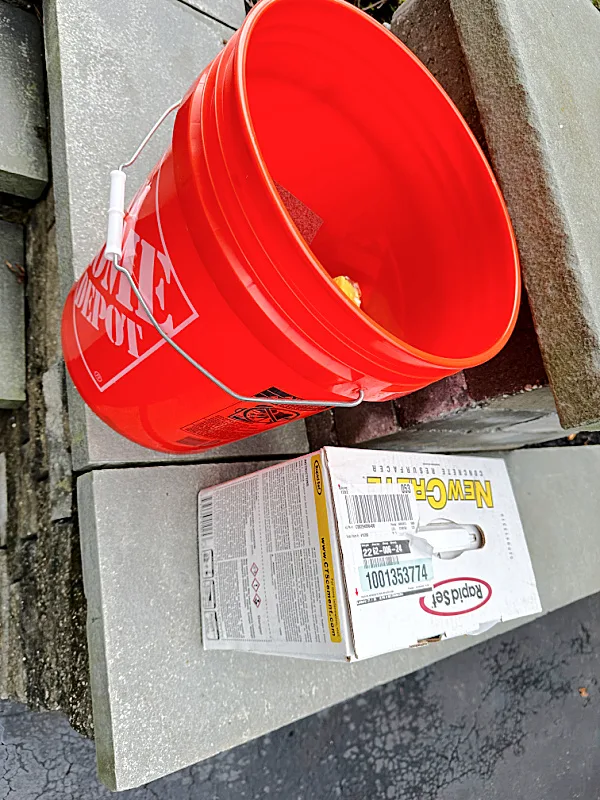
Off to Home Depot to grab supplies to give the top a skim coat of cement and make it look new again.
- a large bucket
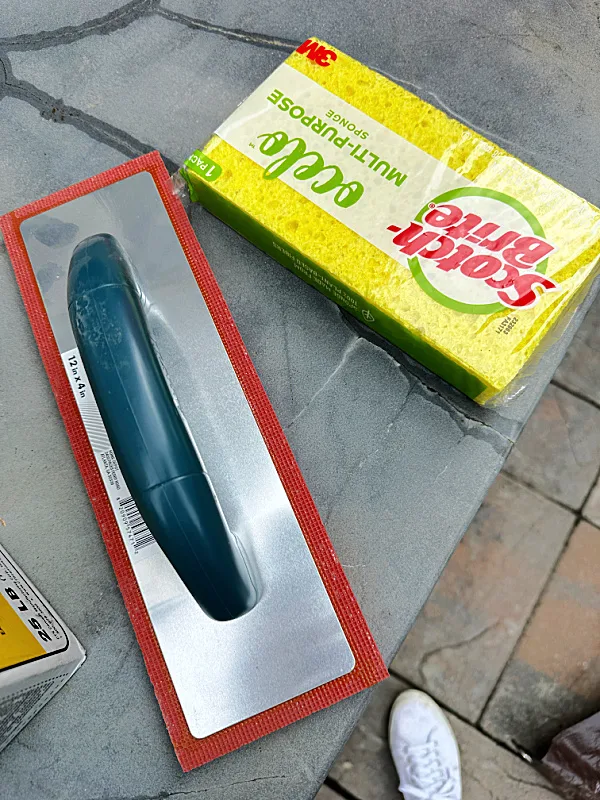
- a 9" x 4" fine rubber float
- a large sponge
- and a 25 lb. box of Rapid Set New Crete
- spray outdoor sealer
My daughter and I have done many projects together over the years., everything from apartment renovations to furniture restoration. Sometimes she does the work and I photograph it so when I say "we" I really mean "she".
Kasey began by mixing the cement with water in a large bucket. She mixed it with a whisk to get all the lumps out of the cement. You will need to keep adding water and cement until you get the consistency of loose pudding.
Also, place your table in the center of a large tarp or area that can get cement drips.
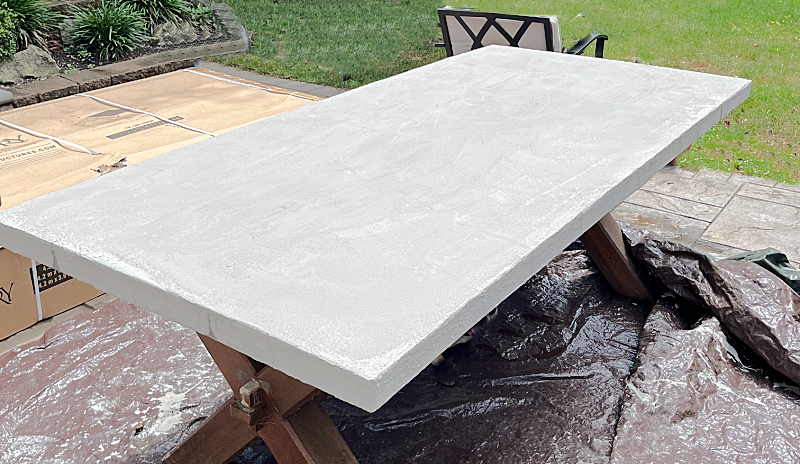
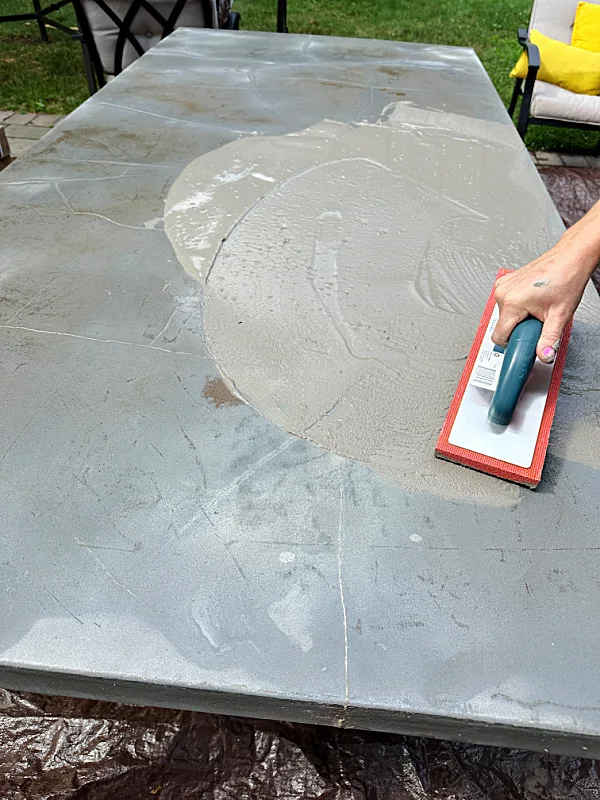
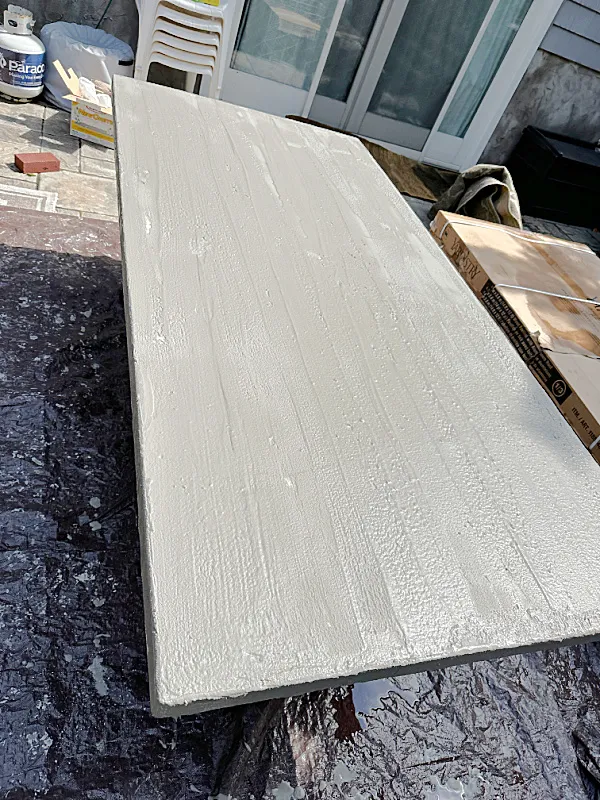
Next, she poured out a puddle of the cement onto the table and began spreading it around the table.
Kasey continued this process until the entire table was covered.
Take a look at this quick video to see how the cement was smoothed:
Don't worry about any drips, just be sure to wipe them flat before they dry.
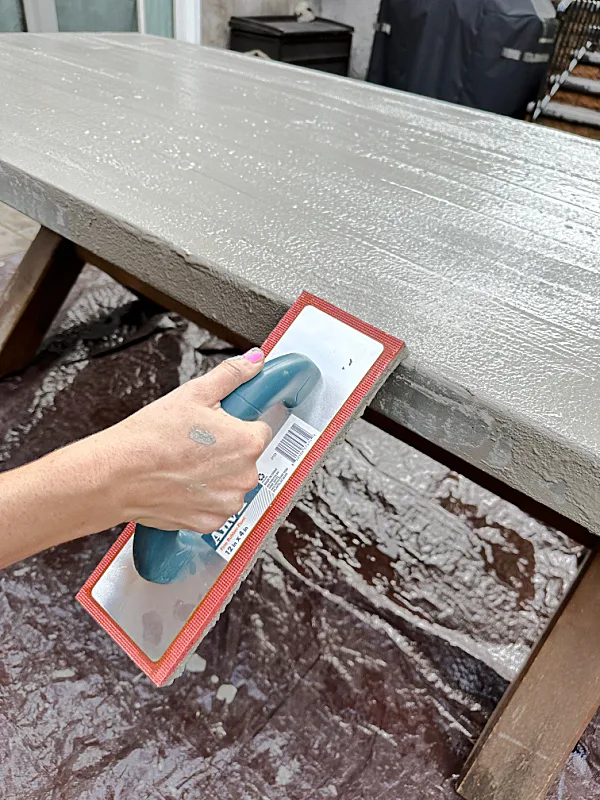
The float was used to round and smooth the edges of the table. Any drips at the bottom of the edges was wiped with the sponge.
Keep spreading the cement until you get an even coat across the whole table.
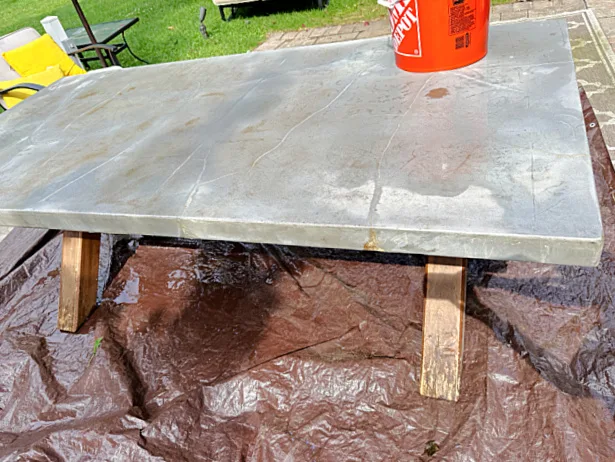
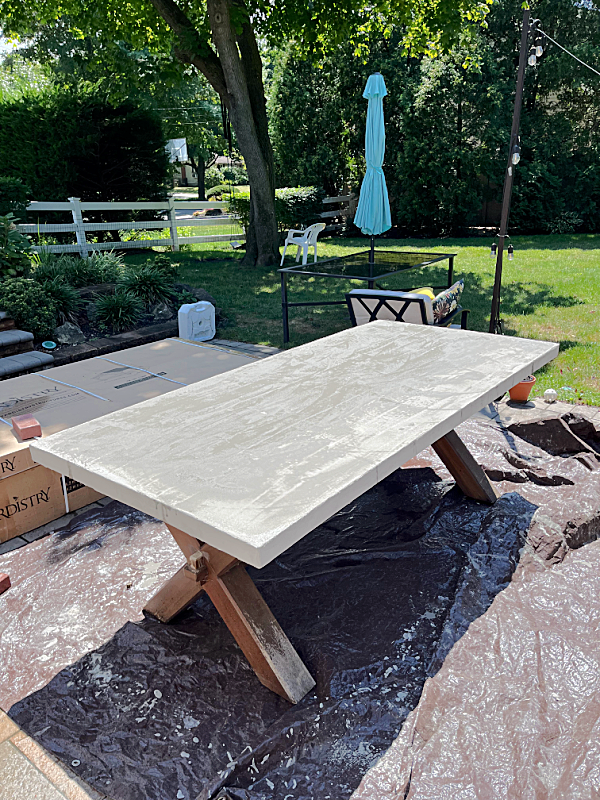
The first coat of cement on the table was left to dry in the sun.
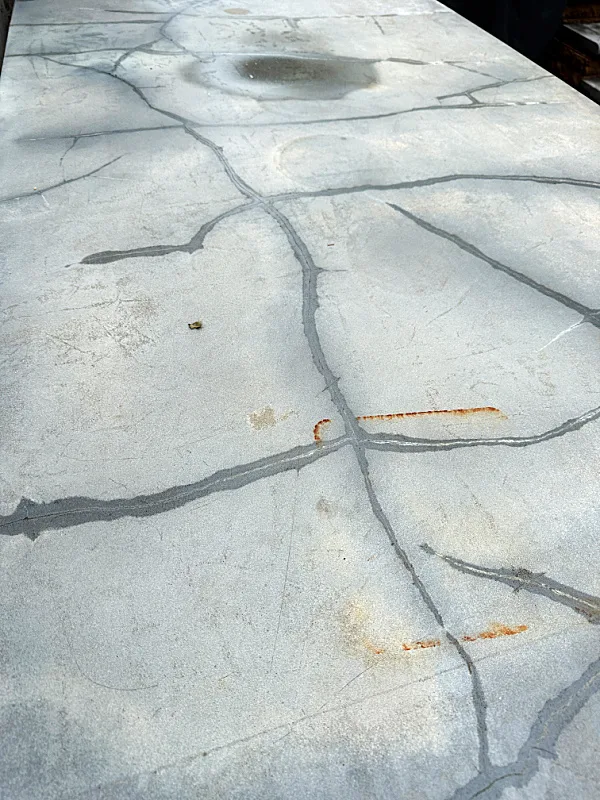
Unfortunately, as the table dried the cracks from the original damage began showing through. I think it was because there was moisture in the cracks.
Luckily, once the table dried the cracks did too and disappeared.
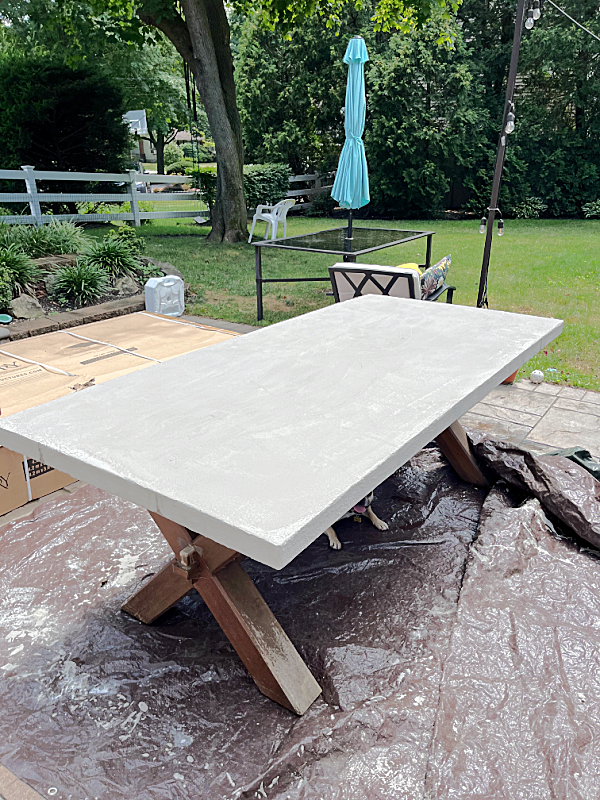
When the table dried completely Kasey mixed up a thinner second coat of cement and smoothed it over the whole table.
Once dry, Kasey sanded the table with sandpaper wrapped around a brick. This worked perfectly to smooth out any imperfections.
READ MORE: MOTHER-DAUGHTER PROJECTS
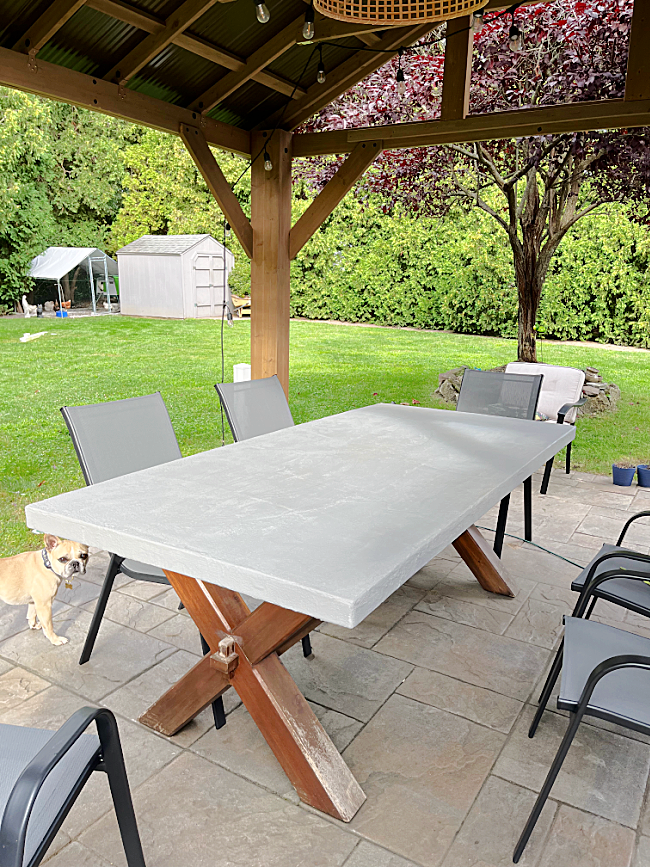
The final step was to give the table top a couple coats of a spray sealer. This will protect the cement from stains.
Please pin for later ---:>
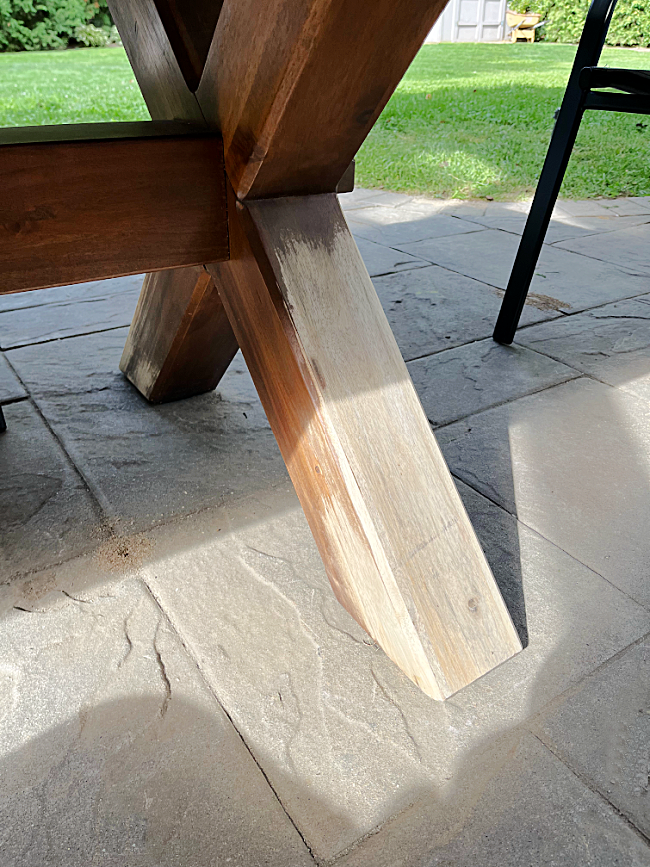
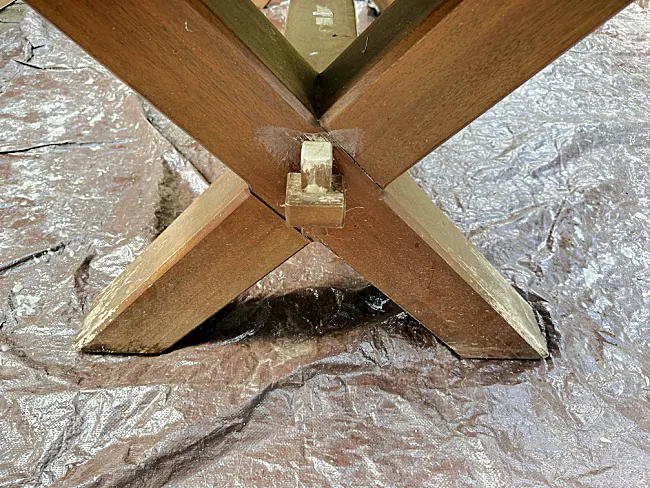
Eventually it will be time to work on the table legs. The legs will be sanded to remove any peeling stain on the original surface. A quick couple coats of a dark stain will make the legs look like new!
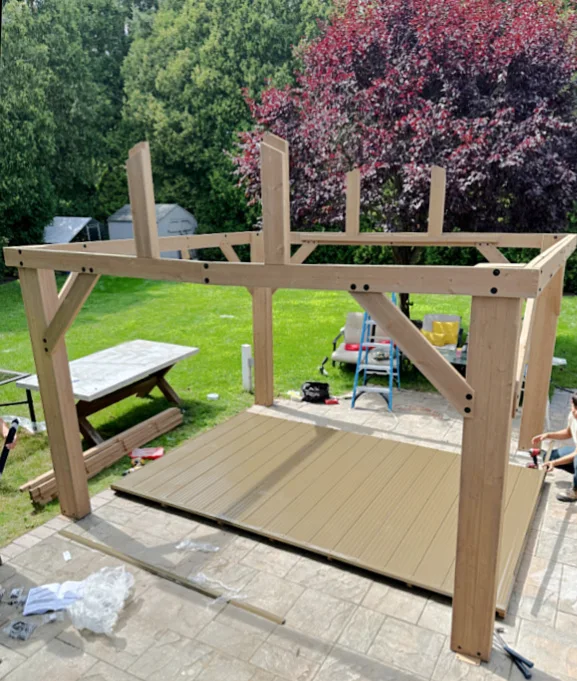
While working on the table, mid-project, there was this slight disruption in the work, gazebo work began.
Once the gazebo was built, the table project continued, we added new chairs!
While you're here check out the outdoor string light poles we made together last year for this space!
Lastly, the legs are sanded and all we need to do is to stain the legs! This is the project that never ends!
Side note: If you have any trouble with the color variations in your cement for any reason I would recommend using a cement colored outdoor paint over the top.
Thanks so much for visiting and before you go please take a minute to sign up for the Homeroad emails so my next project will go out straight to you!









.jpg)

