DIY Tiered Vintage Harvest Sign
I just love the vintage looking wooden signs with the panels that hang from one another.
Recently I made one for the potting shed using a popular transfer method.
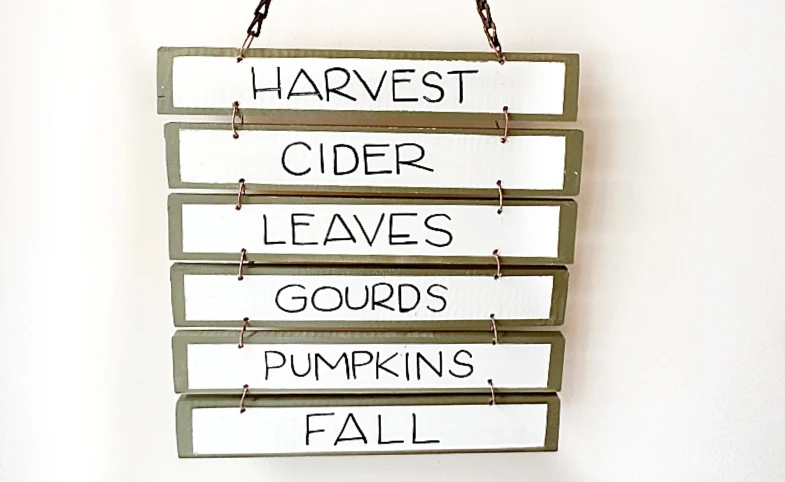
Today I'm using Dollar Store supplies and hand lettering to create a unique Fall Harvest sign.
Take a look...
Yep, it is the Dollar Tree to the rescue again! I used many products from the dollar store to create a vintage looking harvest sign you're going to love!
The best part is that it is hand lettered so it is fairly easy to do with no special machines!
As you're reading through this post please pay attention to the bold blue links that will take you to more information and the products I used for this project. Also the READ MORE sections will take you to related Homeroad projects.
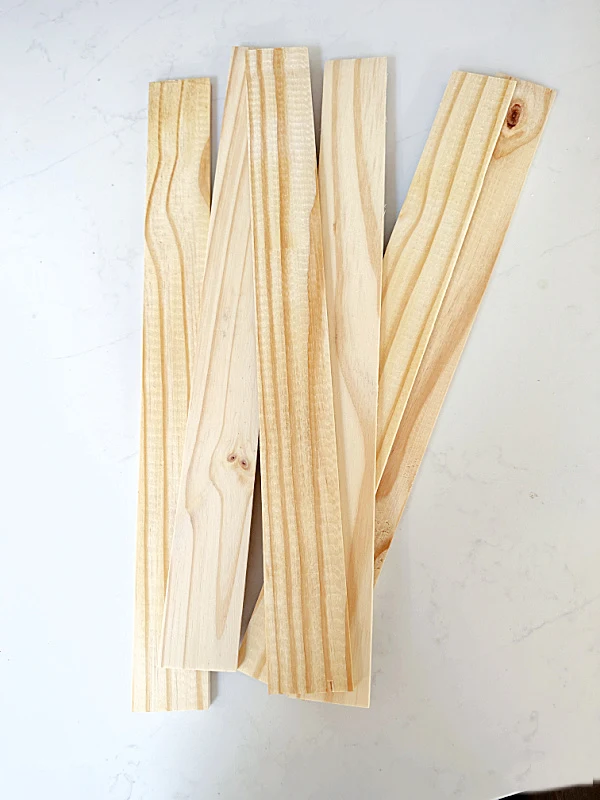
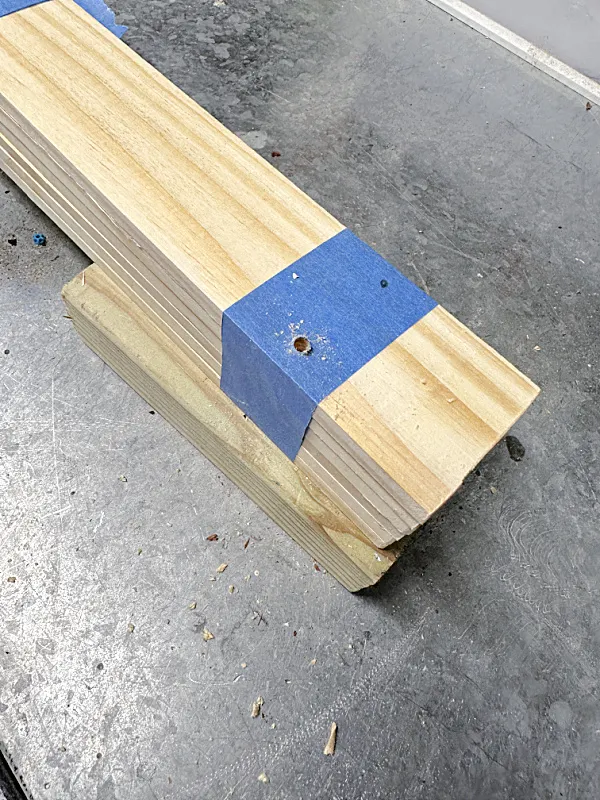
I began with 6 of these boards from Dollar Tree. They are about 18 inches long, longer than I needed. I bundled the 6 boards together with painter's tape and cut them to 12" all at once. The lazy girls way!
Once my boards were cut to 12" I measured 2" from each end and drilled holes on the top and bottom of 5 of the boards, and you guessed it... all at once so the holes are all in the same places.
The only board that I kept out is going to be my bottom board. It will only get holes in the top.
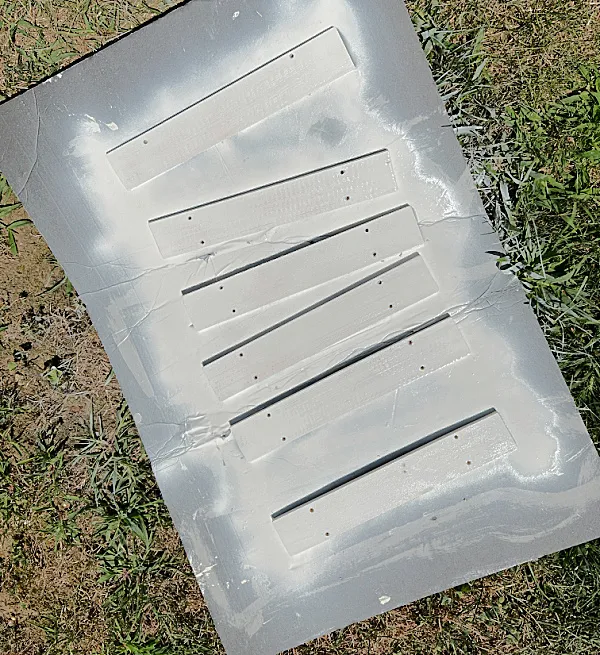
I sanded my boards then laid them out on a piece of cardboard and gave them a coat of white flat spray paint.
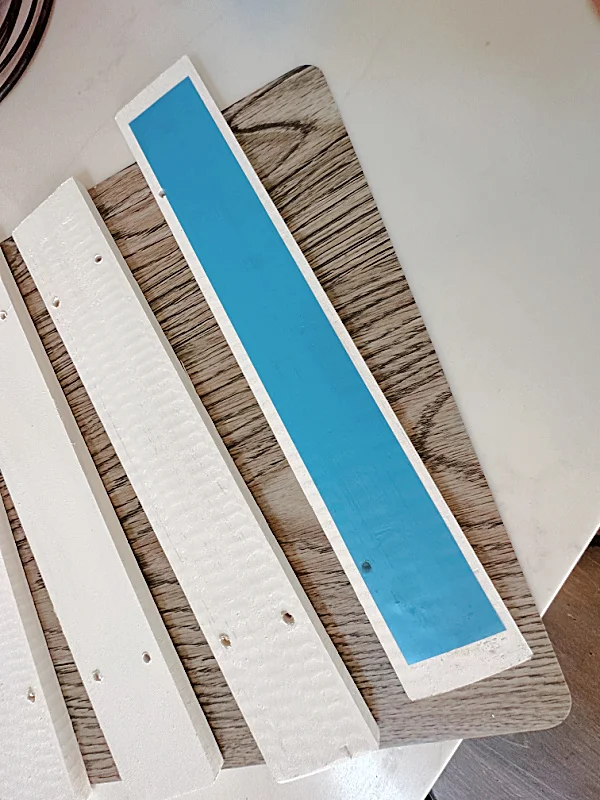
Once the paint was dry I used stencil vinyl, you can use any vinyl from the dollar store except permanent vinyl. You can also use wide painter's tape.
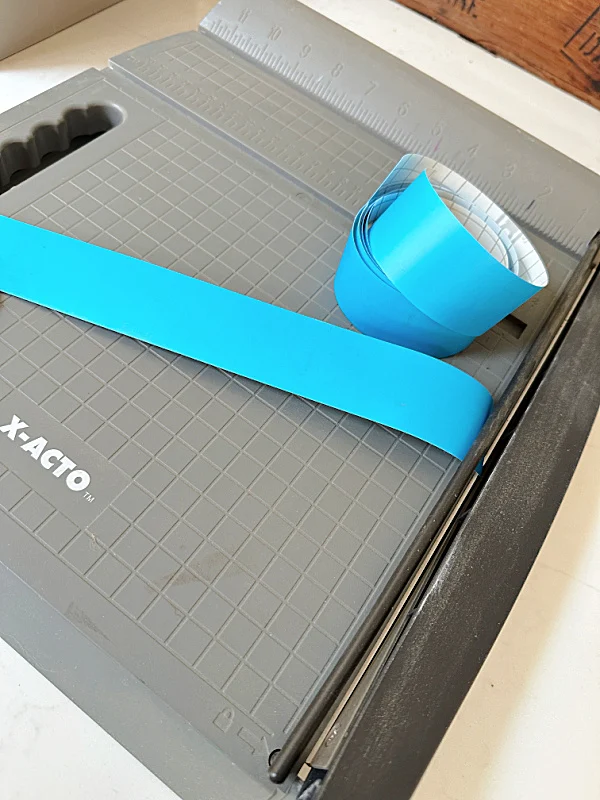
I used a paper cutter to cut the vinyl to fit my boards, just a tiny bit smaller leaving a tiny edge all the way around the board. The paper cutter definitely kept my cuts straight!
I did the same to all 6 boards and made sure the vinyl was pressed down securely.
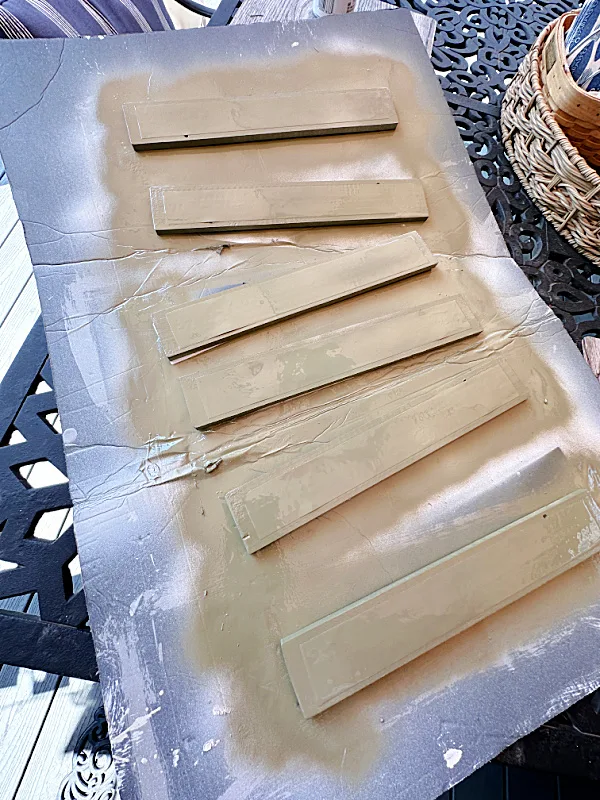
Next, I gave the boards, with the vinyl in place, a coat of mossy green colored spray paint.
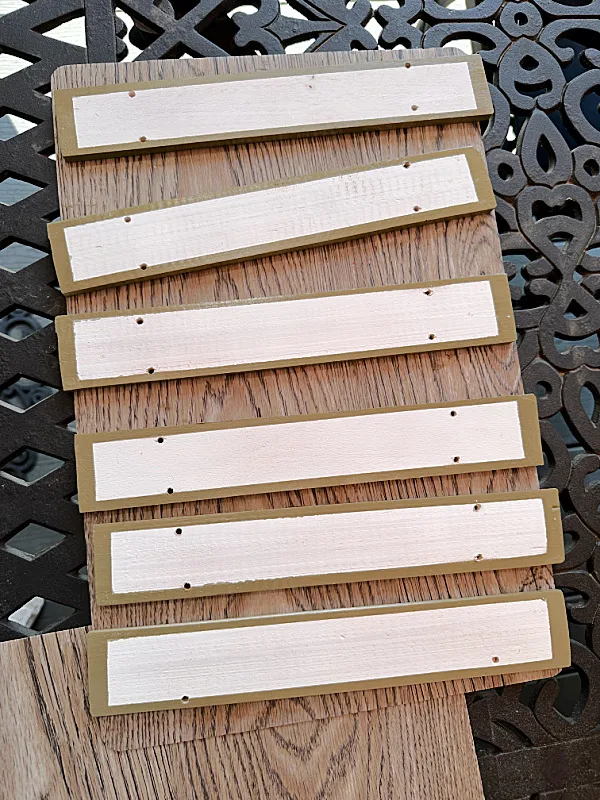
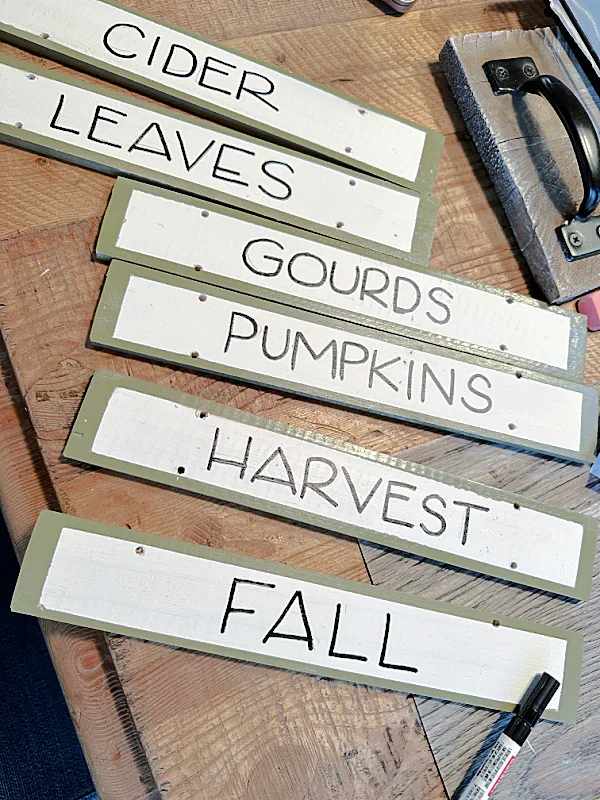
I let the green paint dry then removed the vinyl. This left me with a white board with a mossy green edge. Perfect!
I let the boards dry for a while then using an oil based paint marker pen, wrote the fall words I wanted to use. You can do this in pencil first to be sure to get your lettering centered.
Once the letters were dry I was ready to attach them. You can use whatever you have to attach the boards; maybe string, jute, or wire.
I decided since I had a copper chain for the top that I needed to attach mine with copper wire. Only problem was that I didn't have any. I searched the house and found a thrifted copper wire basket... bingo!
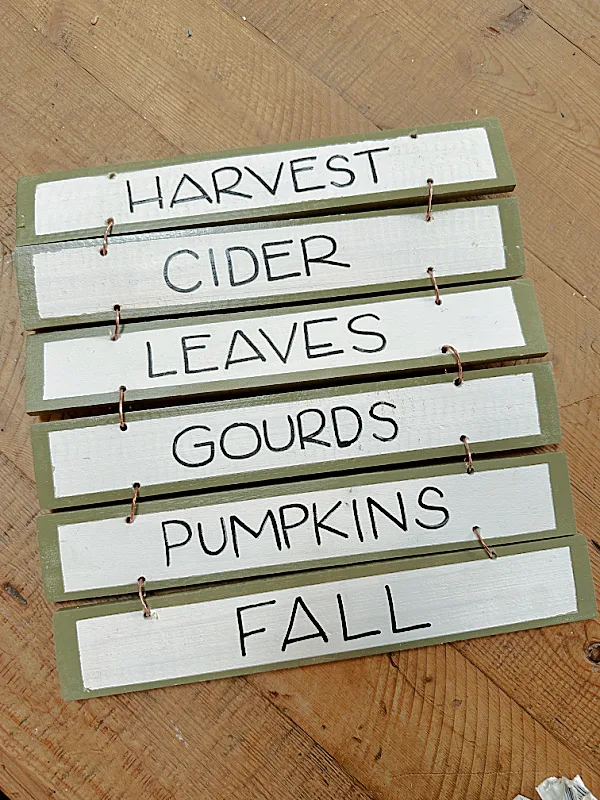
I cut a bunch of wires all the same length then used them to make a loop through the holes in my boards and wrapped them together on the back.
The copper color was perfect!!!
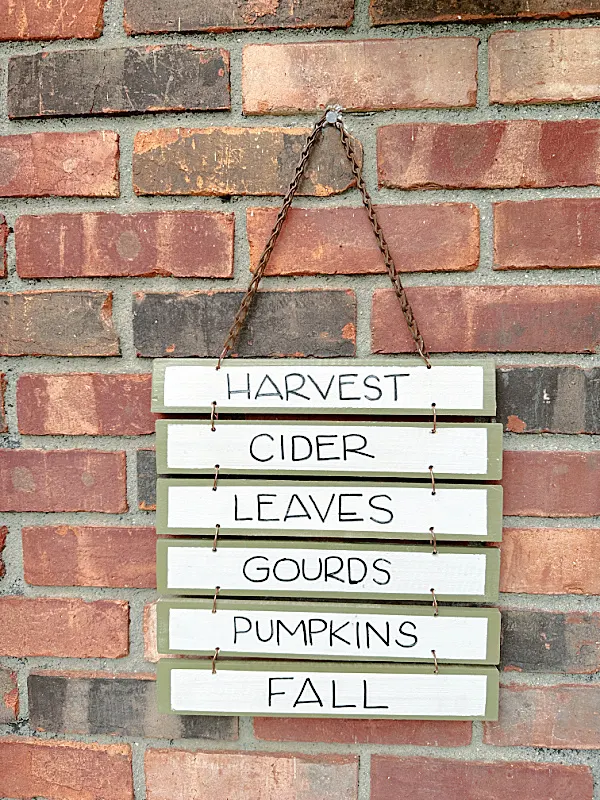
Lastly I used 2 more pieces of copper wire from the basket to loop through the copper chain to hold it to the top of my sign.
Voila!
See the tiered garden farm stand sign with the transfer words I made recently.
A harvest sign that says it all! Now you don't have to make this a harvest sign, and you don't have to use my words. Names, holiday words, campfire words, whatever fits your needs.
Please pin for later --->>
I love the way it came out and I'll be hanging it outside my front door for the Fall!
Thanks so much for visiting and before you go please take a minute to sign up for the Homeroad emails in the pop up so my next DIY tutorial will go out straight to you!

