Gold Metal Recycled Can Wreath
I've always wanted one of those metal wreaths on a stand. I've seen them in many colors and designs on the farmhouse websites.
Problem is that I refuse to pay the prices they are asking for some things that I'm sure I can make a recycled wreath for less.
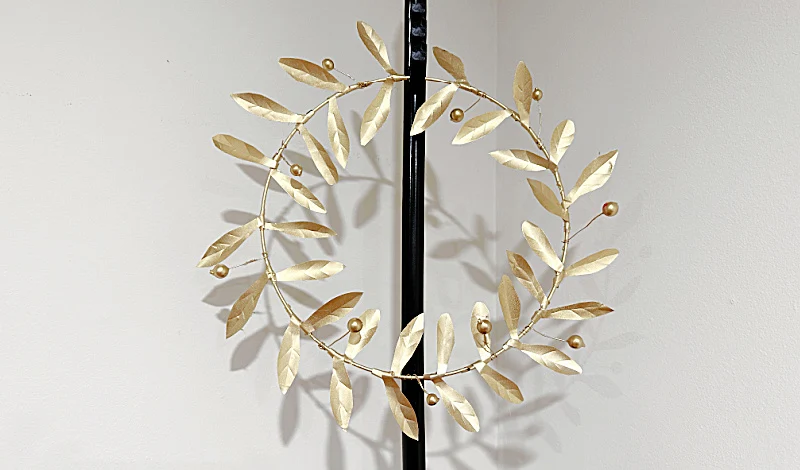
Today I'm making this easy wreath by recycling seltzer cans from my garage.
See how it went...
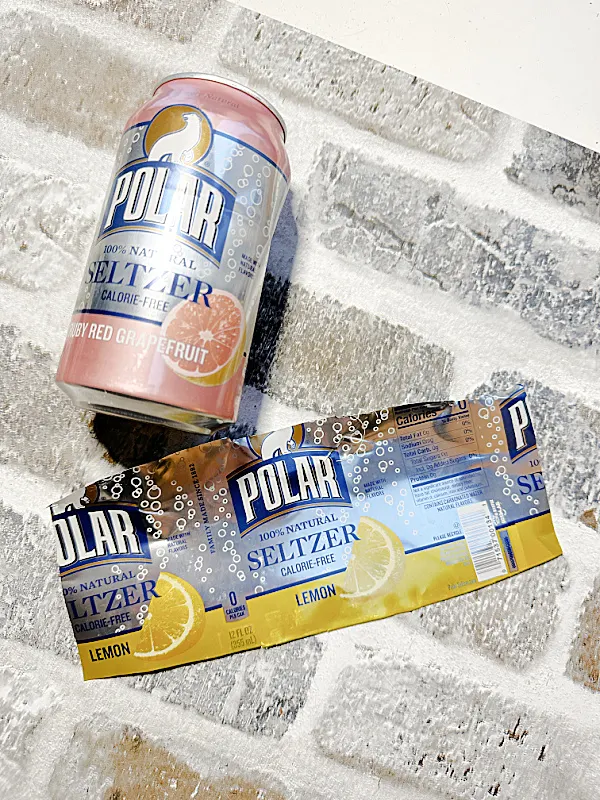
I began by grabbing some seltzer cans from my garage. Why seltzer cans you may ask? Because first of all we don't drink soda, except for my occasional diet coke, and secondly because the empty cans are not sticky.
As you're reading through this post please pay attention to the bold blue links that will take you to more information and the products I used for this project. Also the READ MORE sections will take you to related Homeroad projects.
The cans cut easier than you'd think. They are such a thin metal that they cut with regular scissors. They aren't very sharp either but take precautions if your cans are sharp, gloves and sand paper may be in order.
I'm also using a metal hoop wreath that I purchased at the dollar store a while back.
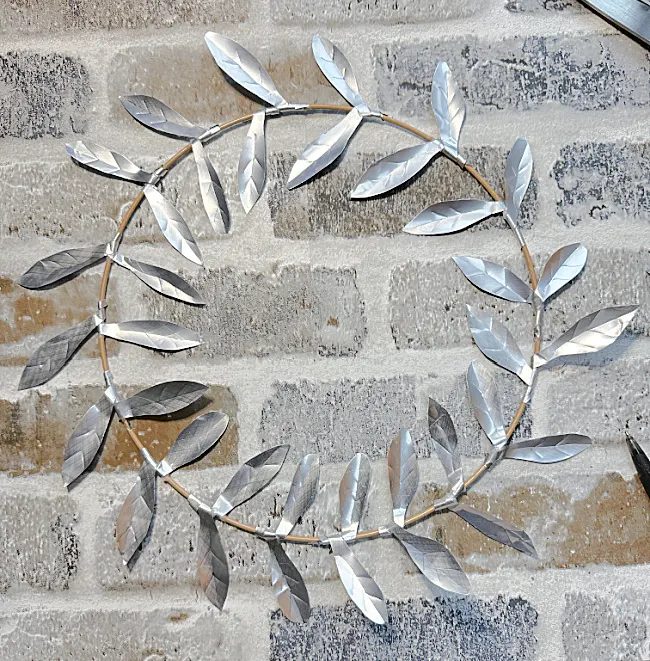
But like I said my cans were not sharp so I went ahead and cut a whole bunch of leaf shapes with long stems from the cans. I ended up using 4 cans all together.
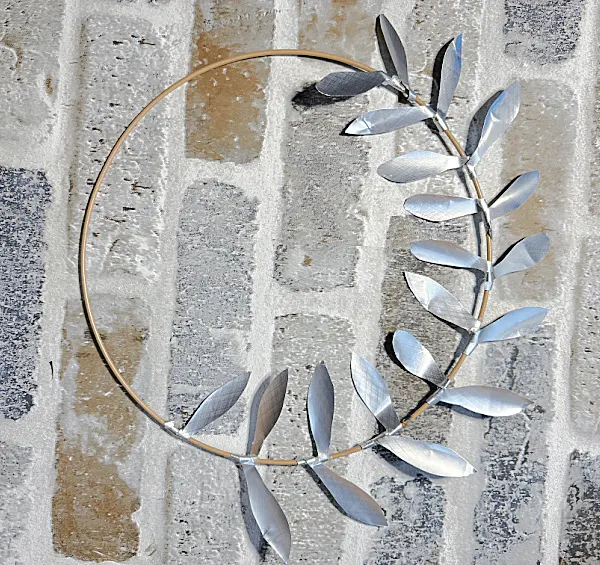
I attached 2 leaves at a time by wrapping them around the metal hoop wreath and securing with a dot of hot glue.
You need to be careful not to burn your fingers, either use silicone protectors or use cool temp glue.
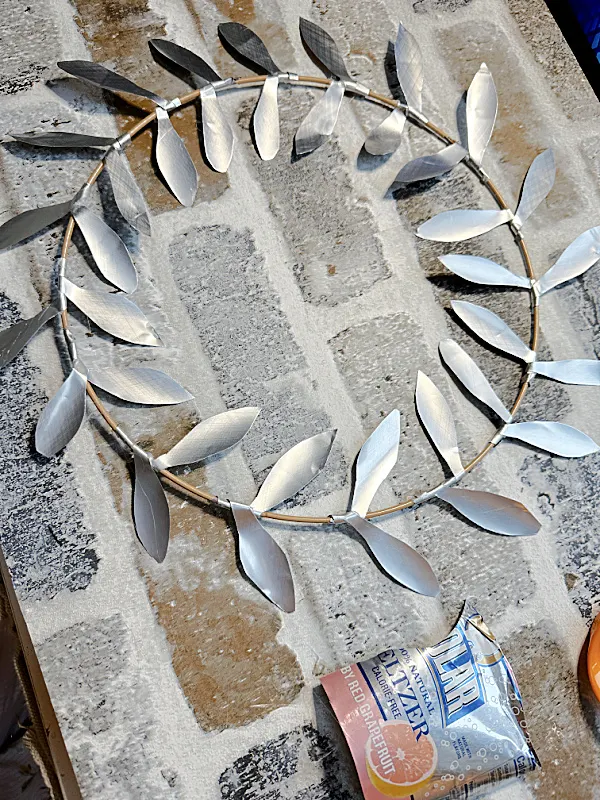
I proceeded around the wreath attaching the double leaves about every inch or so.
I went all the way around the wreath then checked to make sure the leaves were secure then using a ball point pen, drew the veins in each leaf.
Next, I grabbed some berry branches leftover from a broken Christmas wreath I found at the thrift store. The berries have come in handy many times.
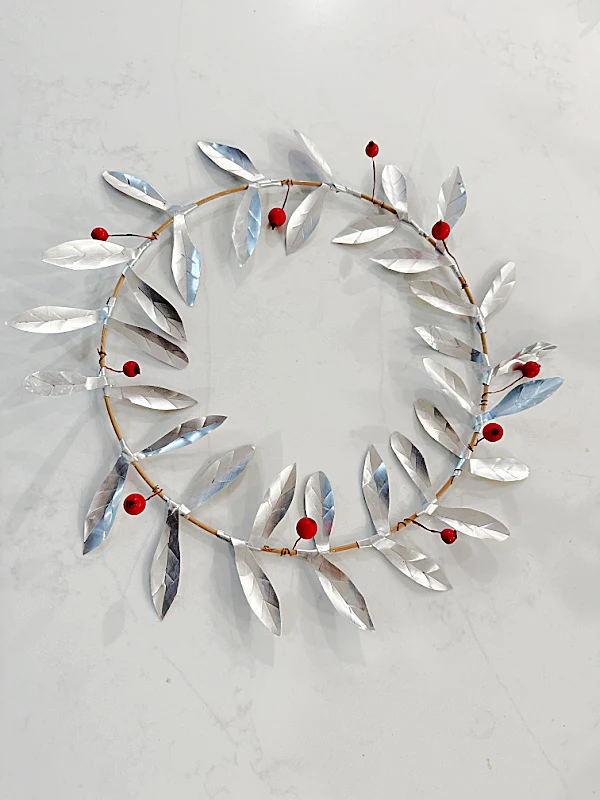
I removed the berries from the branch along with the wire they were attached to then wrapped the berries around the hoop wreath between the leaves.
I did this all the way around the wreath and secured the wrapped part with hot glue. You may need to blast your wreath with a hairdryer or a heat gun for a minute to remove any glue strings.
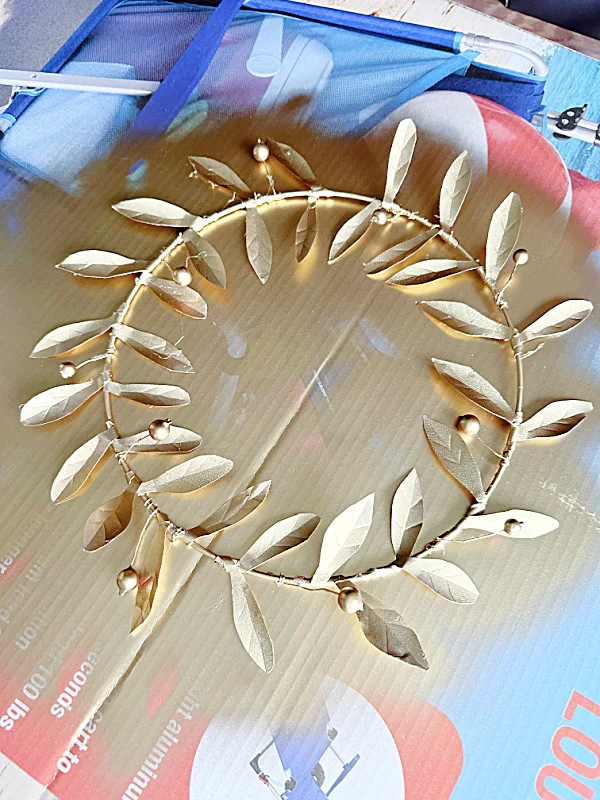
This is how the wreath looked before I painted it. Now you can paint the wreath any color you desire but I'm using a gold spray paint I had in my workshop.
I first sprayed the back of the wreath and then the front being sure to hit it from every direction so I covered everything.
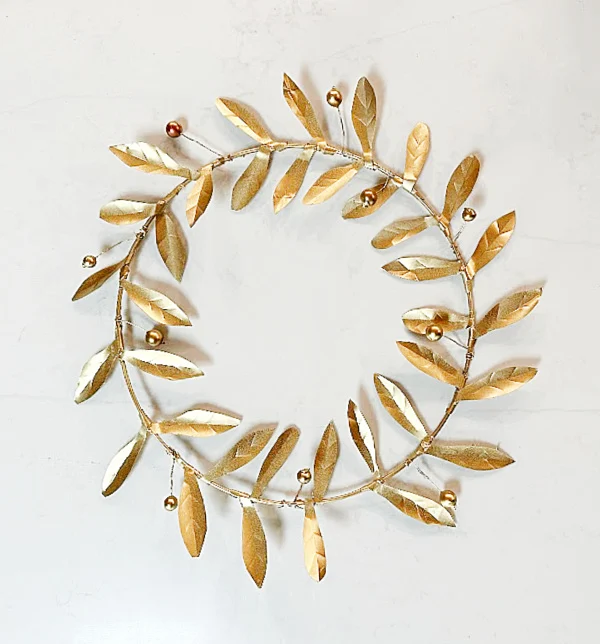
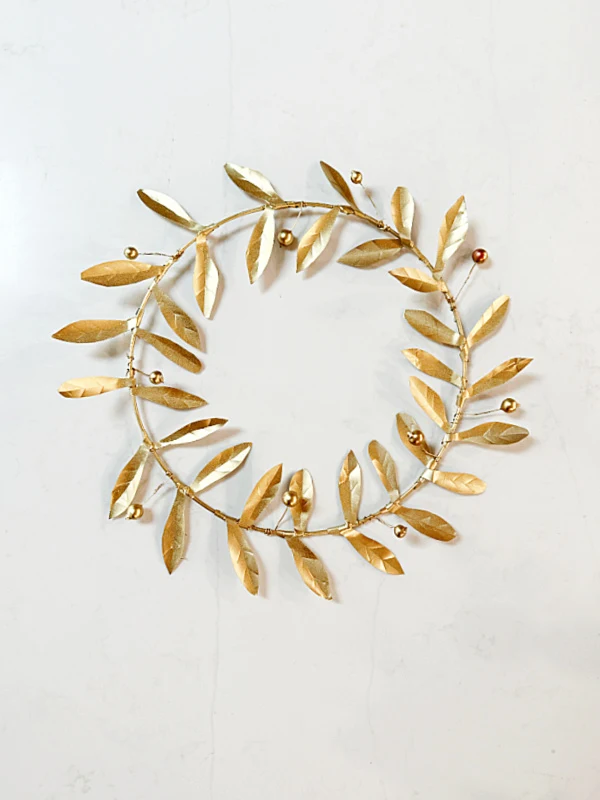
I let the wreath dry and I was done!
Please pin for later --->>
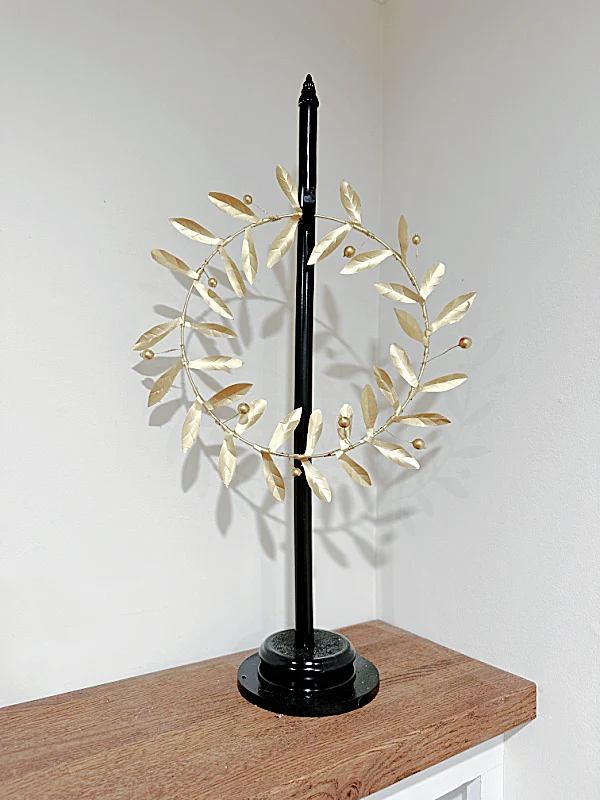
That's it, a gold metal wreath that you can hang on a wreath stand. You can read here all about this easy wreath stand I made recently.
If you are really ambitious you can make a wreath stand using a metal bar and a circle of wood then spray it to match the wreath.
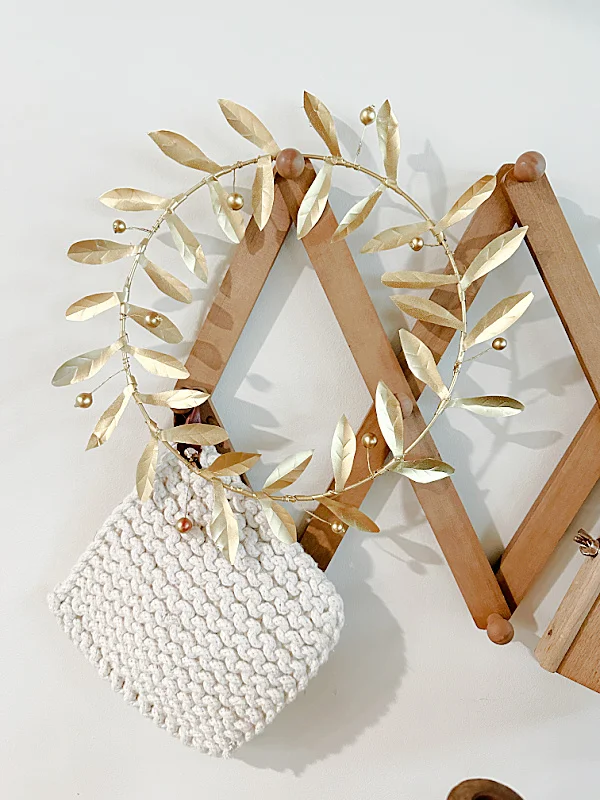
The wreath can also be hung on a door where it looks just as gorgeous.
READ MORE: DIY WREATH PROJECTS
Ok, this scratched my itch for a metal wreath so now I'll be keeping my eye out for another expensive project I can make for less.
Thanks so much for visiting and before you go please sign up for the Homeroad emails in the pop up so my next DIY tutorial will go out straight to you!

