Indian Corn Grain Sack Crate
I'm beginning to think about Fall. Did I just really say that? Summer is winding down and it's time to start thinking about making Fall projects.
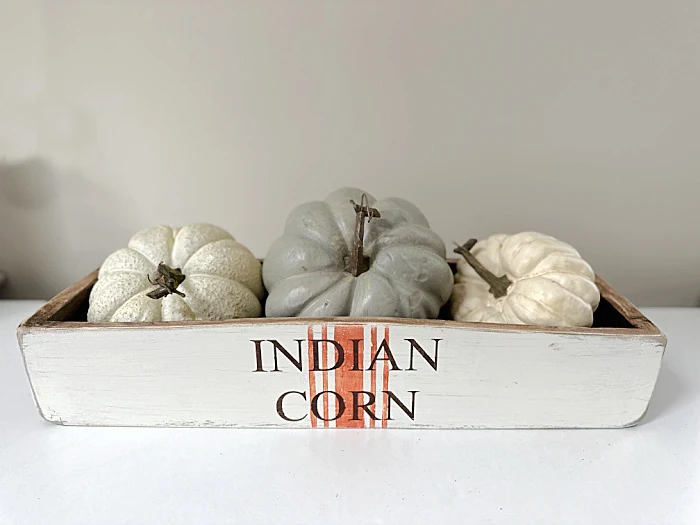
I got excited for Fall when I saw an awesome orange striped crate online and I made my own longer version with a grain sack look.
This was a fairly easy project and can be made in any size.
Take a look...
I was inspired by a crate I saw on the Antique Farmhouse website and as I often do, I try to create my own version.
As you're reading through this post please pay attention to the bold blue links that will take you to more information and the products I used for this project. Also the READ MORE sections will take you to related Homeroad projects.
I searched my house for a crate I could use for this project and I came up empty handed. Until that is, I found a long wooden box that was just a little too tall. It was actually once a coffee table drawer.
So what did I do? I cut it in half and made it shorter! Yes I did!
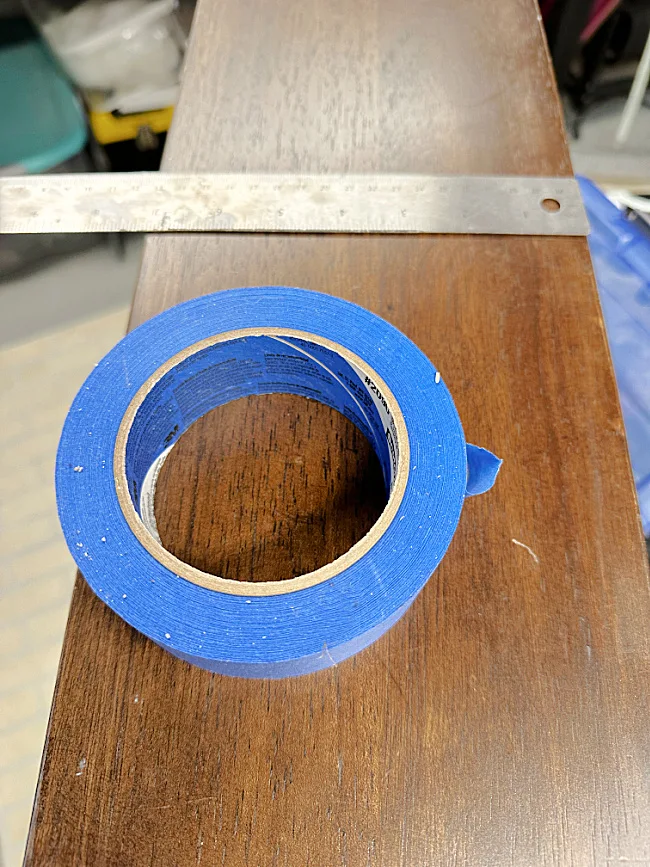
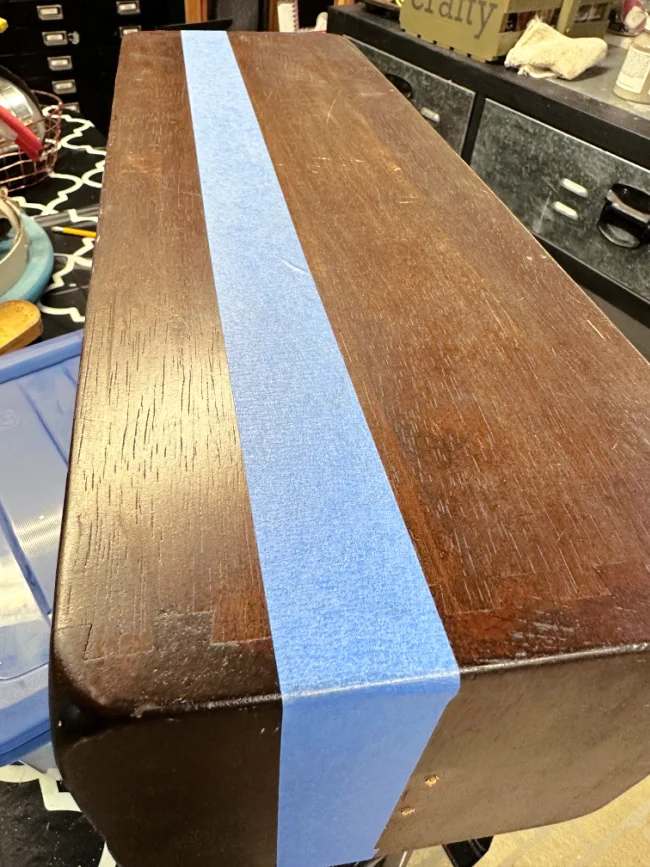
I began by figuring out how tall I wanted the crate to be and measured all the way around. I wrapped blue painter's tape around the crate so I would have a guide for cutting.
Now I wasn't sure this would work but I used a circular saw to cut the crate. I cut right above the blue tape down one side, then flipped the crate and cut down the other side.
It worked!
Now my crate was the right height!
Next, I sanded the crate. I removed all of the 1970's varnish and smoothed the edges.
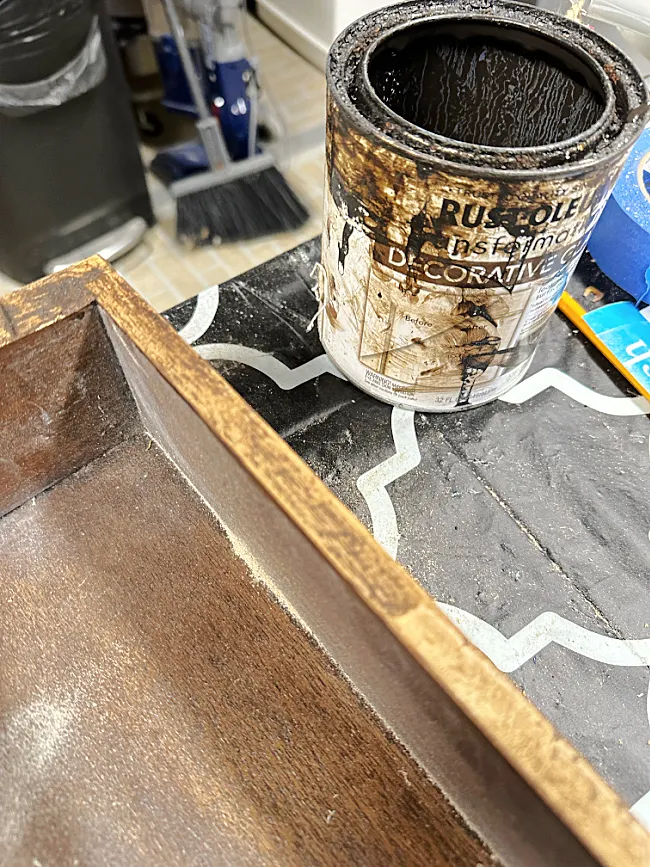
I went around the top cut edge of the crate with a dark antiquing glaze so it matched the rest of the crate. This can of glaze is well loved for sure, I use it on everything!
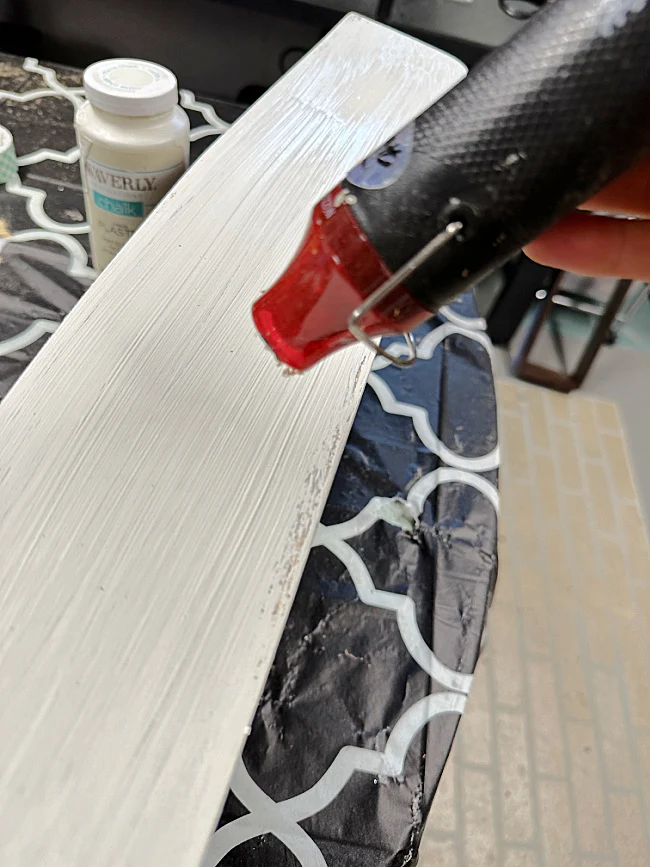
I painted a quick coat of Waverly Chalk Paint in the color Plaster across the front of the crate. I didn't worry about getting the coat even or in the corners because I wanted it to look rustic.
And because I can't wait for paint to dry, I used a heat gun to help dry the paint quicker.
The crate I was inspired by had a grain sack stripe down the front of the crate so that's what I did. I found the center of the crate and got to work.
I have about a million Old Sign Stencils in my collection and I knew that somewhere in this group was the one I needed for this crate. I have them hung on a bar from the rafters in my basement.
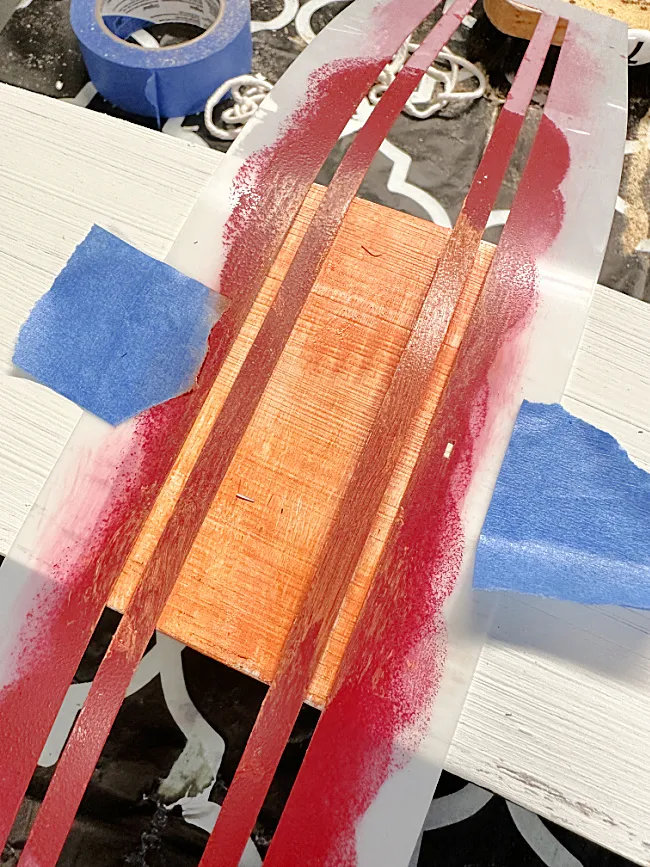
I have a great grain sack stencil from Old Sign Stencils that I used to stencil down the center of the crate.
I've used this stencil and other grain sack techniques on several other projects!
I wanted my stripe just a little bit wider so I added another stripe on each side by moving the stencil over to each side.
I used Fusion Mineral Paint in Tuscan Orange for the stripes.
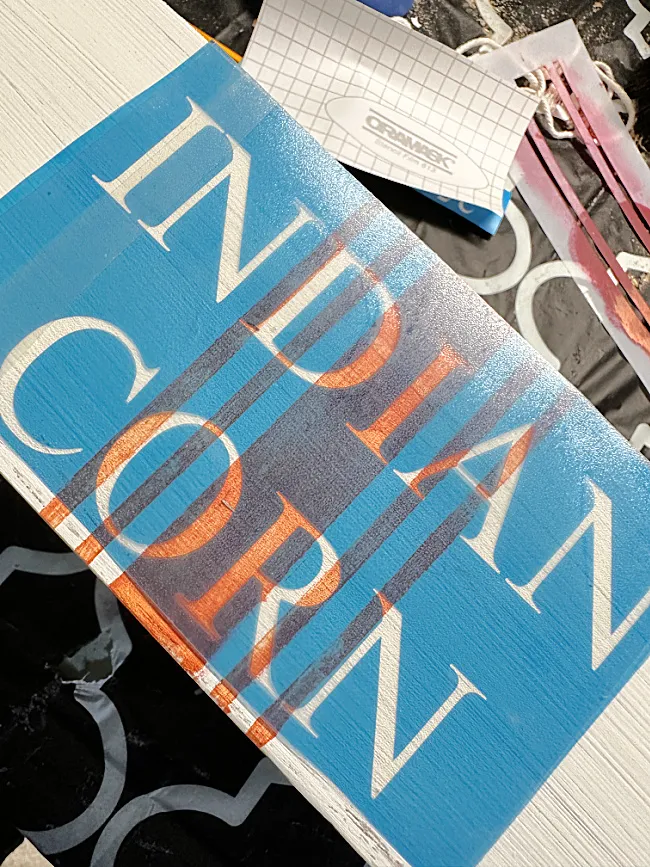
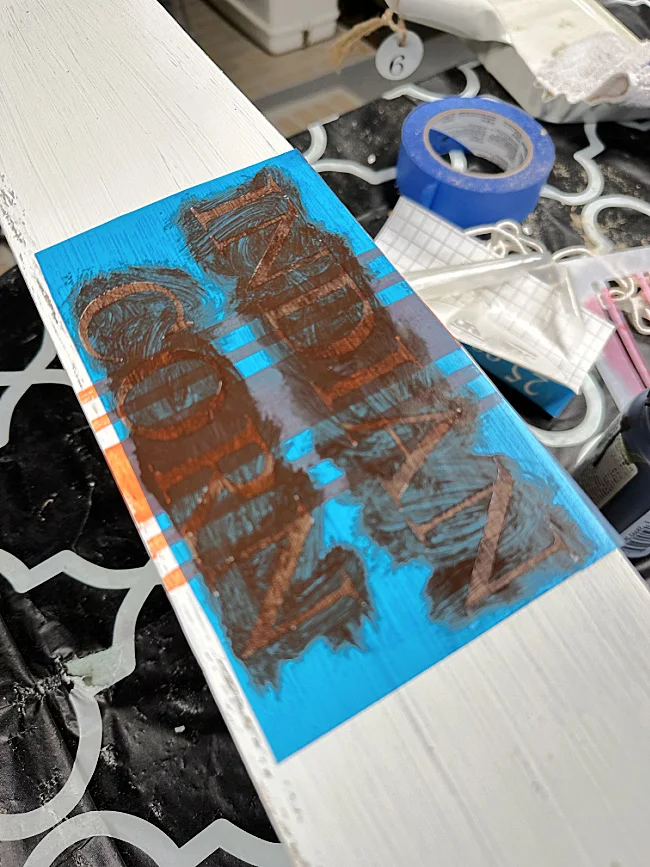
Now it was time for the words. I used my Cricut Joy, a mini vinyl cutter, to cut out the words Indian Corn. I pull this little machine out at least once a week to create vinyl stickers for labeling.
I stenciled the words right over the top of the grain sack design using a dark brown acrylic craft paint.
When the paint was all dry I used an electric sander to distress the corners of the crate.
That's it!
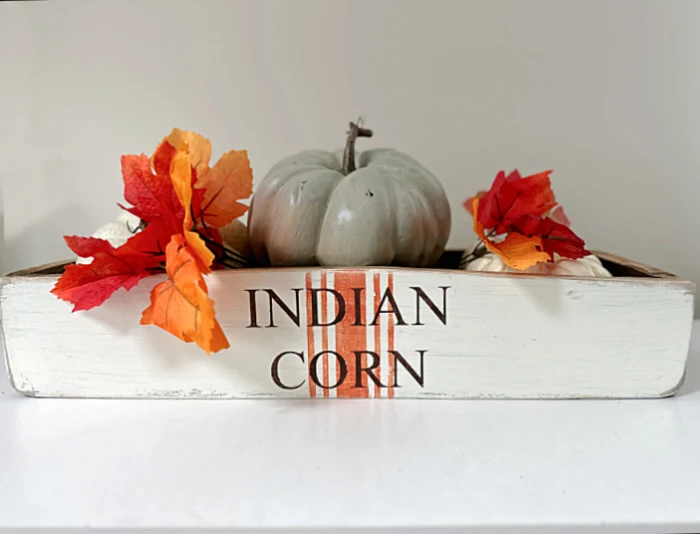
This cute centerpiece crate came out better than the inspiration piece! Shhhh don't tell them!
Now, it is not your imagination if you're seeing that the center of my crate has a slight hump in the middle where the stencil is. Somehow while I was cutting my "straight" line, I ended up with a curve. Luckily it was in the perfect place, it ended up to be a happy accident!
Fill it with large faux pumpkins for the center of the table.
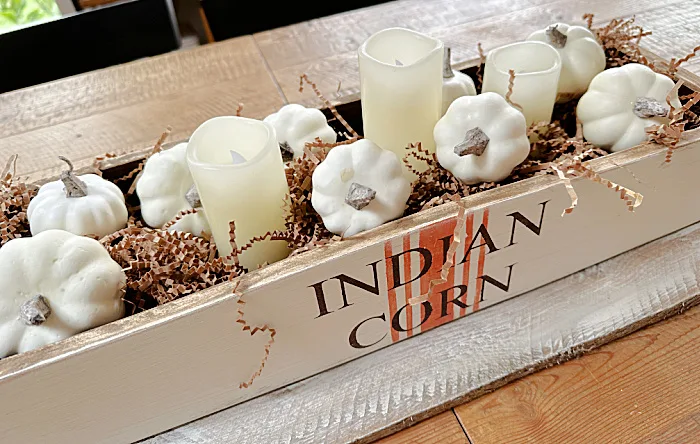
It also looks great with mini pumpkins, crinkled paper and battery operated candles. These even have a remote for easy turning on and off!
You can't go wrong with a Fall crate that says Indian Corn with an orange grain sack stripe! It will take you all the way to Christmas decorating!
Please pin for later --->>
Stay tuned! I'm making a matching rug pillow that looks adorable as a set!
Thanks so much for visiting and before you go please take a minute to sign up for the Homeroad emails so my next project will go out straight to you!


