Vintage Jack-O-Lantern Banner
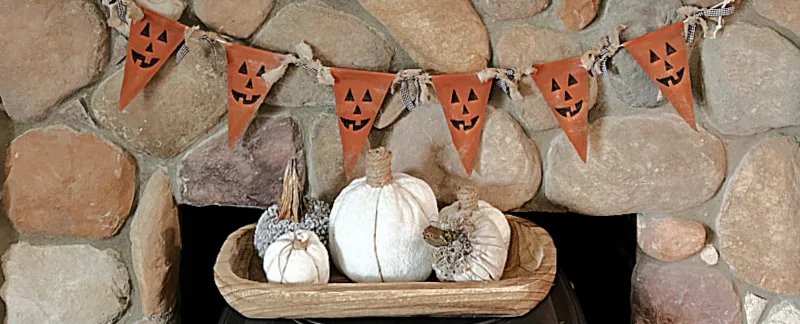
Today I'm making a fun banner to hang on your fireplace or in a window every year!
I don't decorate for Halloween too much but I sure like to make the projects!
This time I'm going to create a Halloween banner with a vintage look that I'll want to hang every year!
The easy technique to get a vintage look can be used on almost anything too!
Take a look...
As you're reading through this post please pay attention to the bold blue links that will take you to more information and the products I used for this project. Also the READ MORE sections will take you to related Homeroad projects.
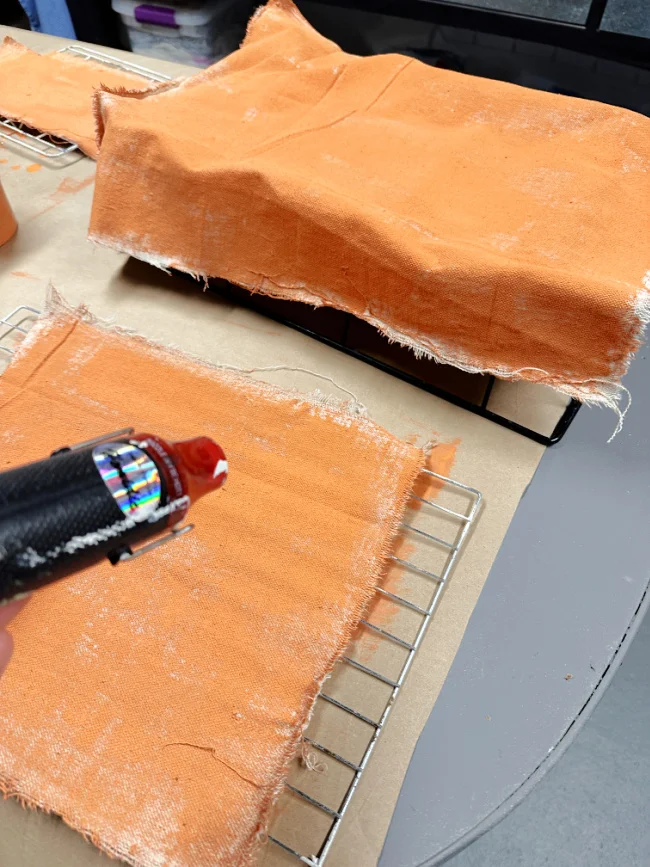
I started out with a few scrap pieces of drop cloth fabric and I painted the fabric with one coat of what I had left of Fusion Mineral Paint in Tuscan Orange. You can use any orange craft paint or chalk paint you have on hand.
I gave it a quick coat so that the fabric showed through in some places.
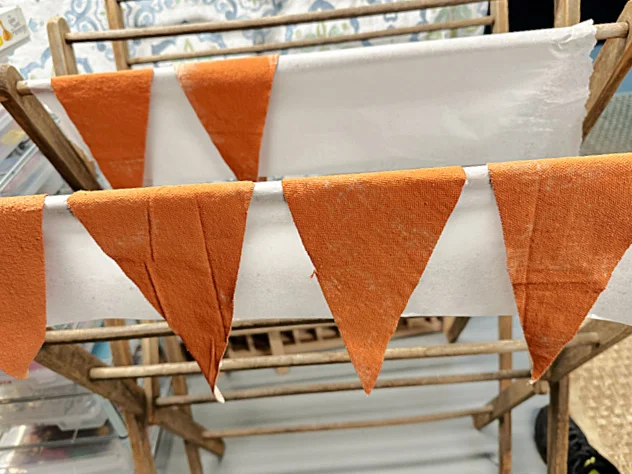
I used a heat gun to begin the drying process but ended up hanging it on my vintage tobacco drying rack over wax paper overnight to dry completely.
The painted fabric is now pretty stiff.
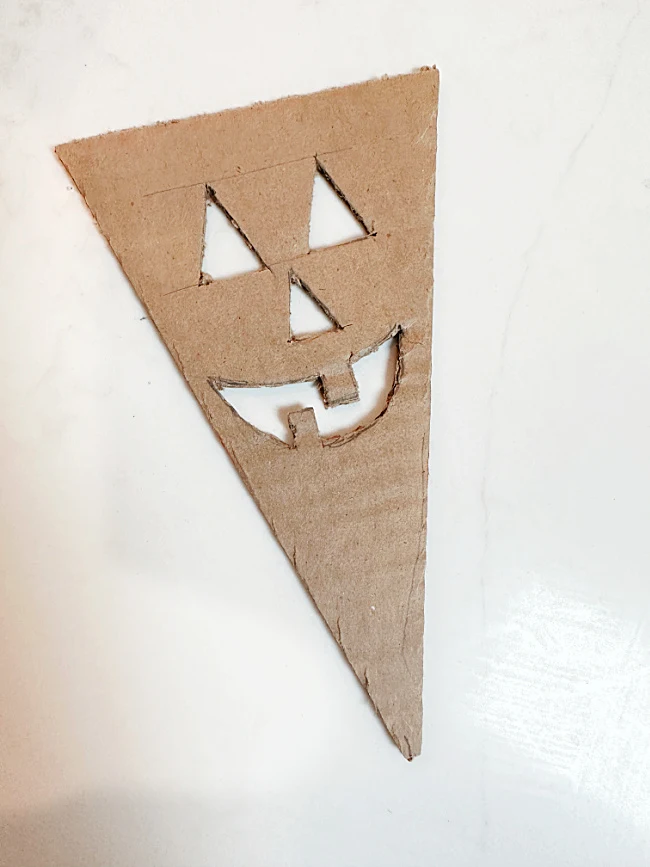
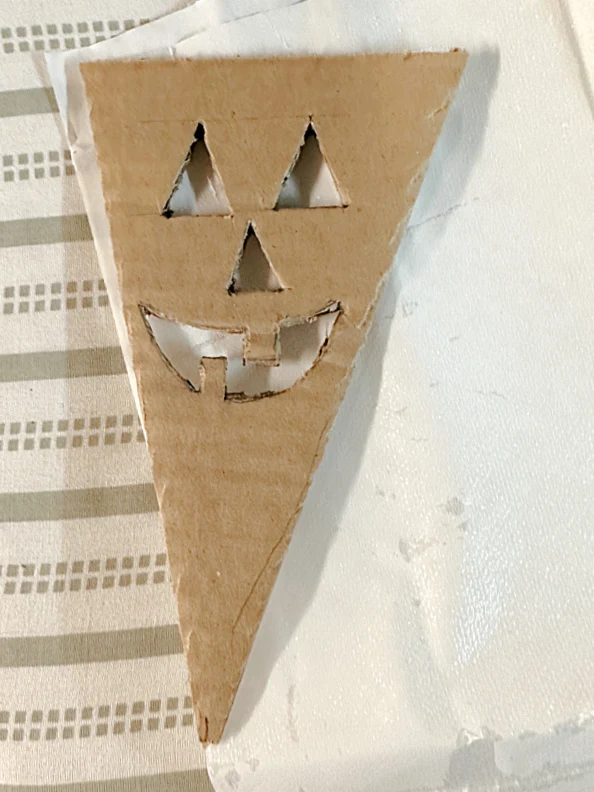
I cut out a piece of thick cardboard to use as my stencil throughout this project. The size and design of the stencil is up to you.
I drew a jack-o-lantern face on the stencil and used a box cutter (carefully) to cut out the face. Now at this point you may want to have your faces all different, it is up to you.
I used the stencil to cut out 6 pennants from the painted fabric. Be sure to put the top of the triangle on the fold so your fabric triangles will be doubled. On each pennant shape I traced a jack-o-lantern face through the stencil.
Once all the pennants were cut out, I brought them over to the ironing board to do the rest.
I cut a 6' length of macrame twine for my banner and tied knots in each end. I'm going to use the twine as I iron my pennants together.
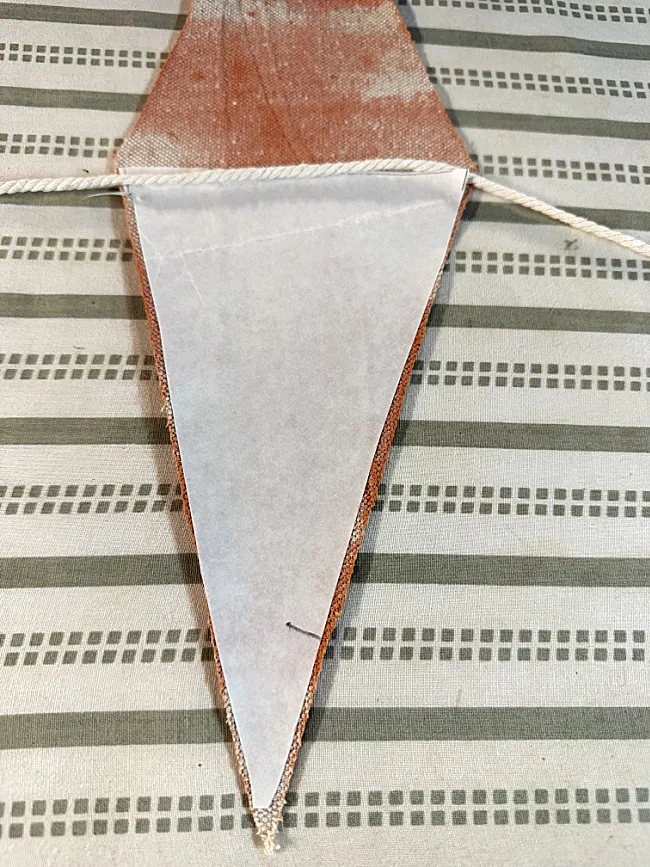
I used a product called Ultra Bond, which I used on a Fall pillow recently. This product is an iron on fusing that will adhere the front to the back of the pennant pieces. You could also use glue but I like the stiffness this product gave the pennants.
I used the triangular stencil once again to cut out 6 triangles from the Ultra Bond.
All you do is to open up the pennant shape and iron the triangle of Ultra Bond onto the bottom piece with the sticky side down on your fabric. Your jack-o-lantern face should be on top.
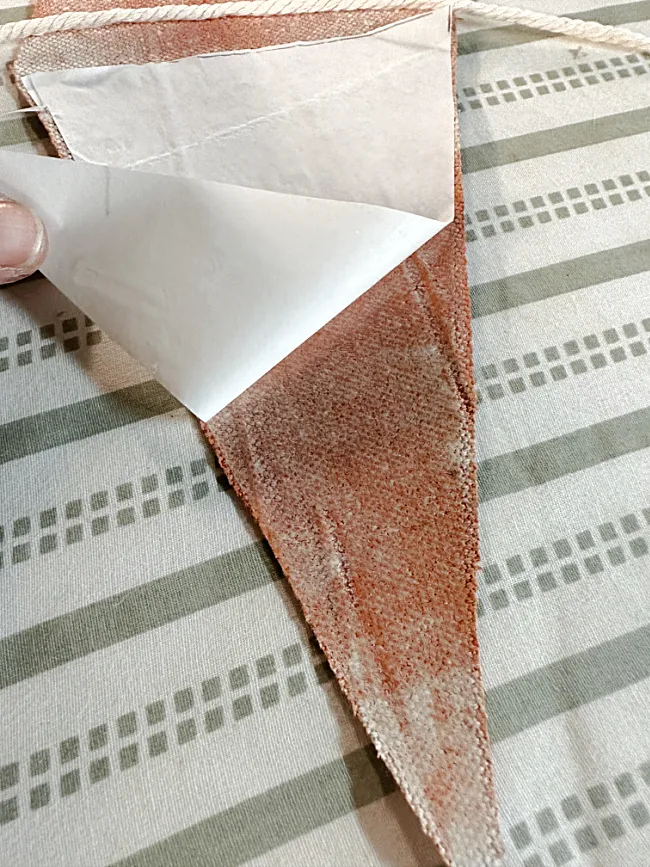
Once the paper has cooled a bit you can peel off the paper from the Ultra Bond. You will have a sticky surface left.
Fold the top of your jack-o-lantern pennant down, over the twine, to close the pennant. Then using a piece of parchment paper, iron over the top of the pennant.
That's it! If you are not too careful with the positioning of the folded pennants, don't worry. You can always trim your triangle shape in the end.
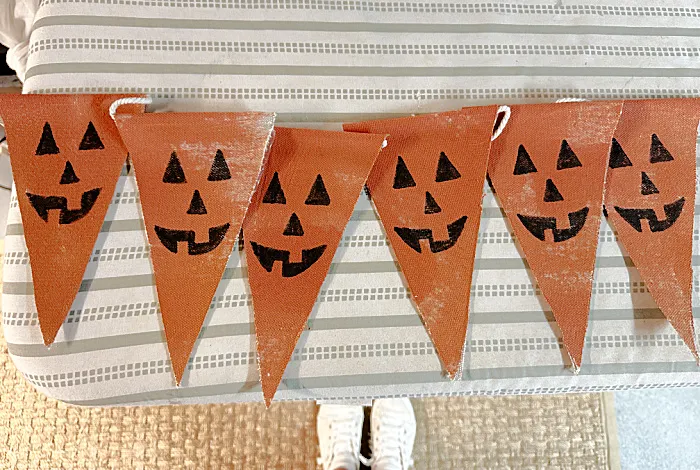
Hopefully you are still with me at this point because I did the same with all 6 pennants leaving a space of 2-3" between them.
Now it was time to "antique" the pennants. I used a regular black stamp pad and a soft foundation brush to brush the ink around the edges and across the top of each jack-o-lantern face to give it dimension and an antiqued vintage look.
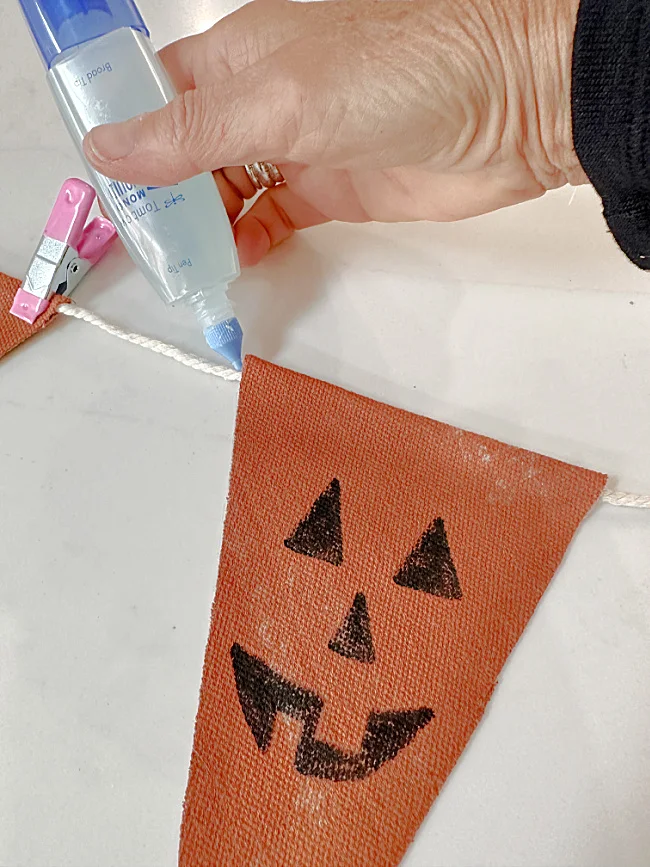
I used a little drop of glue in the corners of each pennant to keep them from moving down the twine.
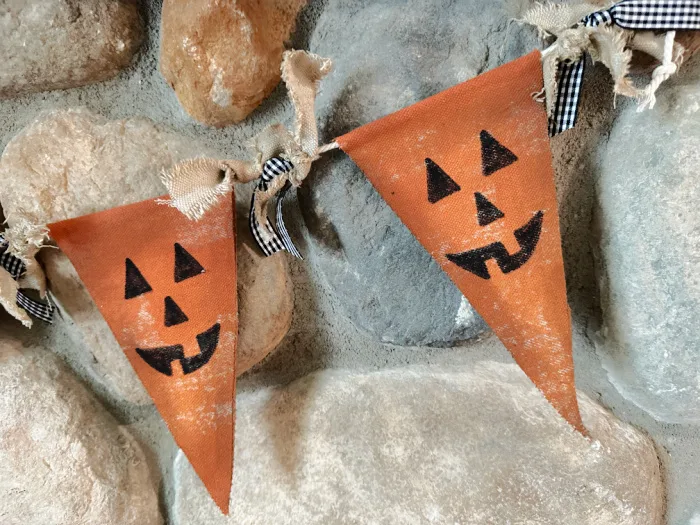
Lastly, I tied black and white ribbon and coffee stained strips of drop cloth fabric between the pennants to finish off the banner.
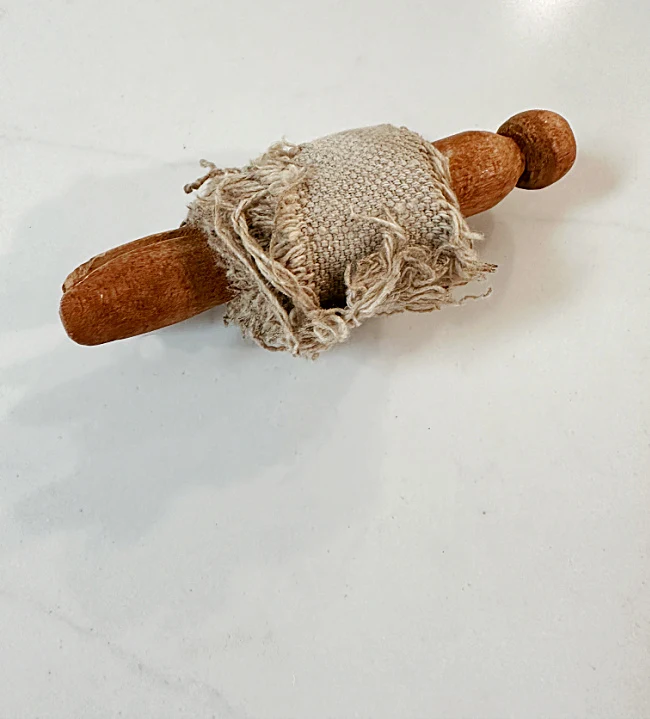
If you don't know how to coffee stain... all I did was to drop my torn strips of drop cloth fabric into about 2 cups of coffee mixed with about a tablespoon of instant coffee. I left the fabric in the mix only for a minute then wrung it out and hung it to dry.
I love the vintage look of this cute Halloween banner and it definitely something I will hang in my house year after year. The antiquing technique makes the project!!
Please pin for later --->>
I hope you enjoyed this project and before you go please sign up for the Homeroad emails so my next DIY tutorial will go straight to you!

