Vintage Scrap Book Pumpkins
Good morning! I say morning no matter what time it is when you're reading this because I'm an early bird. I get most of my projects done and posts written before 8 am. Thanks to my puppy I'm an early riser!
I always love the Fall, not only because it is cooler outside, but because I love to make repurposed pumpkin decorations.
Today I'm making probably one of my favorite pumpkins! I'm combining my love of scrapbooking with my love of making creative pumpkins.
Take a look...
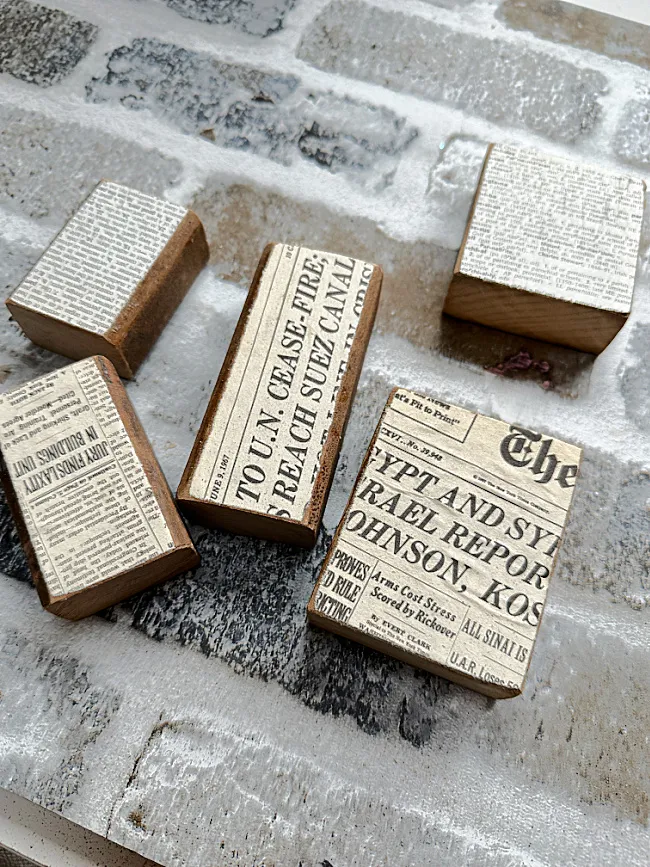
I began with these scraps of antique wood I found on the side of the road. Actually it was a "thing" I found on the side of the road that I made into a garden basket. This wood was the leftovers.
As you're reading through this post please pay attention to the bold blue links that will take you to more information and the products I used for this project. Also the READ MORE sections will take you to related Homeroad projects.
I cut the leftover wood pieces into smaller squares and rectangles for this project. One of the thinner pieces had a very interesting edge, it was almost octagon shaped.
I sanded the edges and got to work.
I am a big fan of scrapbooking. I've just recently began making smash books and junk journals. Stay tuned for that post!
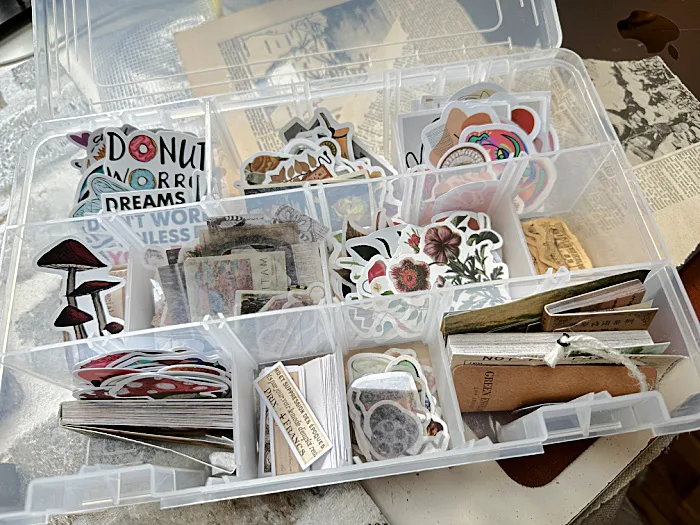
I have a ton of washi tape and washi stickers that I use for my books so today I got the idea to use them on pumpkins!
I get most of my stickers and washi tape from Amazon, they have great prices!
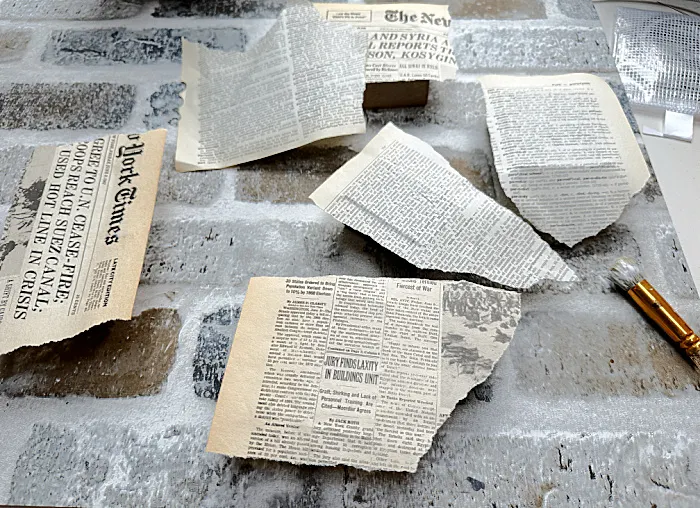
I first decoupaged old book pages and newsprint onto the front of the blocks with Mod Podge.
When the Mod Podge was dry I sanded the edges with a sanding block to remove the excess paper.
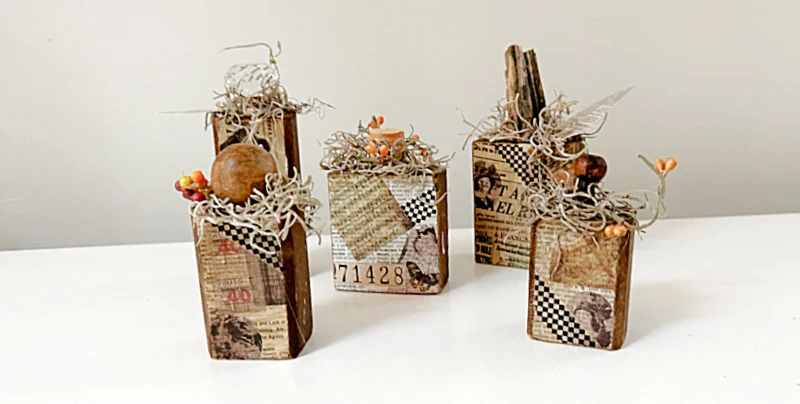
And then I did the same to all five blocks.
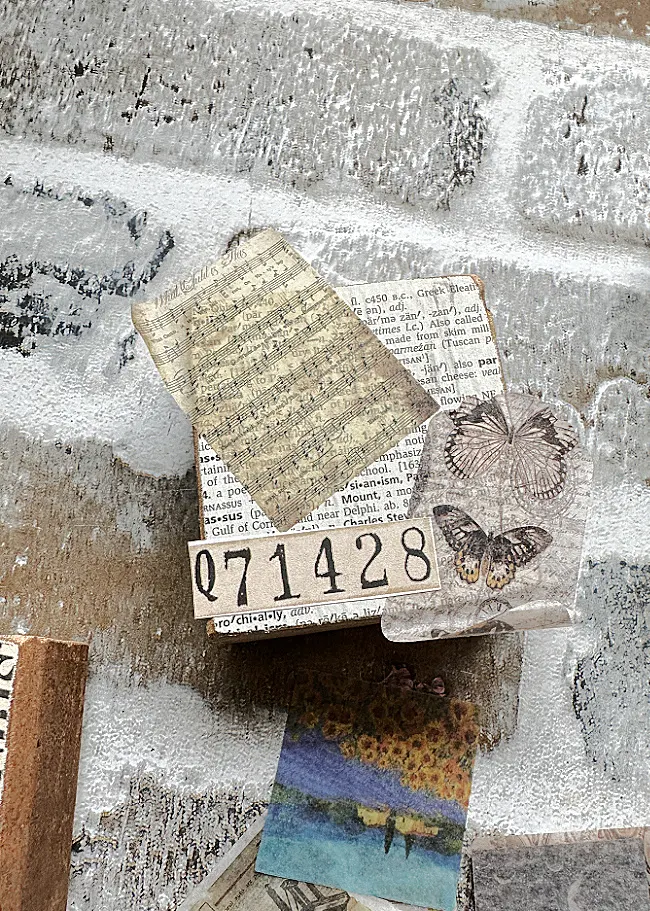
Then I started covering the printed paper with all kinds of ephemera stickers.
When I had it the way I wanted the stickers, I sanded the edges of the blocks again so the part of the sticker I wasn't using sanded off.
I tried to pick stickers that reminded me of long ago because the wood scraps I'm using are actually antiques.
This was the fun part for me, just like filling my junk journals with stickers.
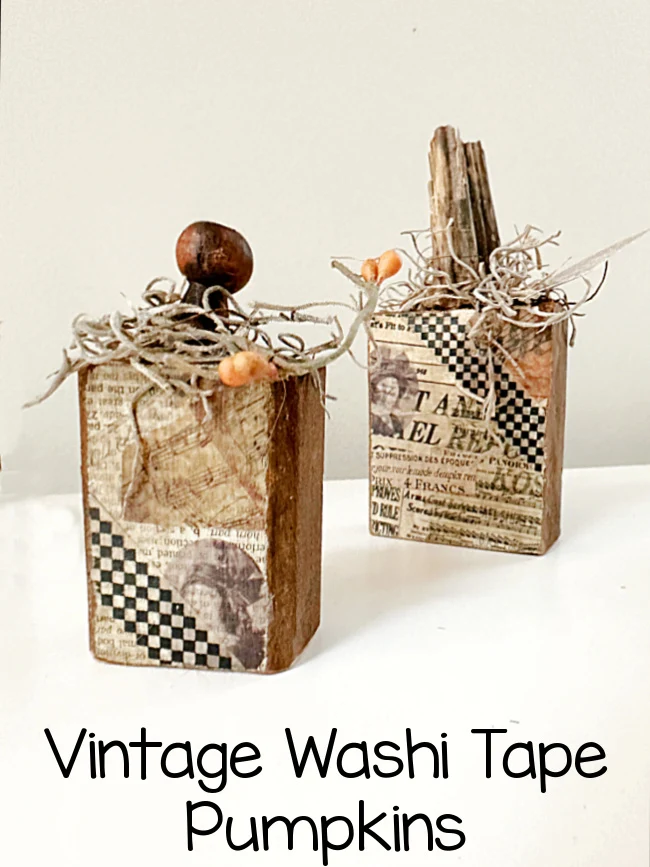
I added matching black and white washi tape to each of the blocks to make them look like a matched set of pumpkins.

And then I sanded the edges of the washi tape and coated the front of the blocks with Mod Podge to seal the edges.

Next, I gathered anything I thought might make a good pumpkin stem and glued them to the top of each block with wood glue.
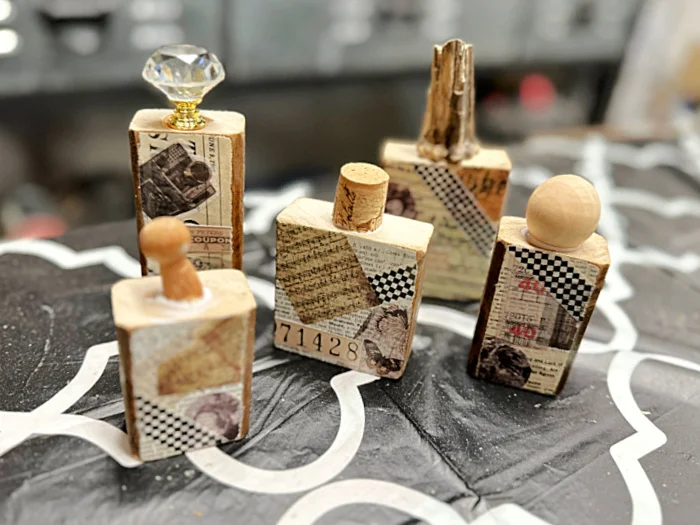
One of them is actually a real stem from the pumpkin patch!
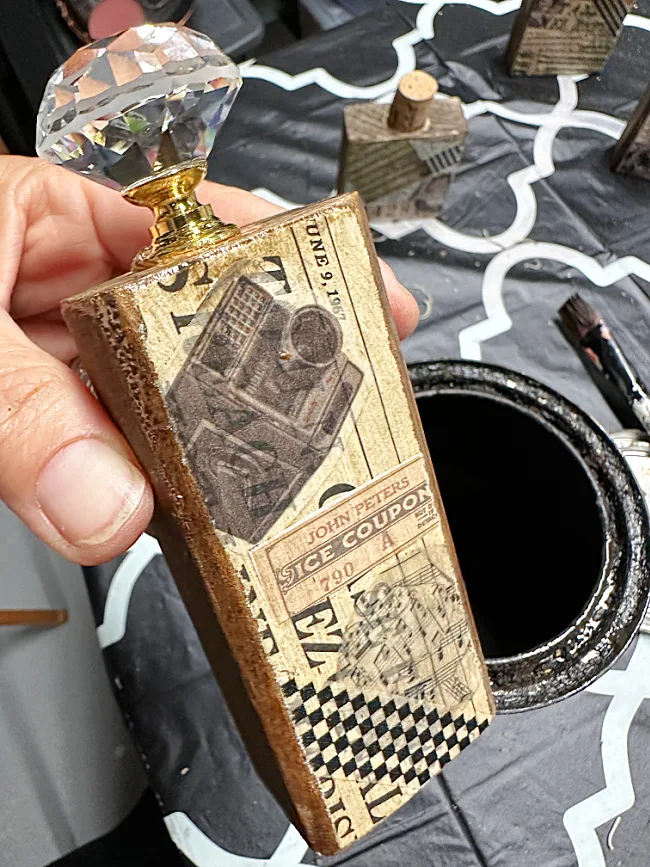
The glaze made the cut edge match the block and gave the front of the pumpkins an antiqued look.
For the leaves, I folded a few book page papers I had and cut out a leaf shape for a couple of the pumpkins.

Lastly, it was time to add a little Spanish moss, pip berries, and book page leaves to the top of the pumpkins with hot glue.
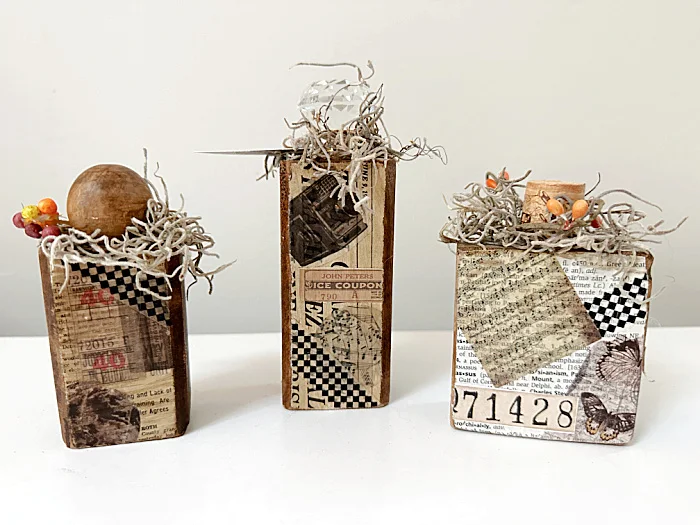

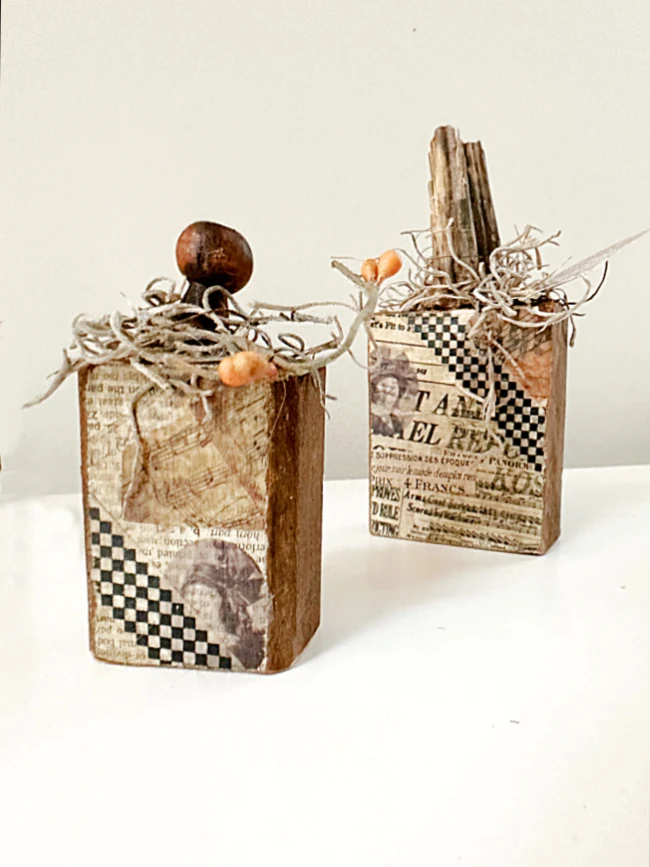
That's it!
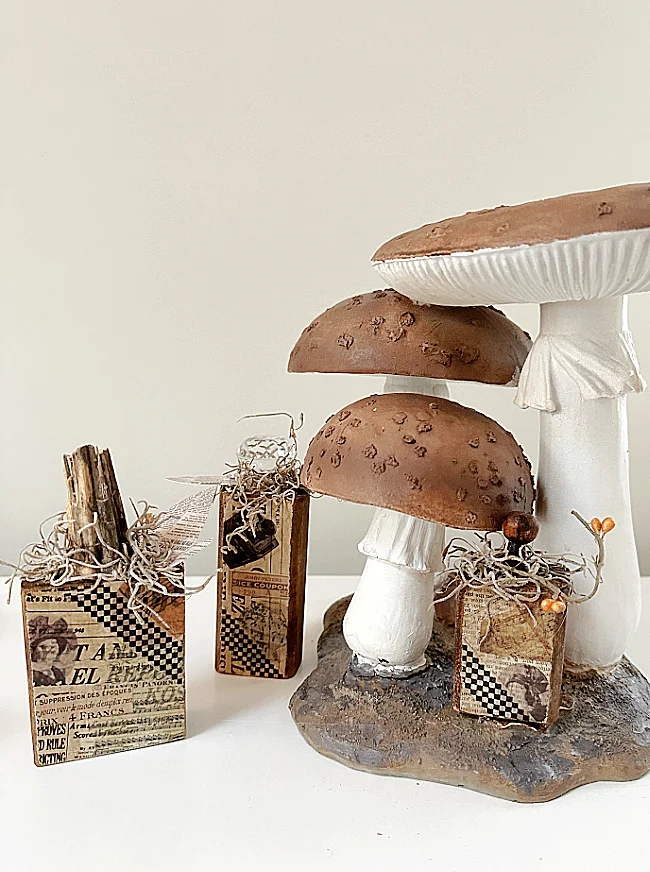
These are probably my favorite pumpkins to date!

READ MORE: REPURPOSED PUMPKIN IDEAS

That awesome mushroom sculpture came from Home Goods! I just love it! Here is a link to a similar one as it is sold out right now.

Please pin for later -->>

Thanks so much for visiting and before you go please take a minute to sign up for the Homeroad emails so my next DIY tutorial will go straight to your inbox!
