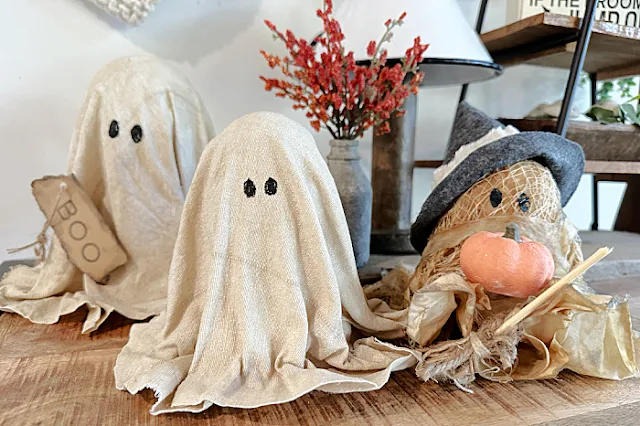
Coffee Stained Gauze Ghost Witch
How much do I love to make these ghosts!?
Recently, and you've probably seen the stiffened ghosts I made with drop cloth fabric.
Today I'm creating another stiffened ghost with a whole new look!
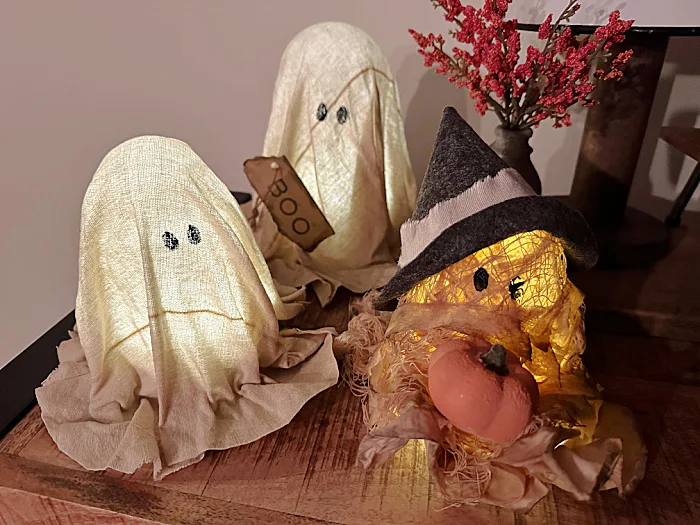
This easy project looks great and if you light them up they look amazing!
Take a look...
After having so much fun making the first drop cloth ghosts I made last week I decided to do it again!
As you're reading through this post please pay attention to the bold blue links that will take you to more information and the products I used for this project. Also the READ MORE sections will take you to related Homeroad projects.
This time I am using gauze. I had an idea to make him look like a mummy, a little bit " Ghost of Christmas yet to come" look. I even thought I'd add some chains but decided to go in a different direction in the end.
I began the same way as the other ghosts, with Mod Podge Fabric Stiffener. This time however, I'm adding a little instant coffee (any kind will do) to the Mod Podge to create an antiqued look on the ghost.
I poured the Mod Podge Fabric Stiffener into a bowl and added about a teaspoon of instant coffee. You can also use white school glue.
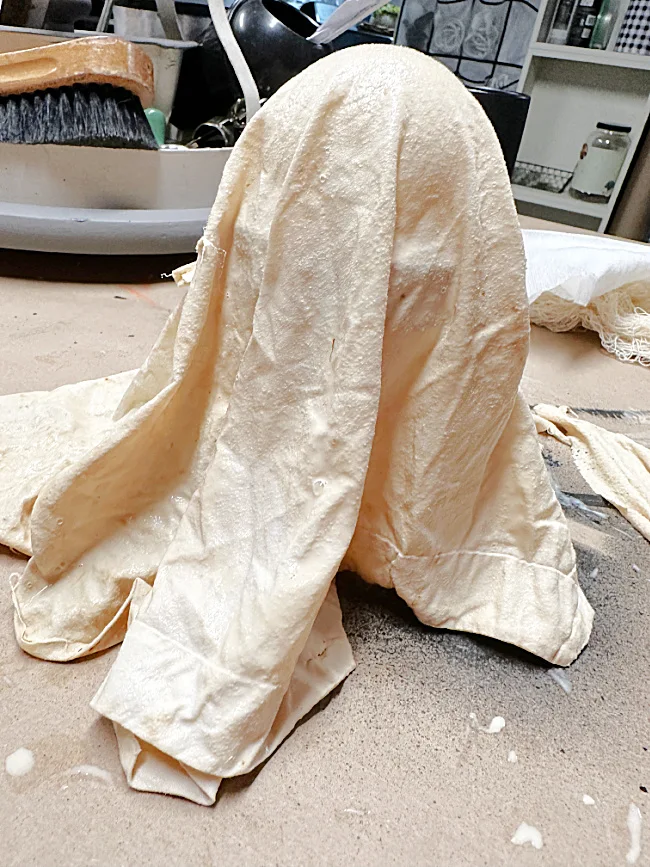
I mixed it around and added my fabric. I started with a light cotton fabric for the first layer.
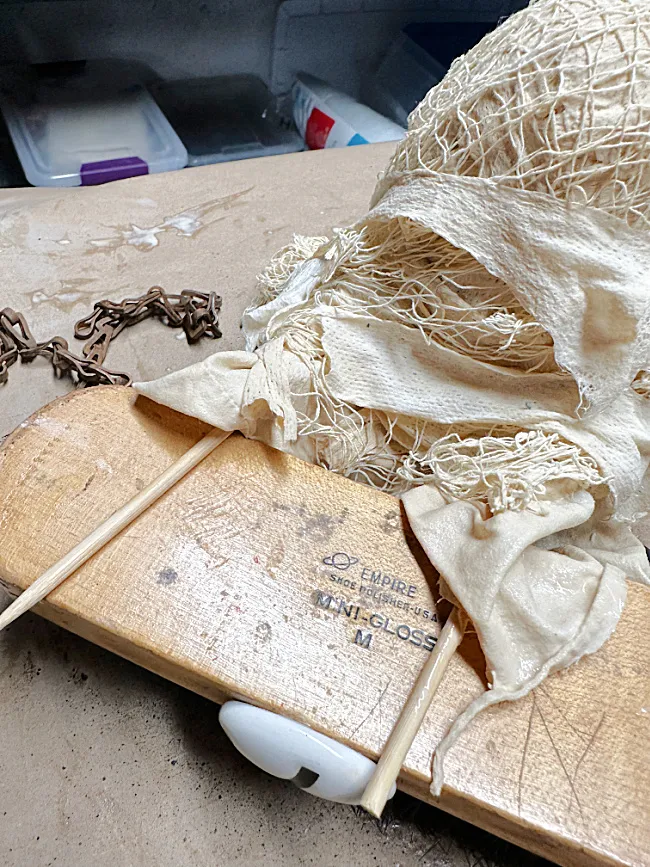
I squeezed out the liquid and draped the stained wet fabric over a lightbulb in a jar. I would put a little wax on the top of the lightbulb so the fabric doesn't stick. Ask me how I know! 😝
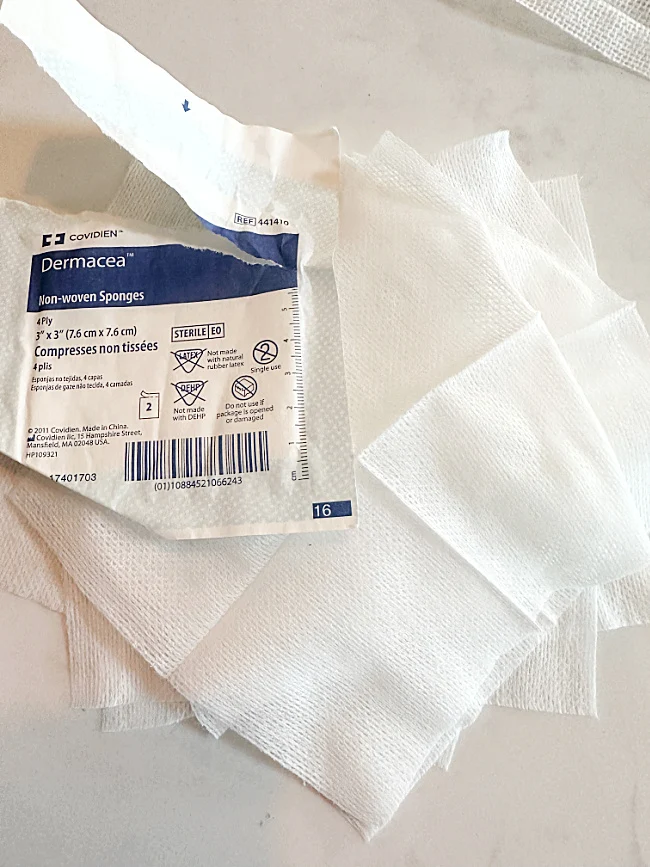
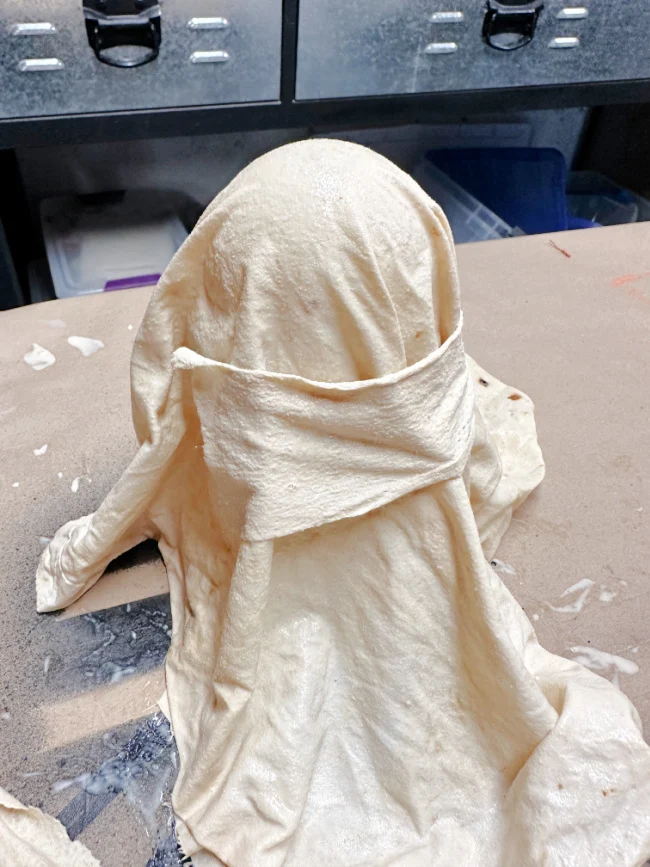
I grabbed some gauze from the first aid kit and dipped that into the coffee stain mixture then tore the gauze into strips.
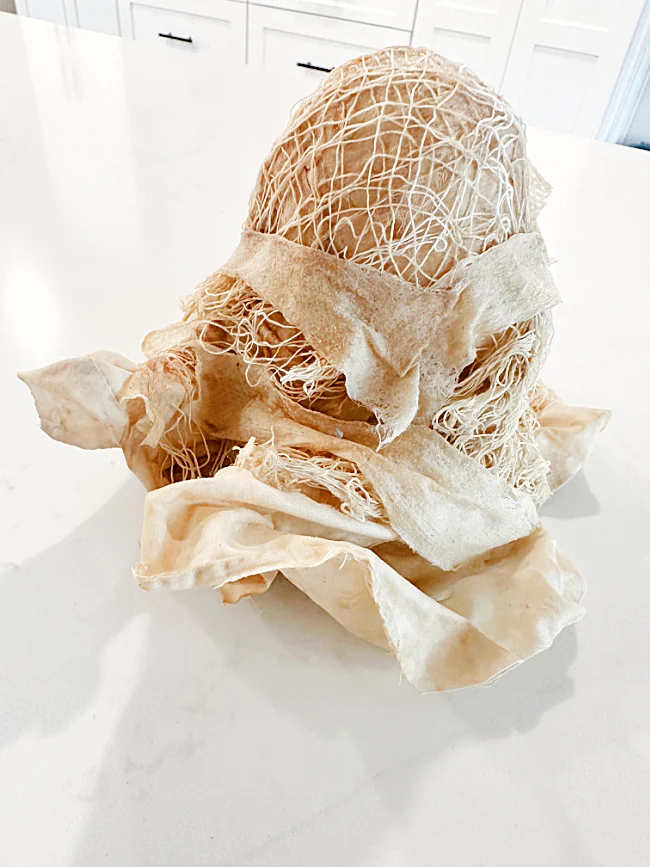
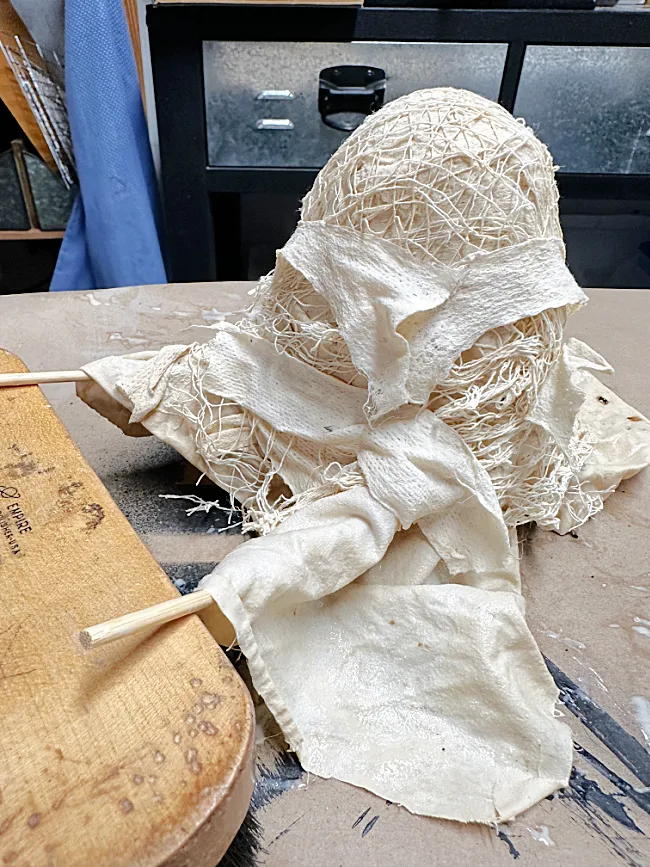
Lastly, I used some gauzy fabric I bought at Dollar Tree to give the ghost the last layer.
Next, using wooden skewers, I lifted up the fabric in two places to represent the arms of the ghost.
I held up the sticks so they would dry.
I left the ghost to dry overnight and in the morning I had a gorgeous stained gauzy ghost. He was actually crispy!
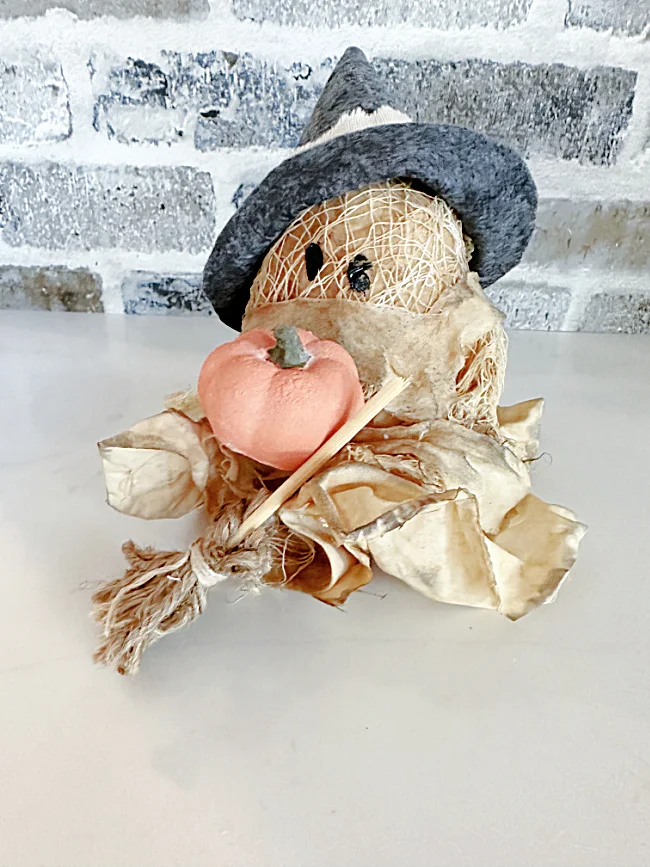
It was ready to add eyes with black paint and a small brush.
I used a soft brush and a black stamp pad to give more definition to the ends of the ghost.
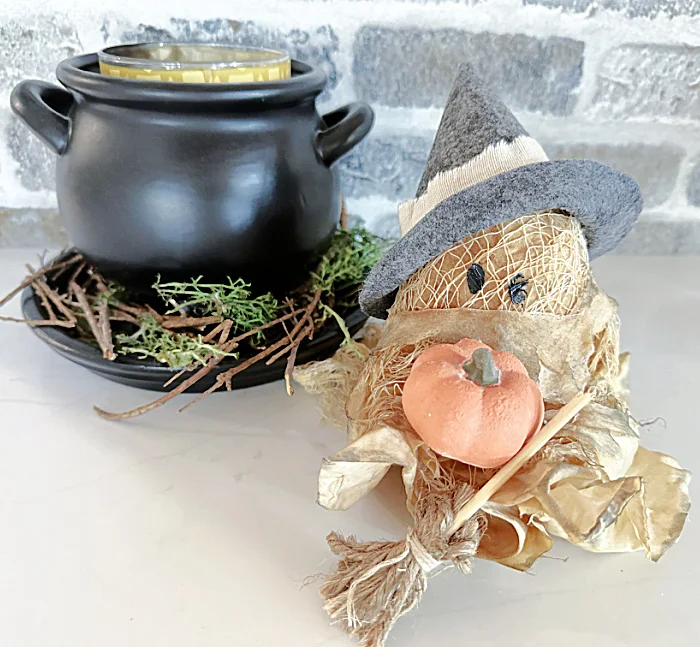
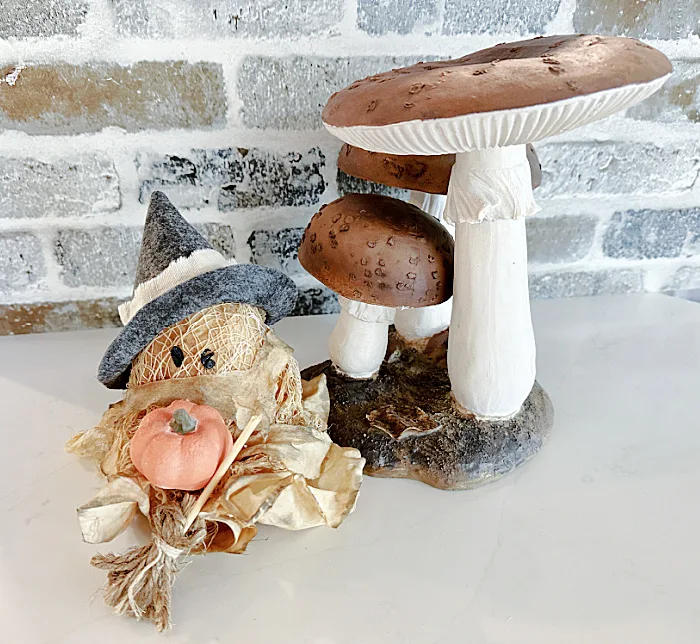
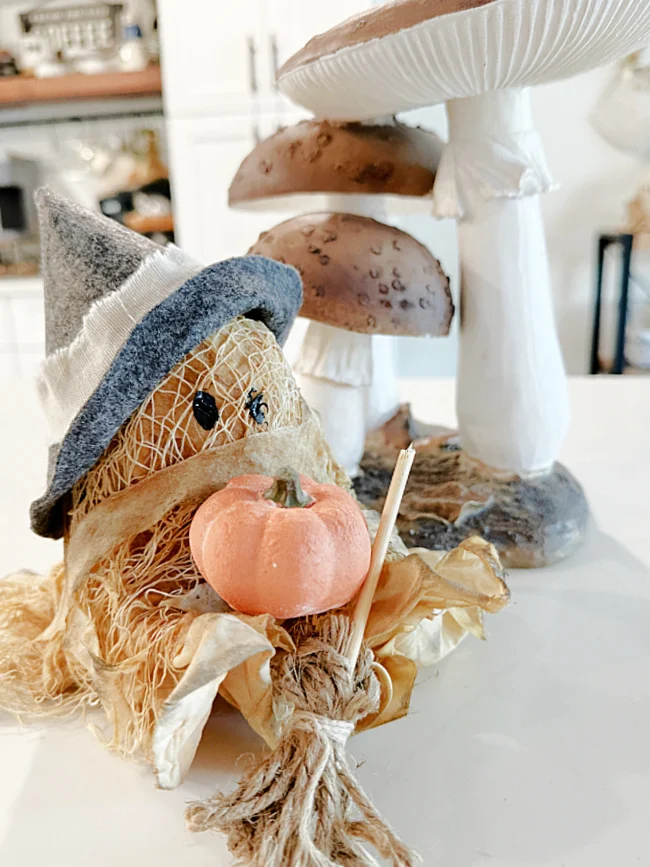
Lastly, I gave the ghost a tiny terra cotta pumpkin and a felt witches hat and broom. I made the witches hat from a half circle of felt and wrapped it into a cone shape. Just bend up the edges and add a ribbon. The broom is a wooden skewer with a few jute pieces tied around the bottom.
I think he looks adorable and is another variation of my stiffened ghost collection. The cauldron idea is from the Liz Marie Blog! Isn't it adorable!?
Please pin for later --->>
You can add a puck light under the ghost like I did with the others though the more fabric layers you have, the dimmer the light will be.
I think they are just so cute!
I hope you liked my project today and will sign up for the Homeroad emails so my next DIY tutorial will go straight to you!


