Primitive Wood Slice Pumpkin Patch
Today marks the 5th day of rain and I'm about to loose my mind! There is just so much cleaning and organizing one can do on a rainy day.
I decided I'd go down to the workshop and start a project. I had nothing in mind and no ideas...
Until I got there!
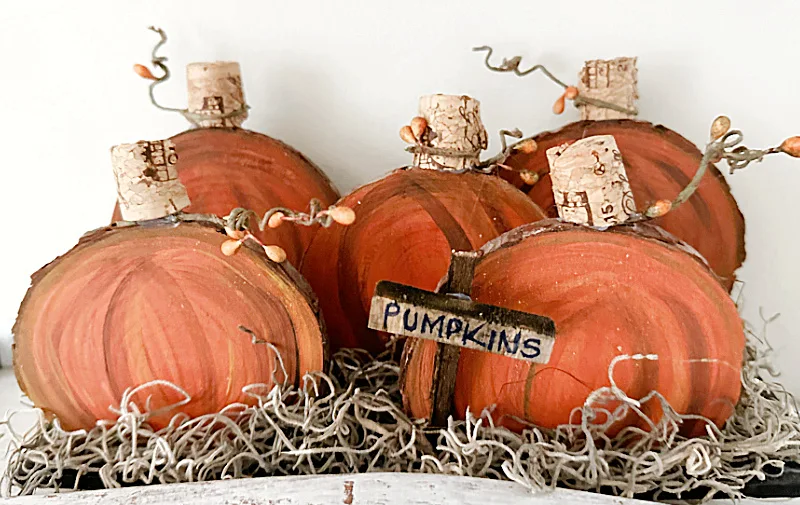
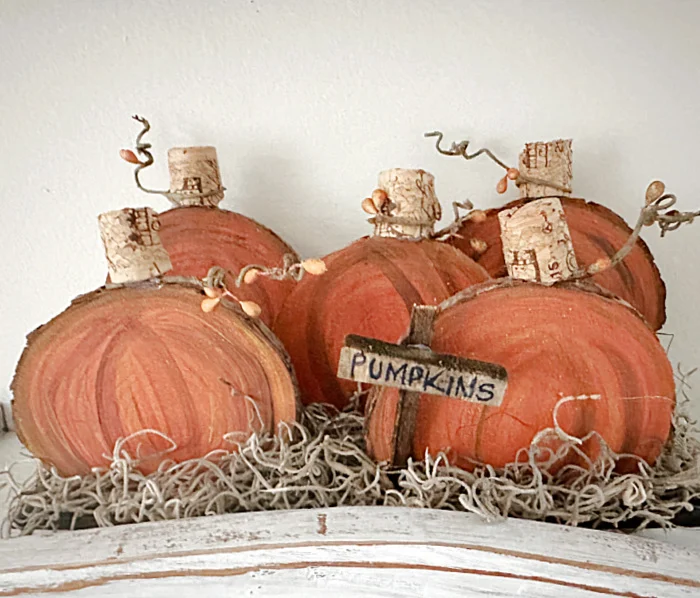
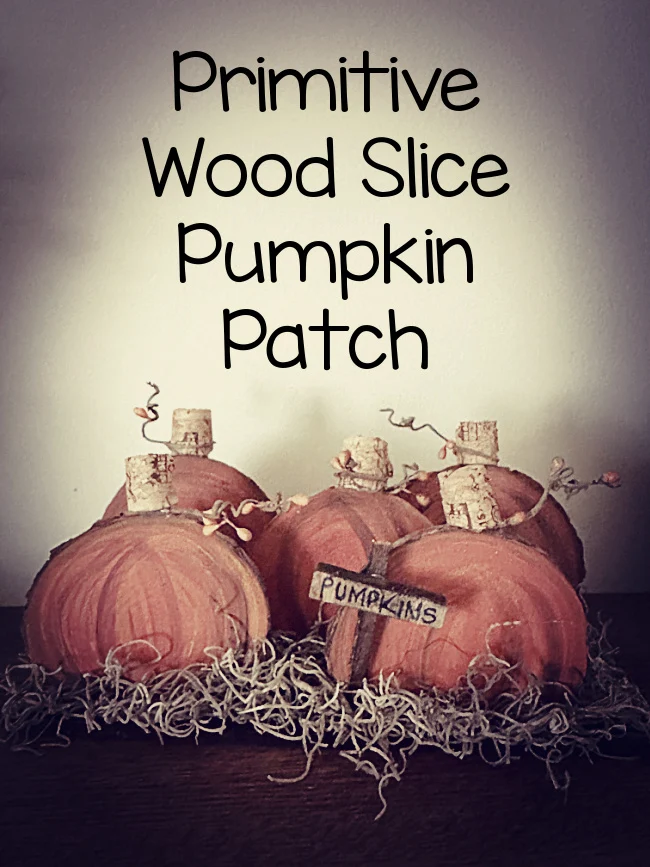
I'm usually not a primitive decor kinda gal but I do admit to liking some of it. Today, I'm creating a primitive pumpkin slice pumpkin patch and it came out pretty darn cute!
Take a look...
When I got to the workshop I looked around for some inspiration and on the shelf I found a box of wood slices I purchased at a yard sale years ago. It's actually amazing I never used them before but today was the day!
As you're reading through this post please pay attention to the bold blue links that will take you to more information and the products I used for this project. Also the READ MORE sections will take you to related Homeroad projects.
I'm going to make some wood slice pumpkins! They are all over Pinterest, people have made them in all different ways but I've never seen this way before.
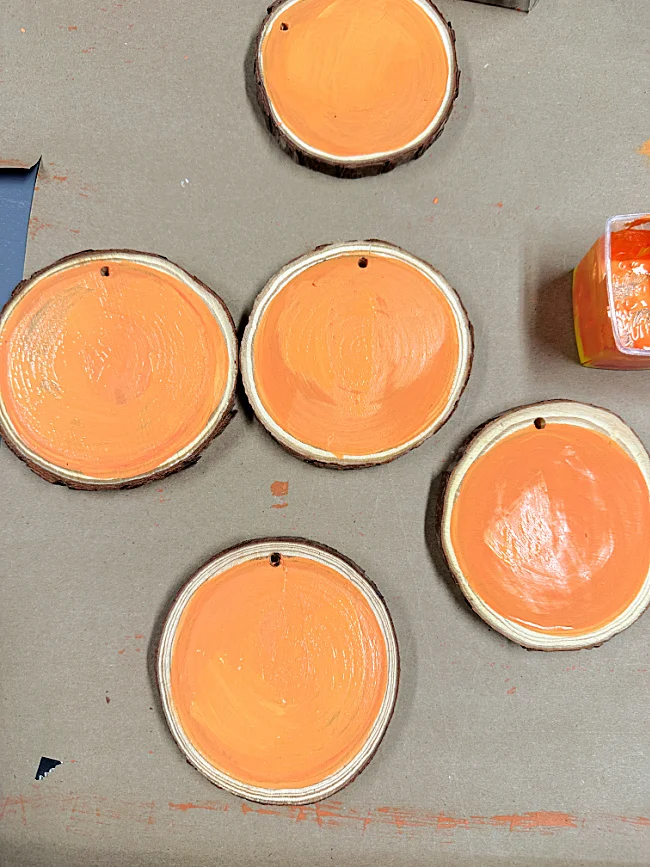
I began by grabbing some orange craft paint but as luck would have it, I was out of orange. My retired preschool teacher took over and I mixed yellow and red to get a pretty shade of orange that would be perfect for my pumpkins.
I gave the wood slices the first coat, you can see that they have chalkboard on one side so they will need a few coats. I used a heat gun to dry them quickly in between coats.
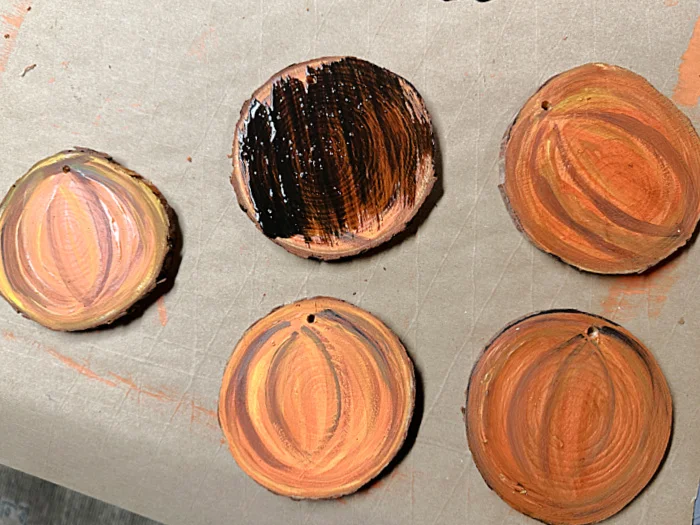
When they were orange enough I began getting creative. You don't need to be a great painter to do this part, I obviously am not.
I gave the pumpkins stripes of brown and yellow to create the look of ribs and highlights on my pumpkins. I'm also a little messy!
Like I said, they don't have to be perfect!
When the second colors dried I used an antiquing gel to paint on and rub off with a soft rag. This toned down my paint job and gave it a vintage look.
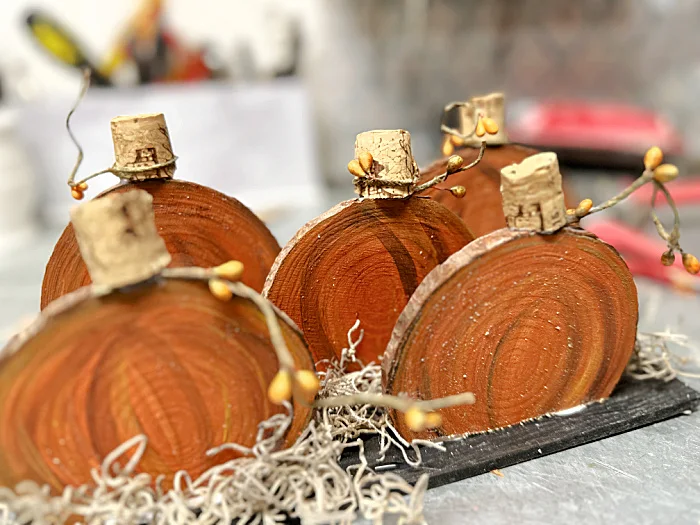
Next, I used my scroll saw to cut off a little bit of the bottom on each of the pumpkins. I made a big cut on some and a small cut on others. I was giving the pumpkins a base to stand on. I cut off the end that had the little hole that was supposed to be for hanging the wood slices.
I looked around for a board to plant my pumpkins on and found a good one that was already painted black. I used hot glue and wood glue together to stick the pumpkins onto the board.
I probably should have done this part first but I cut a cork in half and then in half again the other way to make stems for my pumpkins. I also had an old pip berry wreath that I cut off pieces to use as tendrils.
I'm kinda just creating as I go along.
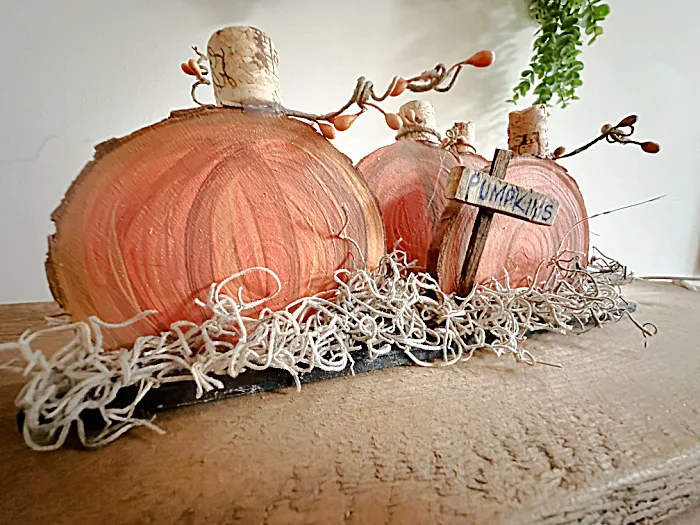
Now it was time to add a little patch to my pumpkins. I glued Spanish moss around and between each pumpkin. Then I made a cute little pumpkin sign and stuck it in my pumpkin patch.
It came out pretty cute for an impromptu project and it gave me something to do on this the 5th day of rain in a row!
Please pin for later --->>>

