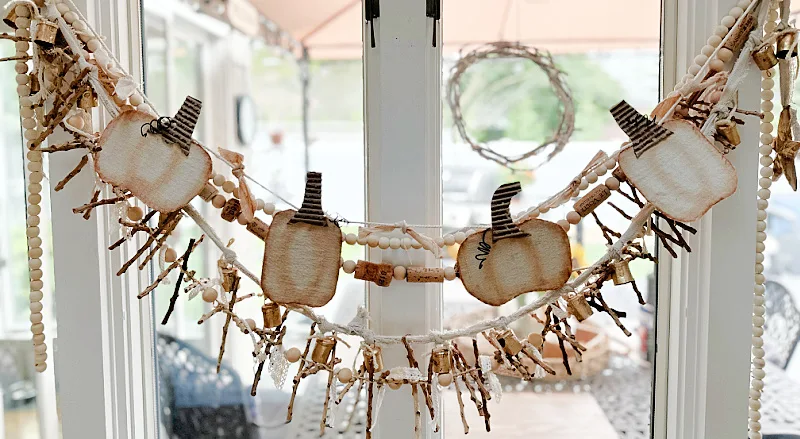
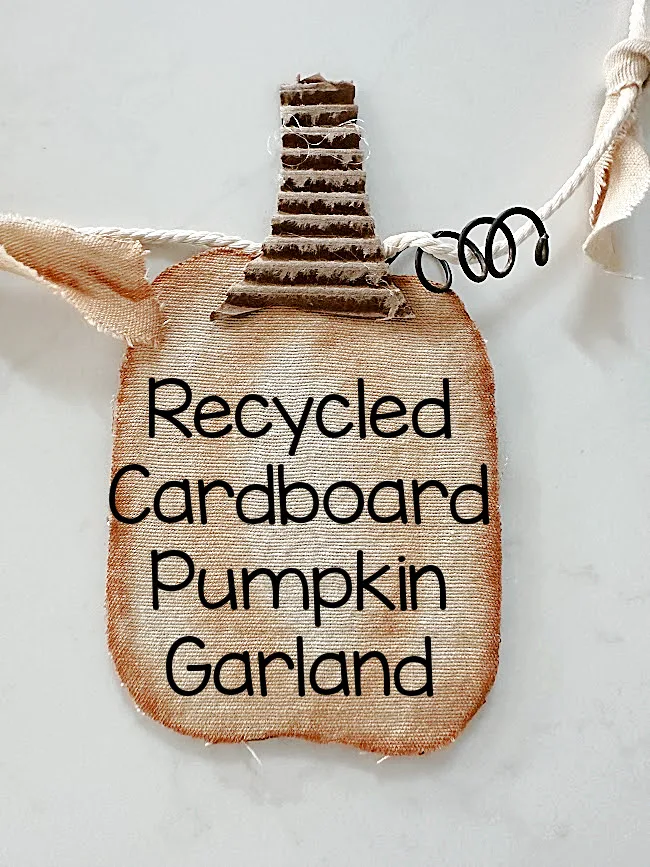
Recycled Cardboard Pumpkin Garland
Here's a fun project that uses a recycled Amazon box and an old curtain!
I love using garlands to decorate in my home and the simpler the better for me.
This is an easy project so go grab a cardboard box and follow along!
Take a look ...
I like to add new projects to my Fall decor each year and since most of my projects are inexpensive and easy to make, I can decorate to my hearts content!
As you're reading through this post please pay attention to the bold blue links that will take you to more information and the products I used for this project. Also the READ MORE sections will take you to related Homeroad projects.
How to make a cardboard pumpkin:
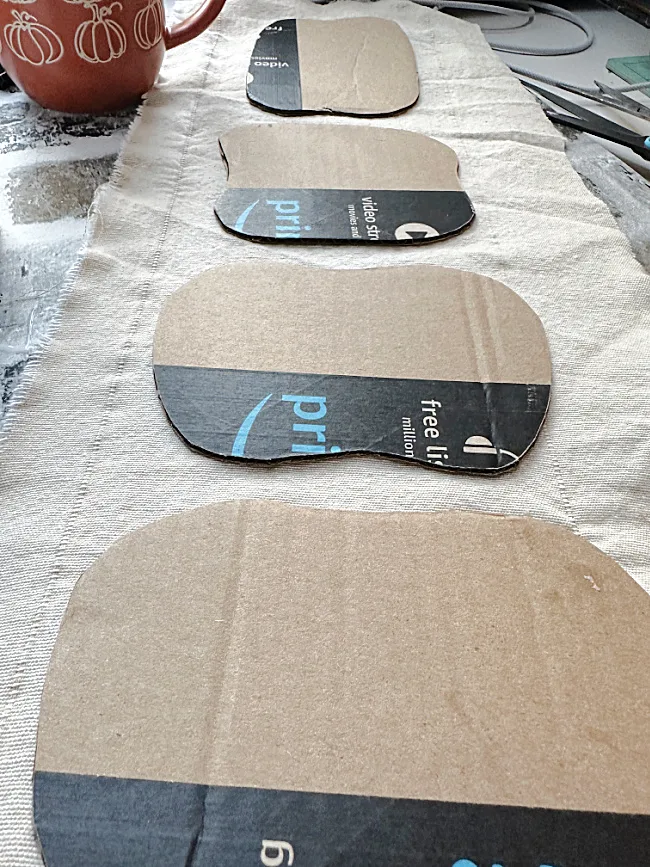
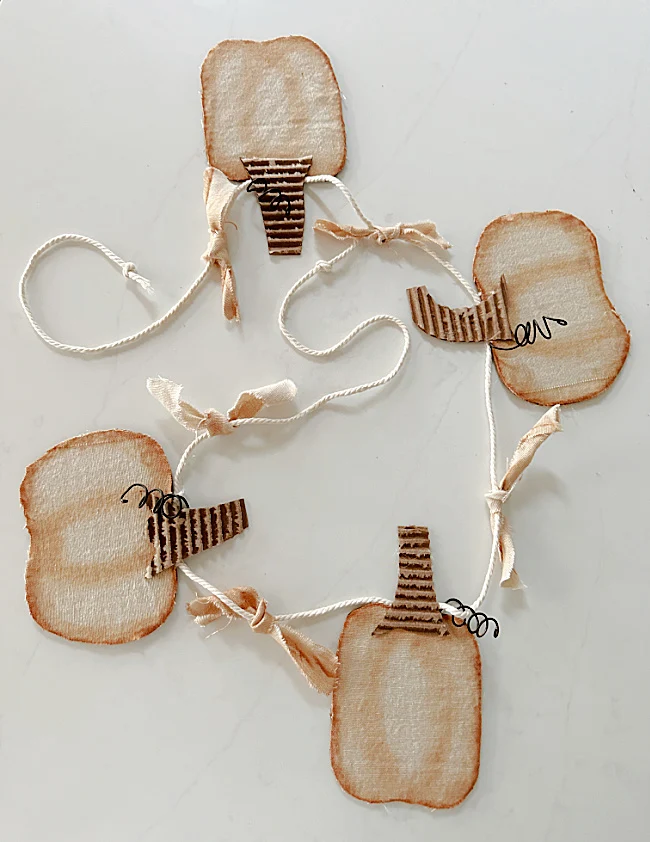
I began with an Amazon box. I cut it into strips then cut out cardboard pumpkin shapes. I cut 2 tall pumpkins and two short fat pumpkins.
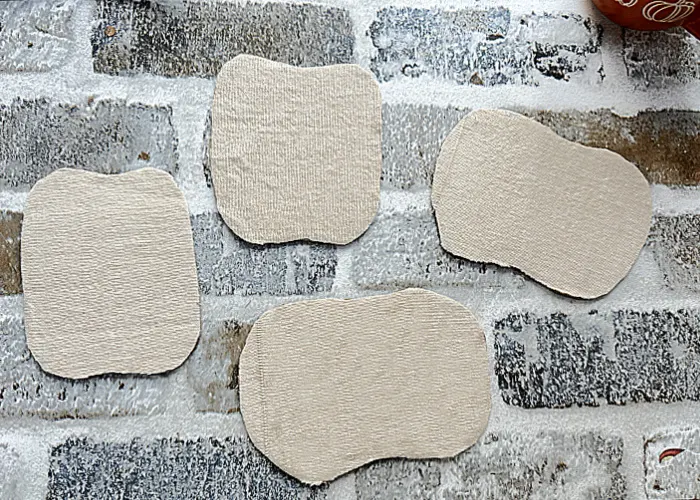
The next thing I needed was some fabric to cover the cardboard. I wanted something plain, though really you could use anything, and found an old curtain in my fabric box.
I cut a piece of the old, faded curtain that I've used for several DIY projects in the past.
I used white glue but you could also use Mod Podge for this part. I put a fine layer of glue onto the cardboard and glued on the fabric.
I did the same to all 4 pumpkins.
When the glue dried, I cut out the pumpkins. Don't worry about strings and fraying on the edges, that only adds to the beauty of these pumpkins.
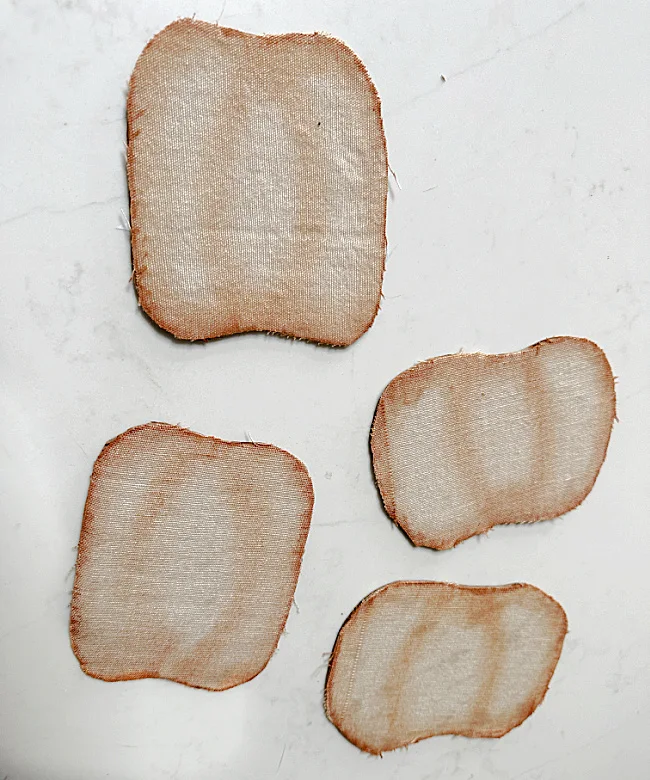
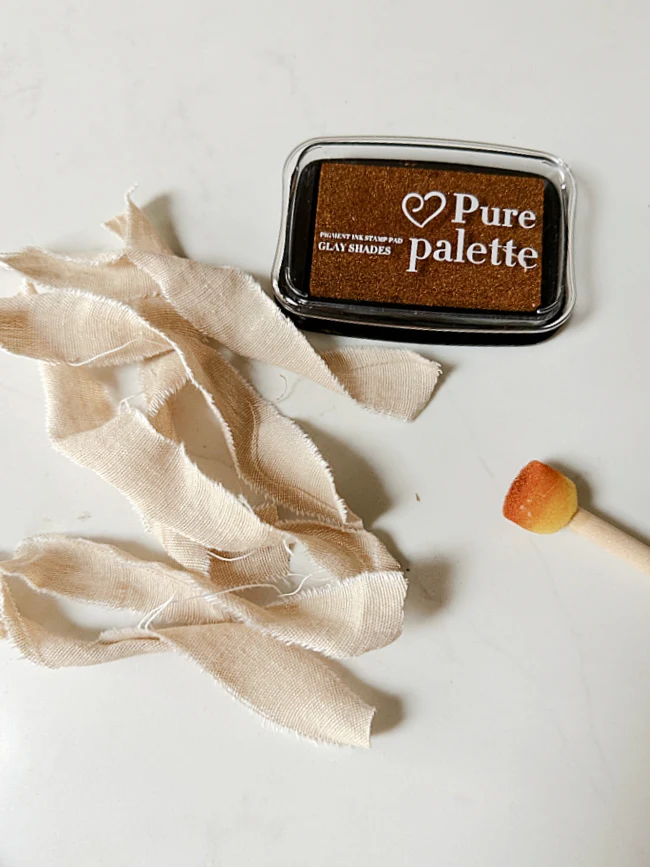
Next, using a brown stamp pad and a sponge, I went around the edges of each pumpkin giving them a vintage look.
I also used the pouncer sponge to lightly rub on some ribs for my pumpkin.
How to make corrugated pumpkin stems:
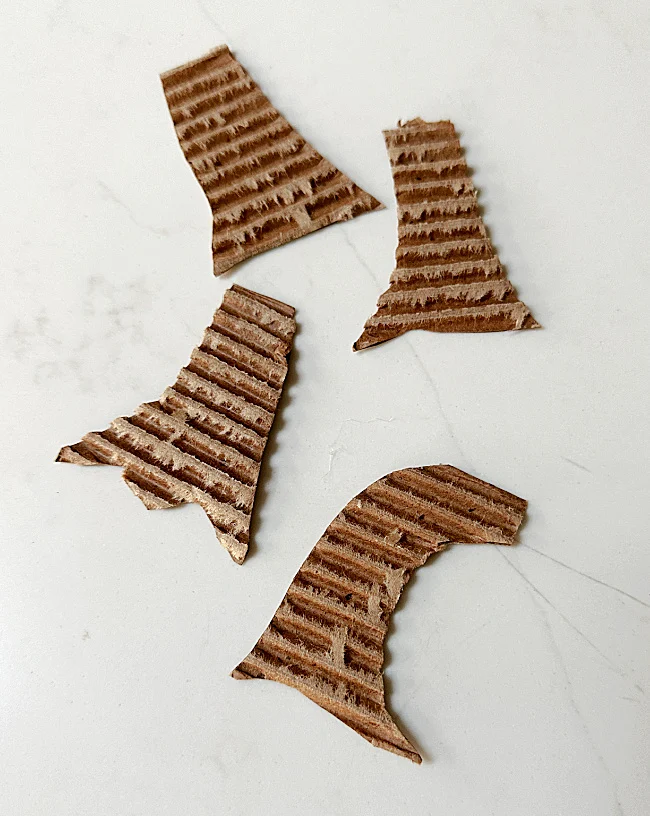
Next, I grabbed a few more pieces of the cardboard box and cut out little stems in 4 different designs.
I used a fork to pull off the top layer of the cardboard to reveal the corrugated part of the cardboard. Just stick the fork into the side of the cardboard and lift off the top layer, the fork fit perfectly in the grooves.
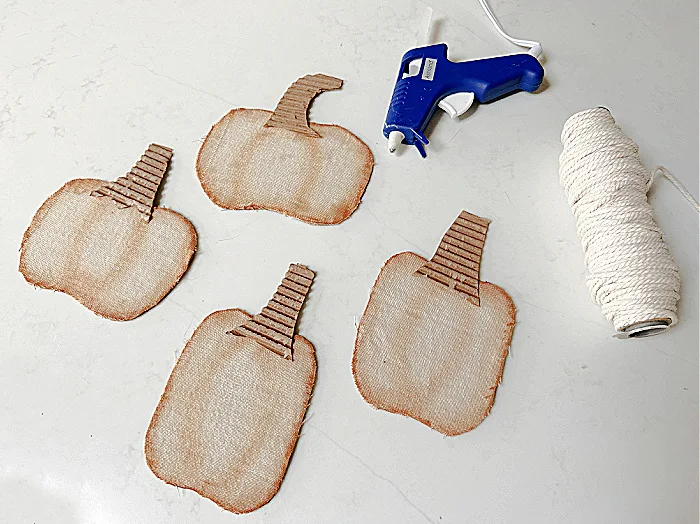
I used hot glue to attach the stems to the pumpkins.
Next, using rebar wire I made a few pumpkin tendrils by wrapping the wire around a dowel. This roll of rebar wire has lasted me years!
I hot glued the wire tendril under the back of the stem.
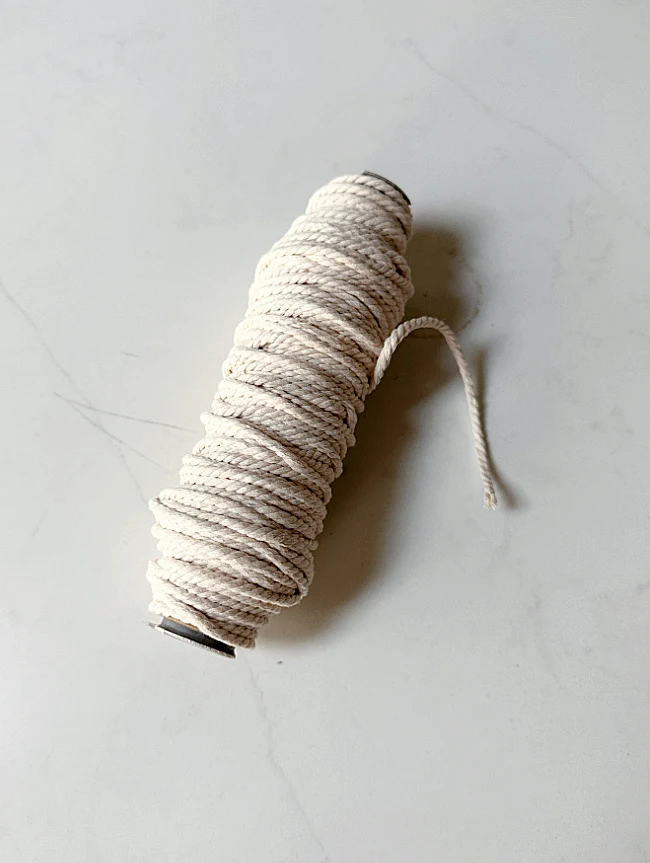
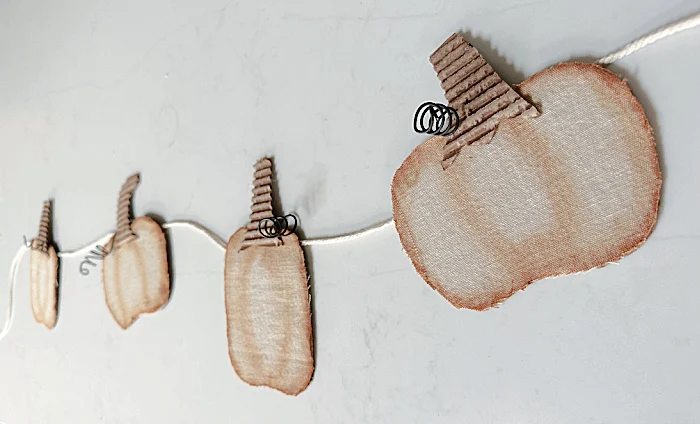
Then I cut a length of macrame twine, about 6' long and hot glued the pumpkins to the twine where the stem meets the back of the pumpkin. I've used this twine for so many projects and it has also lasted forever!
Lastly, using a brown stamp pad again, I stained enough torn fabric from the curtain to tie between each pumpkin.
I love the way these look! The vintage look is just what I was going for!
READ MORE: DIY GARLAND PROJECTS
I'm hanging my garland in my kitchen window along with several other natural garlands I have hanging there all year long.
Every season I replace the holiday garland with a new garland layered over the plain ones.
That's it! The best part is that it is made with all recycled and reclaimed materials so it cost almost nothing to decorate!
Please pin for later --->>
Thanks so much for visiting and before you go please take a minute to sign up for the Homeroad emails so my next DIY tutorial will go out straight to you!

