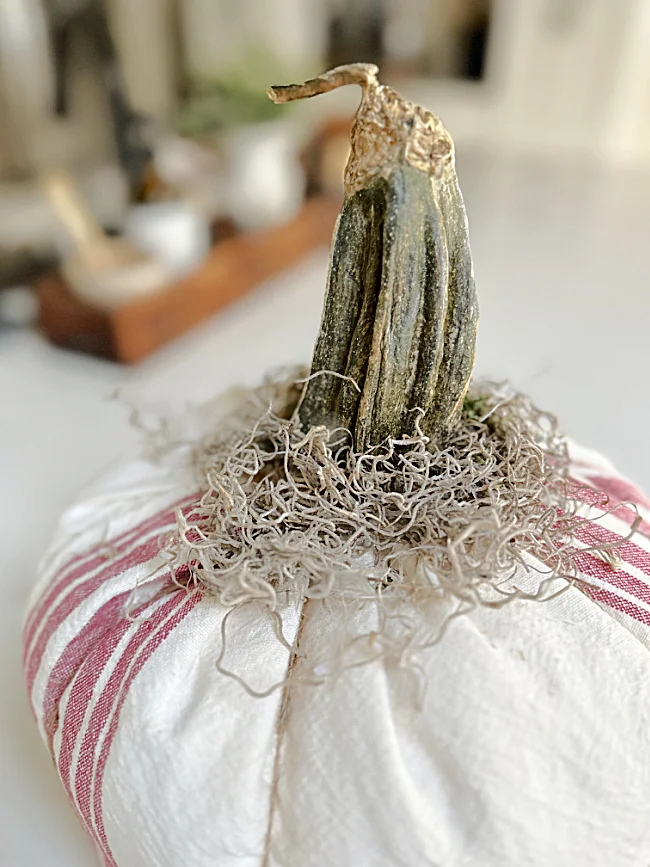
Recycled Fabric Pumpkin with Label
This was a fun project... I saw a stuffed pumpkin in the store with a pretty fabric label on the front of it. It was so cute and I figured not too hard to make.
The hardest part was deciding on the stem but I worked that out in the end.
I'm happy with how this adorable stuffed, recycled pumpkin came out and the label is bonus!
Take a look...

The pumpkin I saw in the store had a ticking stripe on it and a printed fabric label that was fringed.
How hard could that be to do? I've made a ton of stuffed pumpkins!
As you're reading through this post please pay attention to the bold blue links that will take you to more information and the products I used for this project. Also the READ MORE sections will take you to related Homeroad projects.

I've even printed on fabric before.
So here's what I came up with... I looked through my collection of fabric items that were too cute to give away and I came up with a Pottery Barn grain striped table runner.
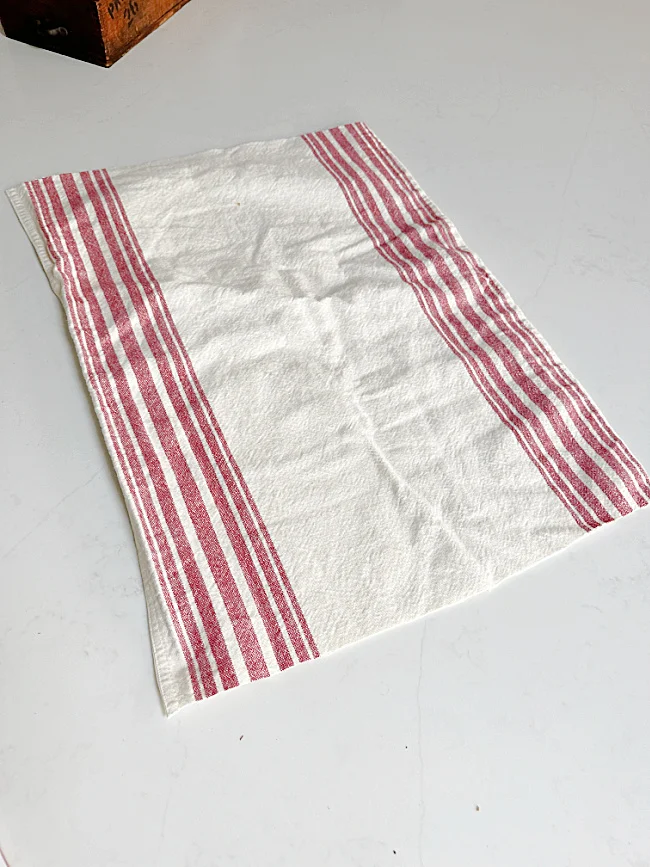
The runner had too many stains to save but if I was careful I could find just enough fabric from this 10' runner to make my pumpkin.
I cut a piece about 14"-16" long, my runner was lined so if the fabric you are using isn't you'll need twice as much fabric.
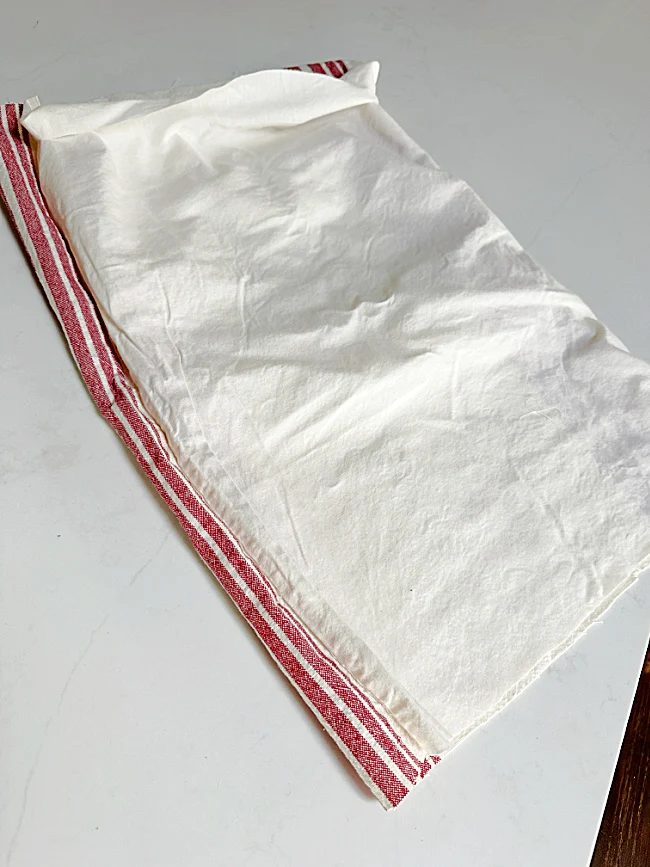
The first thing I did was to turn my runner inside out grab a rubber band. You can use twine, or a zip tie. Just make sure it is tight!

I gathered one end of the fabric and tied it together tightly, then turned the runner back to the right side.
I used a very squishy feather pillow to stuff my pumpkin but you could also use the inside of an old, washed pillow.
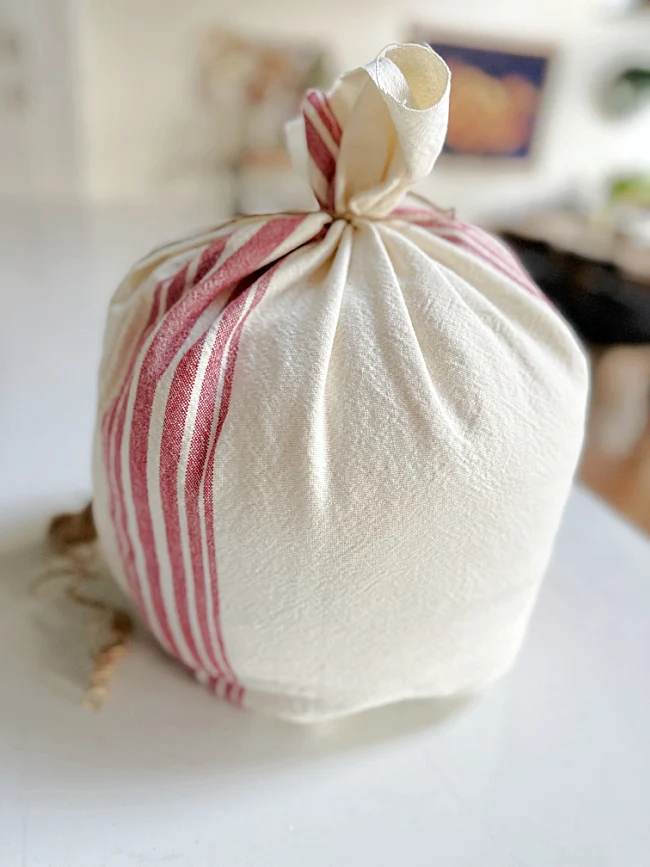
I pushed the feather pillow down inside my runner and then tied the top with jute.
I used more thin jute to wrap around the pumpkin in all directions to create the pumpkin ribs. Make sure you leave a space for your label in front.
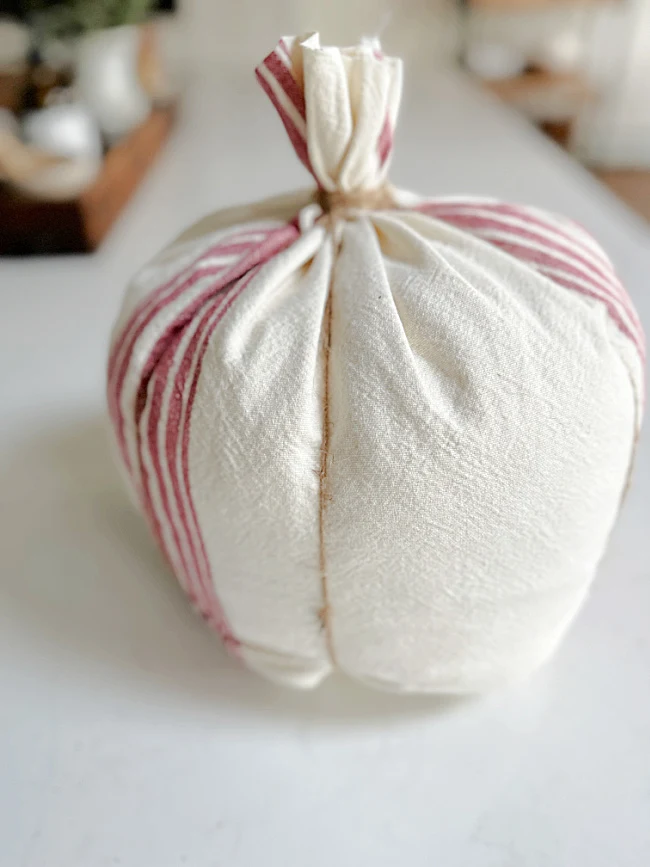
At the top of the pumpkin I gathered all the fabric and cut it straight across.

I used thick jute from the dollar store and hot glue to wrap all the way up the stem and around the center.
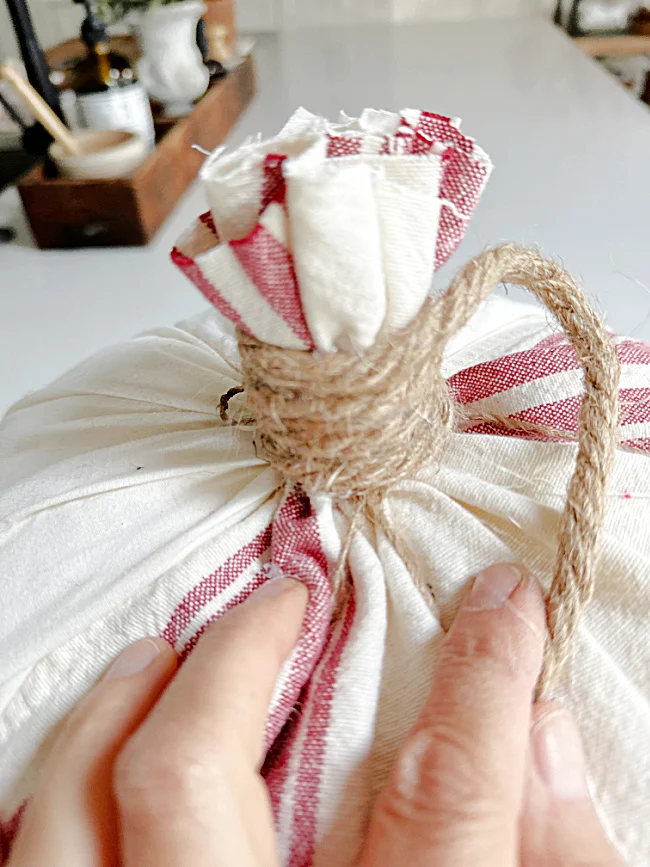
This is a great way to create an easy stem but I had another idea I wanted to try so I started over.
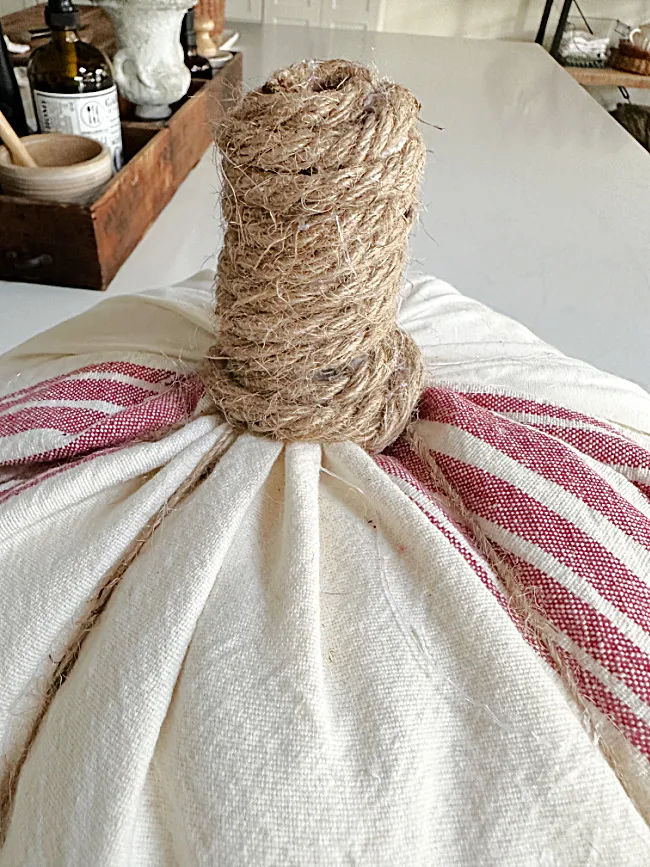
I cut the jute stem off near the bottom with a serrated knife.

Then using hot glue I glued a very large real pumpkin stem I had from a recent trip to the pumpkin patch to the top of the cut off stem.

I wrapped the stem with Spanish moss and I like this idea for a stem even better. Either one is a good idea!
Next, I printed out my label. I used a whole sheet of 8" x 10" full sheet sticker paper and cut a piece of drop cloth fabric to fit on it. Trim the edges so it is the exact same size as your sticker paper.
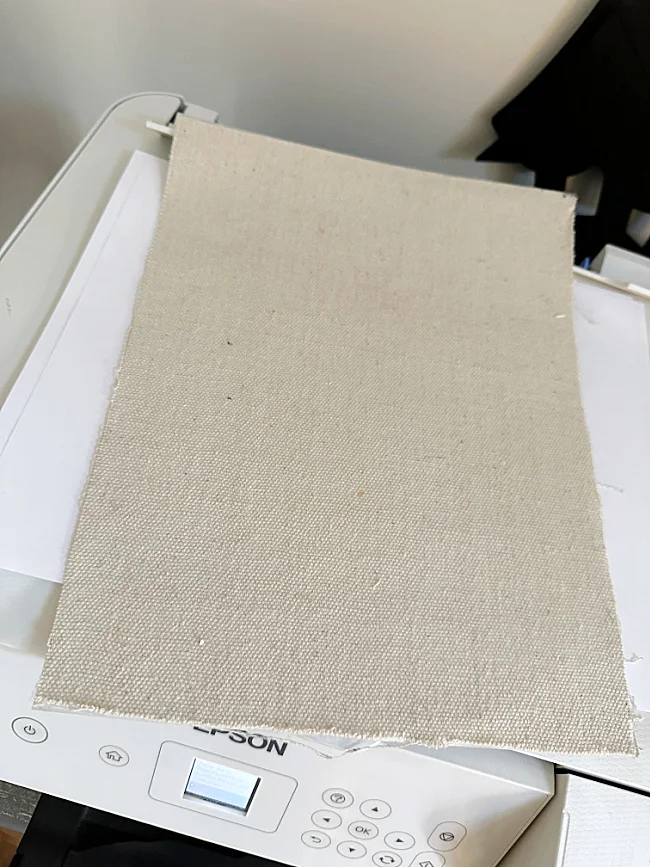
Now you're going to print out a design onto that fabric by running the sticker paper/fabric through the printer.
I have, and love, an Epson Ecotank Printer and it took a few tries to get the fabric in the paper slot but it worked fine in the end.

I found this free printable design at Crow's Feet Chic.
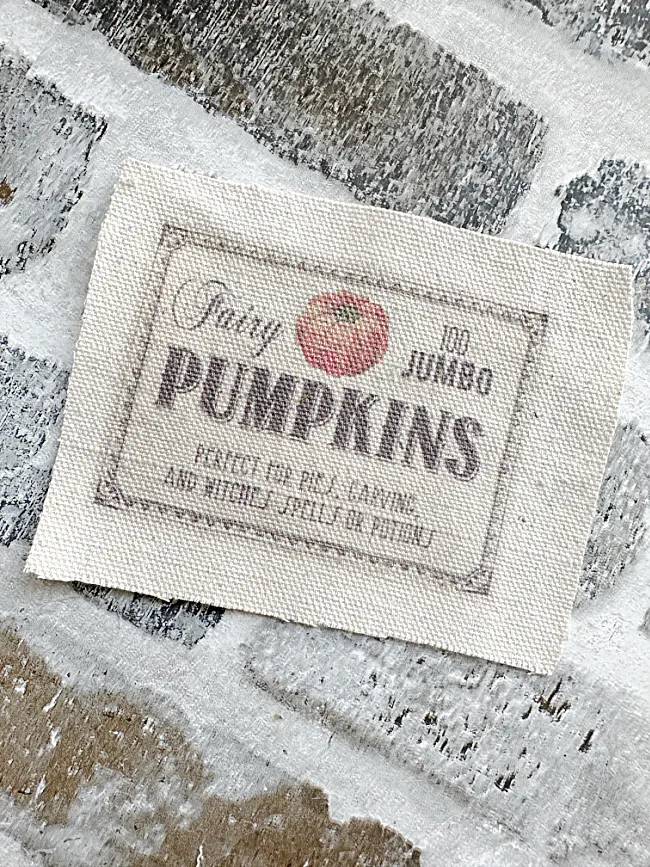
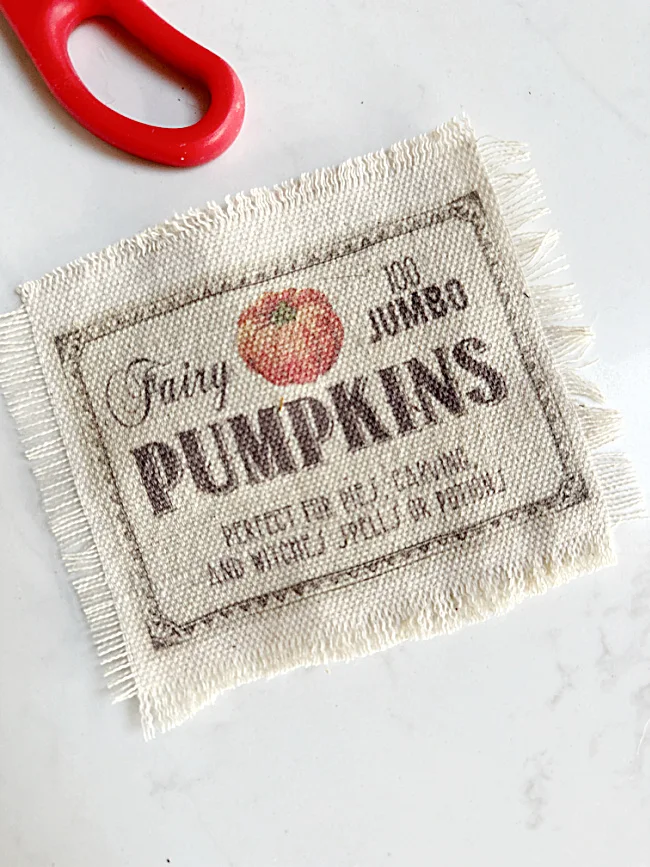
I used hot glue to attach the label to the pumpkin and it was finished!

Not too shabby!

READ MORE: FALL DECORATIONS

It looks very much like the pumpkin I saw in the store only I recycled fabric and used what I had instead of spending money!

Please pin for later --->>
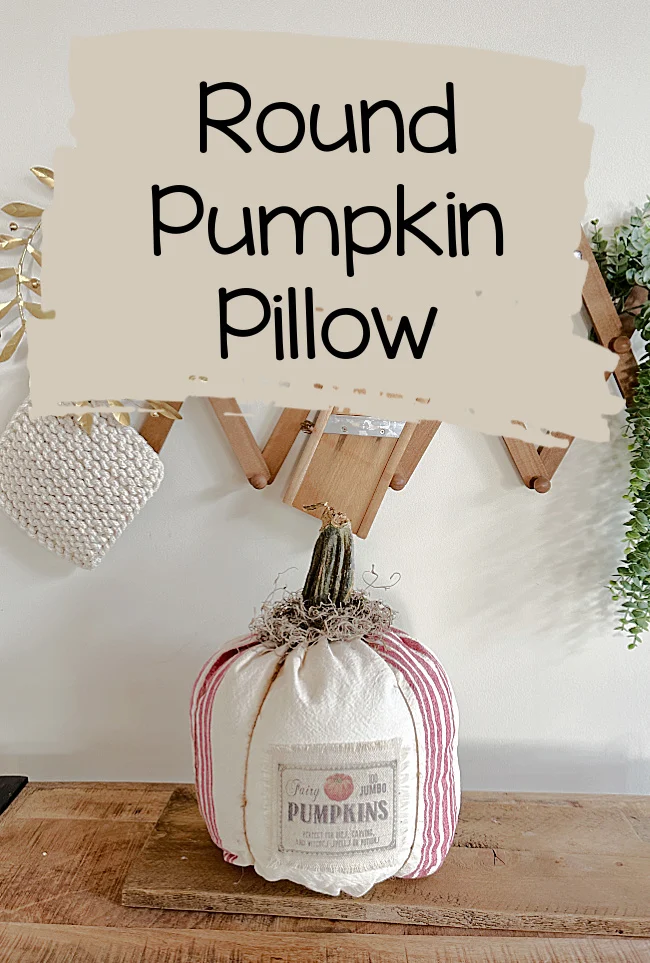
Give this idea for a recycled fabric pumpkin a try. There are so many variations to try. Switch out the stem, the fabric, or the label!

That pretty gold wreath was another recycled project recently!

Thanks so much for visiting and before you go please take a minute to sign up for the Homeroad emails so my next DIY tutorial will go out straight to you!
