Smash Book and Junk Journal Making
I have a new hobby! As if crafting, repurposing, being a grandmother of 7 and blogging isn't enough, I found something to take over the last 5 minutes I had left!
And I'm so excited about it!
Today I'm going to show you what I've been doing and how you can do it too!
Curious? Take a look...
So my new hobby is scrapbooking. Not the kind of scrapbooking we did with photo albums back in the day, but scrapbook journals.
As you're reading through this post please pay attention to the bold blue links that will take you to more information and the products I used for this project. Also the READ MORE sections will take you to related Homeroad projects.
They are called Smash Books and Junk Journals. They are actually two different kinds of journals and I've been making them both.
How to make a Smash Book:
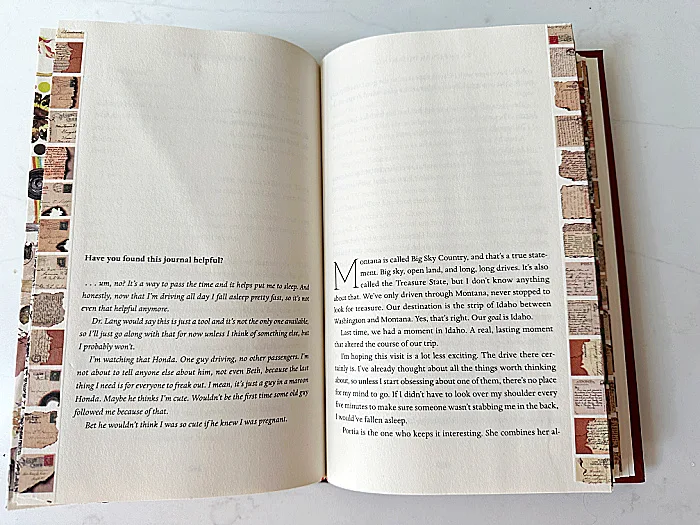
For the Smash Book you begin with an old hard covered book. I bought mine at the dollar store. Bonus if it has a nice cover!
Starting from the front of the book, after the cover page, count out 3 pages and glue them together with a glue stick, then count out another 3 pages and glue them together. Now you'll have 2 bundles of 3 pages each.
Next, count out 7 pages and tear them out. You can save them to use them for other crafts. Continue doing the same to the rest of the pages until you reach the end of the book.
Now you'll have bundles of pages with space in between to give you plenty of room in the book to add embellishments of all kinds.
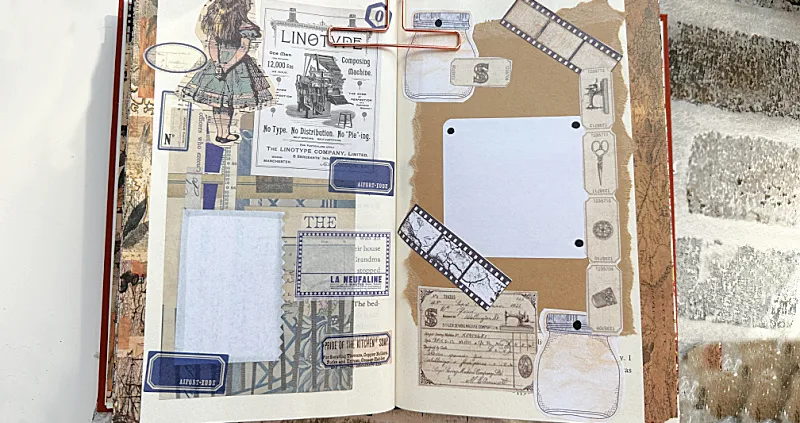
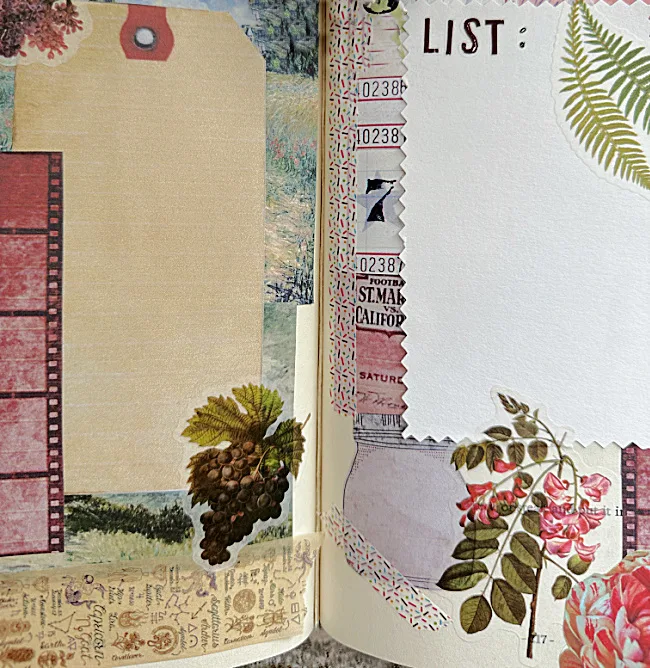
Then it was time to embellish! I used washi tape, washi stickers, decorative papers, and printables from the internet... anything I could find.
I find the best stickers and washi tape on Amazon.
How to make a Junk Journal:
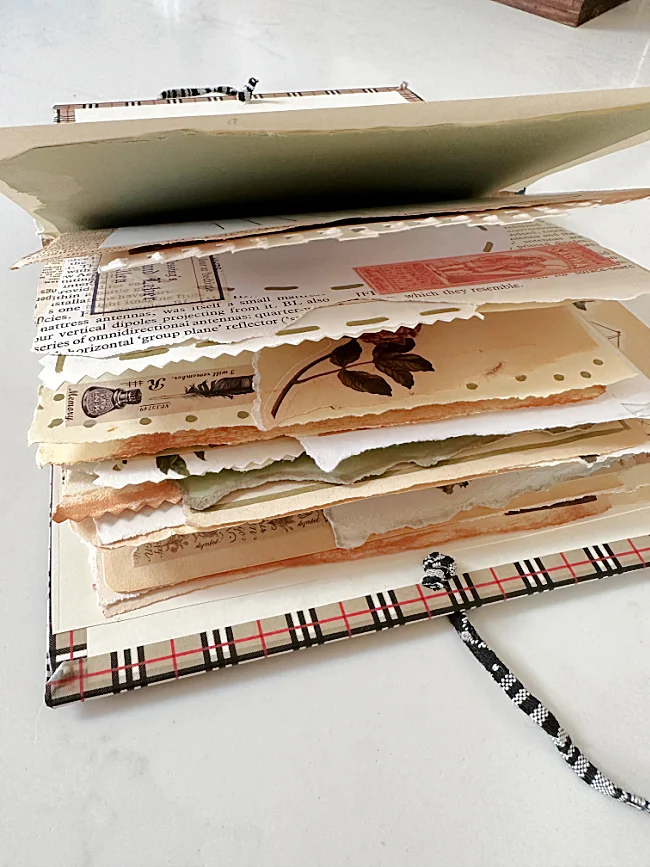
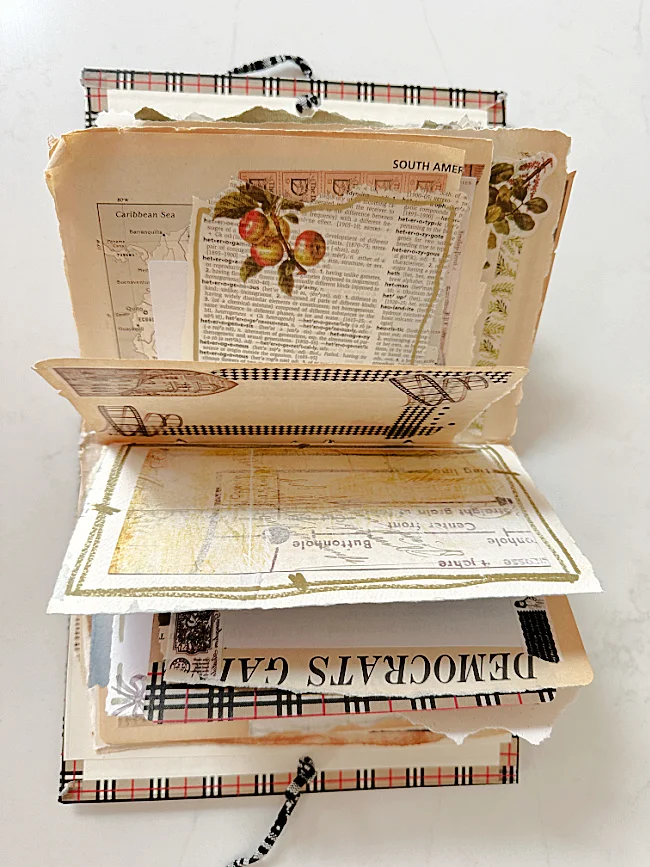
Now for the second kind of journal I've been working on. It is called a Junk Journal. It is a collection of random torn papers, receipts, old dictionary pages, pictures, old newspaper, watercolor paper, again... anything I could find.
I folded a grouping of about 15-20 pages in all shapes and sizes together and sewed up the center of the pages. You can do this by hand or with the sewing machine. I did this to 2 groups of about 20 papers.
Binding a Junk Journal:
I attached the 2 bundles of papers inside an old book that had all the pages removed. I used string through the binding and hot glue to attach the bundles inside the book. You can also sew them into the book with the sewing machine.
Once all the pages were attached I embellished each page and made a tie with small rivets on the covers to keep it closed.
Here's a short video of another one of my journals:
These journals are good for lists, things you want to remember, notes, passwords, birthdays, anything you want to keep in a special place.
I don't really care what they're used for, I just like making them.
I should probably think about selling them! Let me know if you'd be interested in having me make one for you! I've made a ton!
Now one thing I noticed while working on the pages is that they were hard to hold down while I worked. The pages kept closing, so one hand had to hold the book open while the other glued.
I looked up all kinds of book page holders, and there are such things, only they were very expensive so guess what... I'm making my own so stay tuned if you're a scrapbook lover!
All the instructions on how to make your own decorative book page holders using repurposed jewelry will be in an upcoming post.
If you want to get really creative, another fun thing to add to your journals are small decorative items like envelopes, tags, and mini books. These can be added between the pages, stuck on the covers, or in small pockets on the pages.
One example of a mini book to add is this accordion book.
I folded card stock, rounded the edges with this tool, and decorated each page. I made a string closure for the book to hold it together.
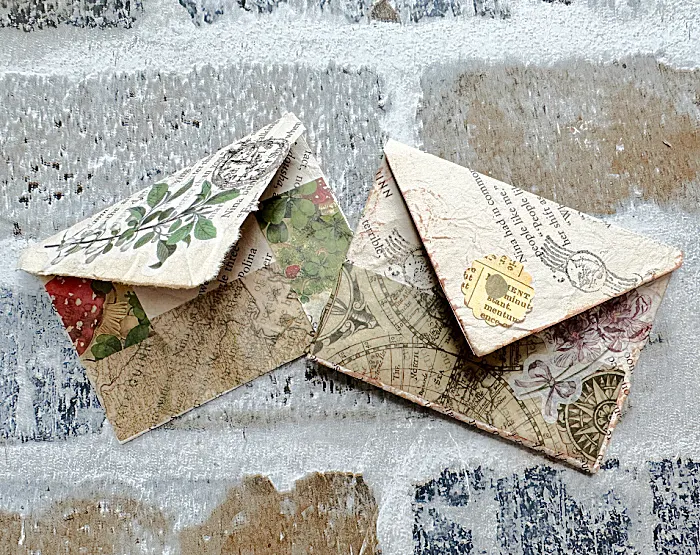
Another fun idea to add to your pages are decorative envelopes. A few easy folds of decorative paper and you've got yourself a mini envelope to add to your scrapbook journal!
And lastly, I love adding tags to small pockets on the pages. These are Halloween themed but can be made to fit any occasion or style.
If you are super inspired like I am by these fun journals, visit Gina at The Shabby Creek Cottage. She can give you more detailed instructions on folding papers and making journals and even has a subscription group you can join!
Thank you so much for visiting and I hope I've inspired you to try scrapbook journaling of one kind or another. Please pin for later --->>
Before you go please take a minute to sign up for the Homeroad emails so you don't miss part 2 of this post or any other DIY tutorial that I send out!

