Vintage Recycled Fabric Ghosts
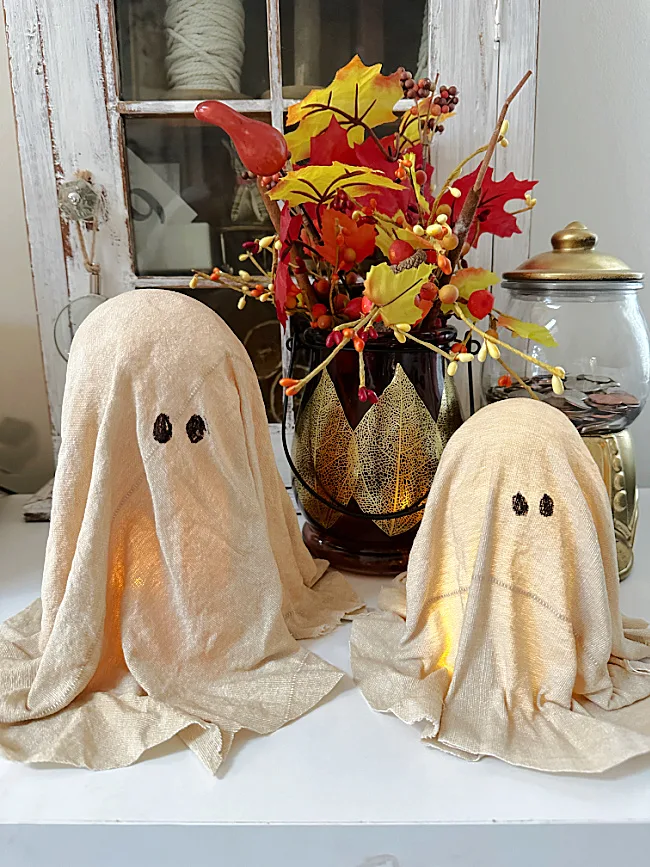
This is such an easy and fun project for Halloween and if you're a fan of the vintage look then you're gonna love this recycled fabric ghost project.
You really don't need any special supplies either.
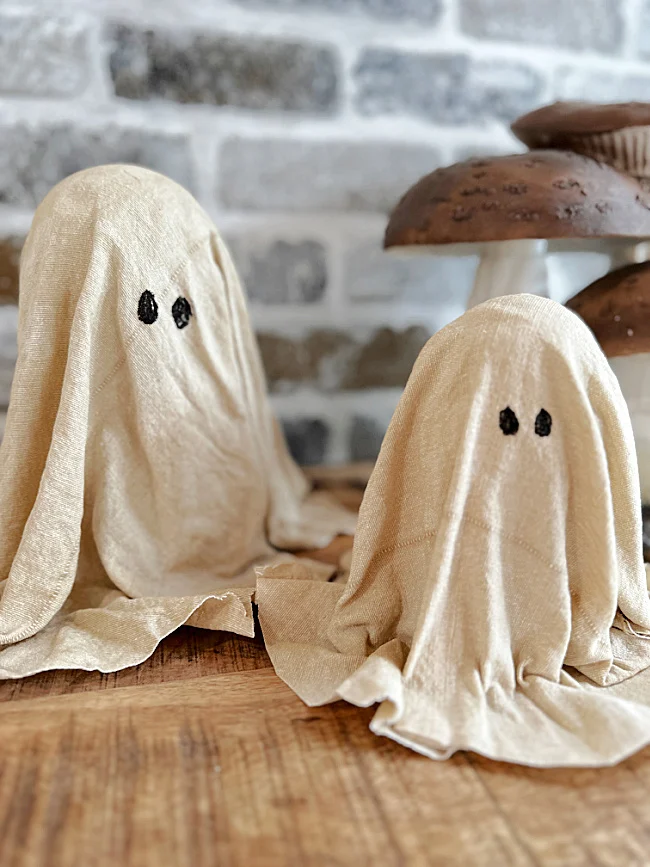
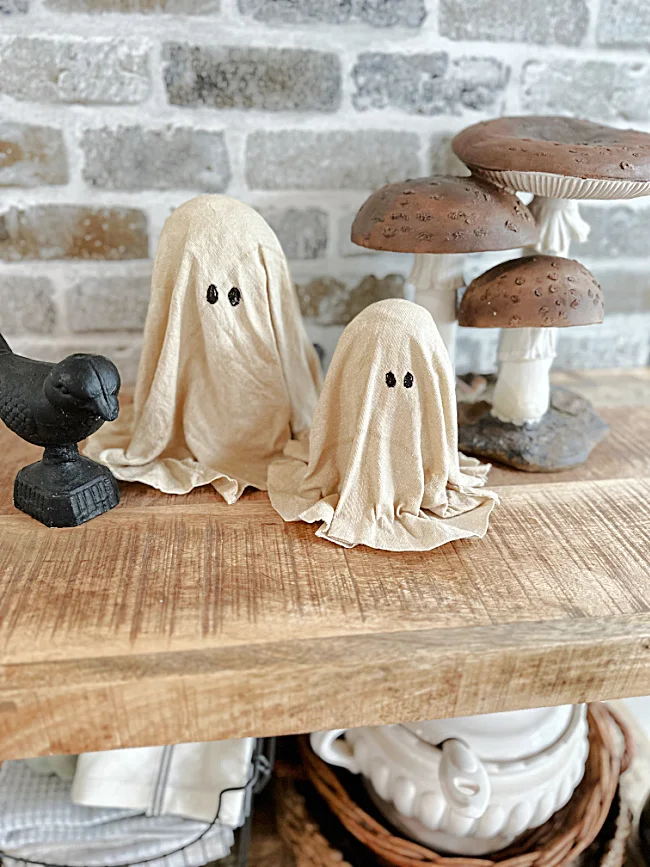
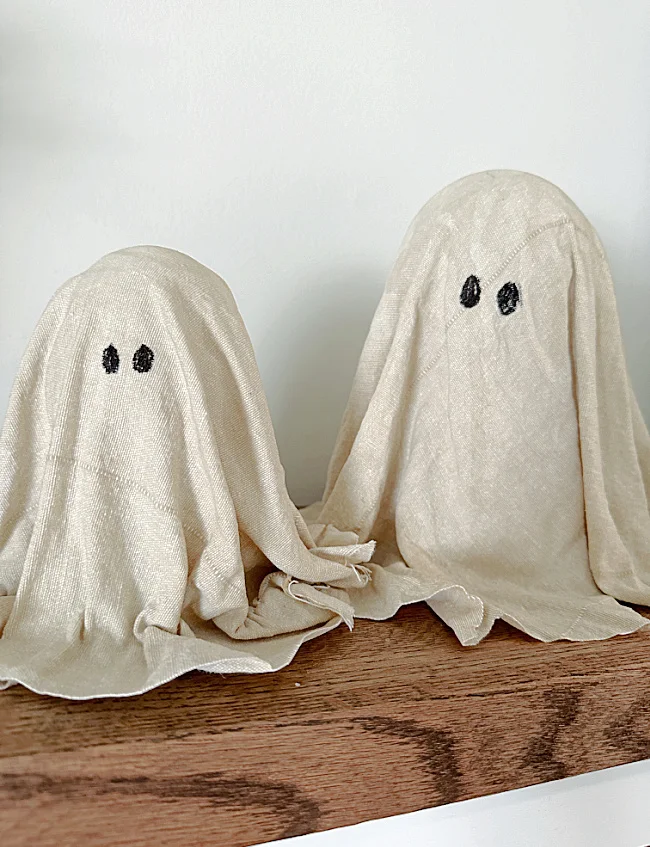
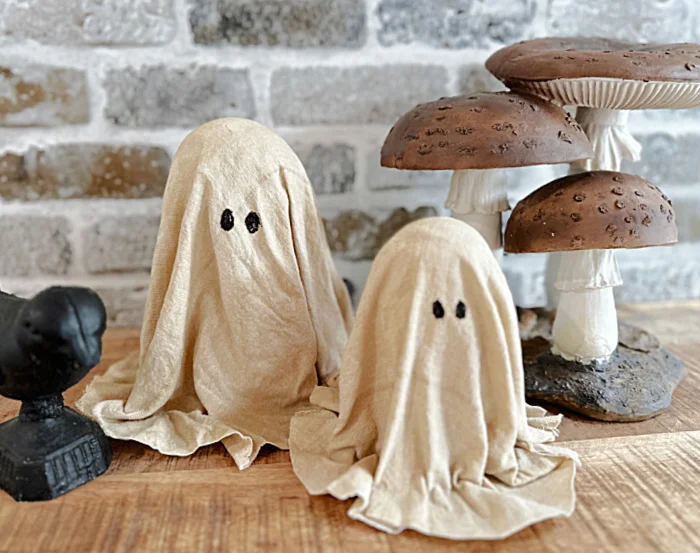
The vintage look is amazing and these ghosts came out adorable!
I stiffened the fabric for these ghosts like the ones I've seen made with cheesecloth but today I had a better idea that would use recycled fabric.
Take a look...
As I've said, I've seen these made with cheesecloth but not only did I not have cheesecloth but using recycled fabrics is my thing.
As you're reading through this post please pay attention to the bold blue links that will take you to more information and the products I used for this project. Also the READ MORE sections will take you to related Homeroad projects.
I have an old pair of faded Ikea curtains that I've used for a ton of Homeroad recycled fabric projects and I'm using the last of it today on recycled fabric ghosts.
First, to make these ghosts I needed a form for the ghosts. I had no special supplies, no styrofoam balls, no balloons, only what I had around the house.
For the first ghost I used a whiffle ball from my yard and a solo cup. I taped them together with painter's tape.
For the second and smaller ghost I used a small mason jar with a ring lid and a lightbulb.
To stiffen the fabric I used Mod Podge Fabric Stiffener. If you don't have this I don't see why you couldn't use regular white school glue watered down a little bit. I've had this bottle in the closet for years!
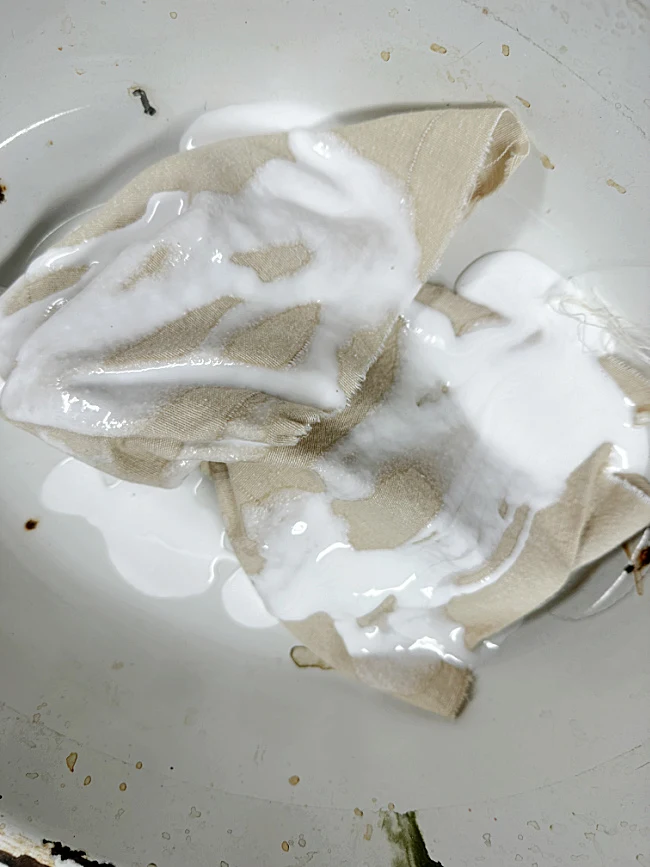
I soaked the fabric for both ghosts in the stiffener for just a minute then squeezed out the liquid.
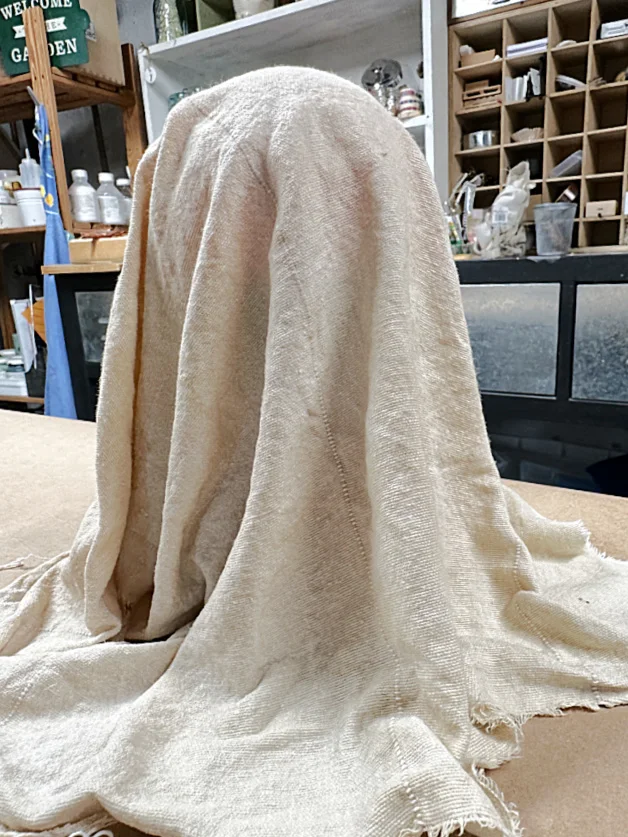
I draped the wet fabric over each of the ghost forms and arranged the fabric evenly so it draped like a ghost. I used plenty of fabric so it draped correctly, the fabric can be trimmed later on.
As the ghosts were drying I used a paintbrush to brush on a little more stiffener just to be sure since this fabric was thicker than cheesecloth.
I left the ghosts in my basement workshop to dry overnight.
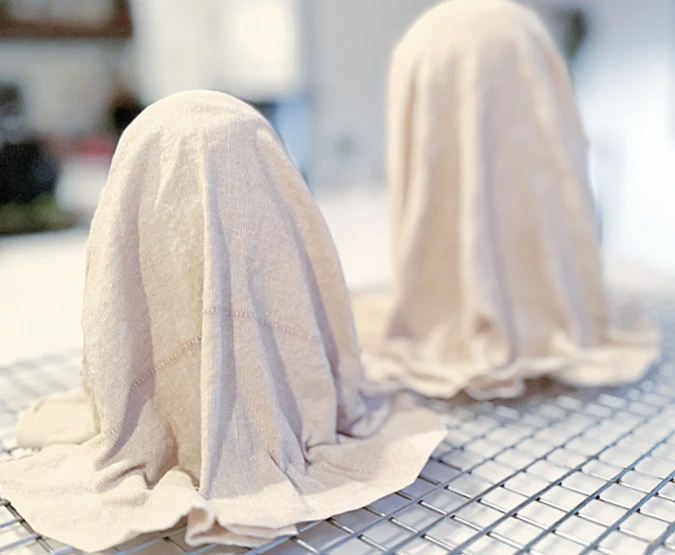
In the morning I pulled the forms out from under the fabric and trimmed the extra fabric along the bottom of the ghost. It was just a tiny bit difficult to remove the light bulb but I pulled it off carefully.
I put the ghosts on a cookie rack to dry some more because the bottom fabric was still a little damp even the next morning.
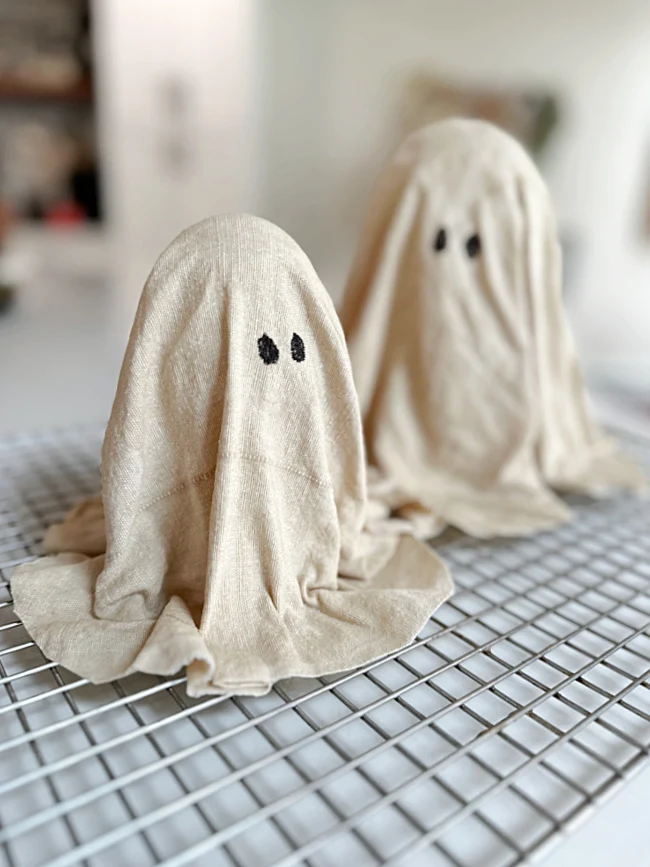
When the ghosts were completely dry I used a Sharpie permanent marker to draw the eyes.
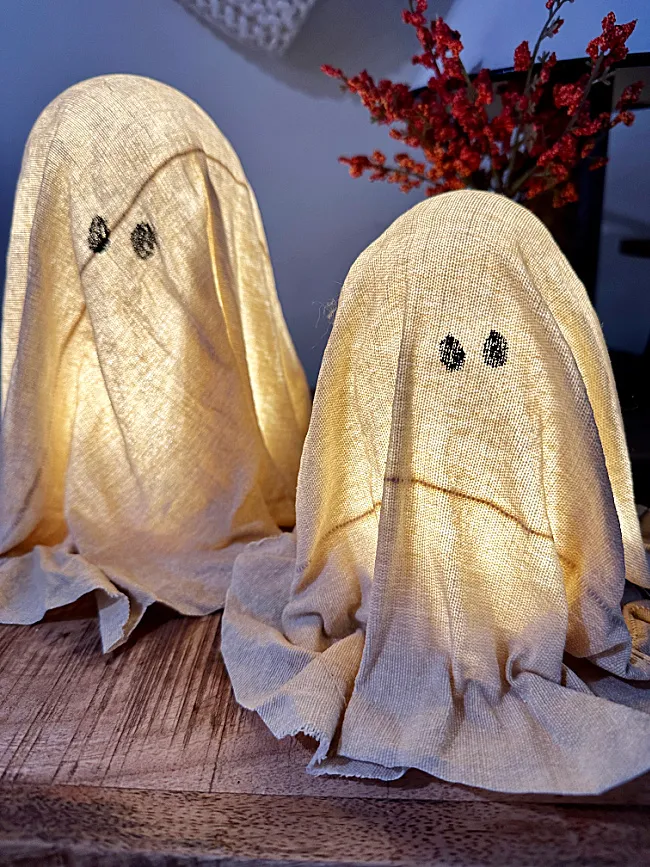
As you can see in the photo I plan on using battery operated votive candles to light up my ghosts when they are finished. Keep reading...
Aren't they so cute?!!
Please pin for later --->>
These cuties will look good anywhere you display them for Halloween.
READ MORE: DIY HALLOWEEN PROJECTS
And like I've said before, I'm not a big fan of the bright and plastic Halloween decor. I prefer to make my own decorations and I love the vintage look.
Recently I made a jack-o-lantern banner for my mantel with a vintage look using drop cloth fabric.
I hope you like this cute and easy recycled fabric ghost project, I sure do!
And the best part... they light up at night and look amazing!!!
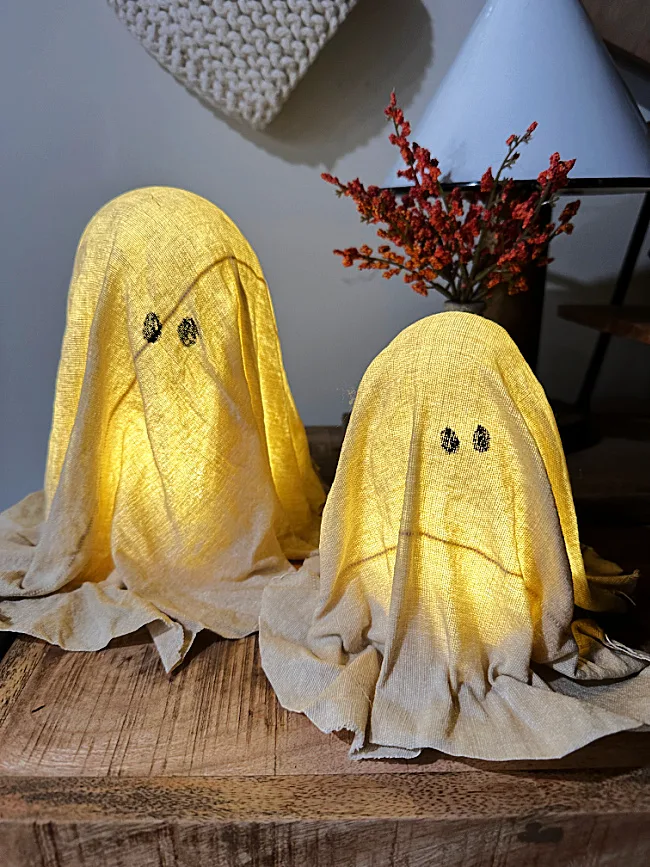
And then I had the idea to add dollar store puck lights which were so bright they lit the ghosts up even in the day!
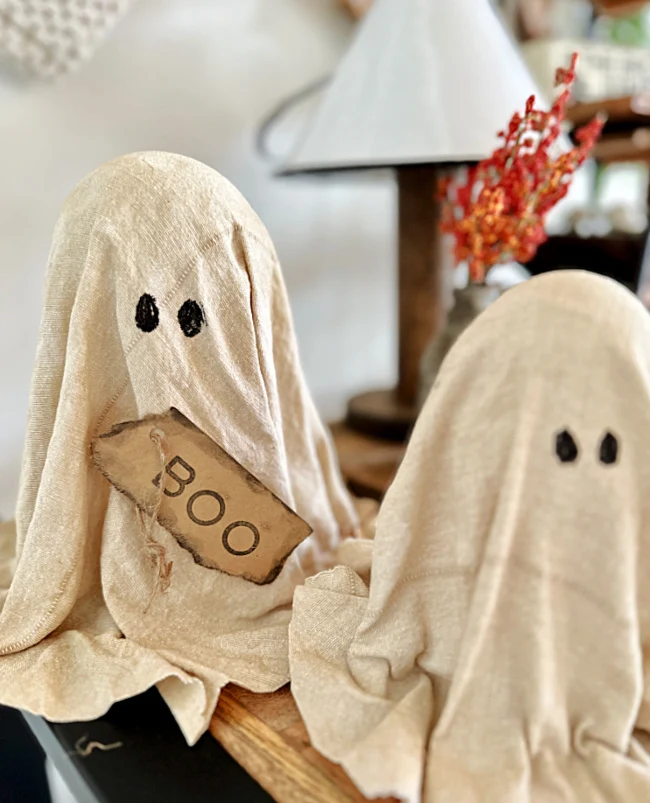
Another idea is to add a little distressed sign on the ghosts that says BOO! I used a stamp pad to distress the edges and alphabet stamps for the lettering.
Or how about a cute little felt witches hat?
Before you go please take a minute to sign up for the Homeroad emails so my next fun DIY tutorial will go out straight to you!


