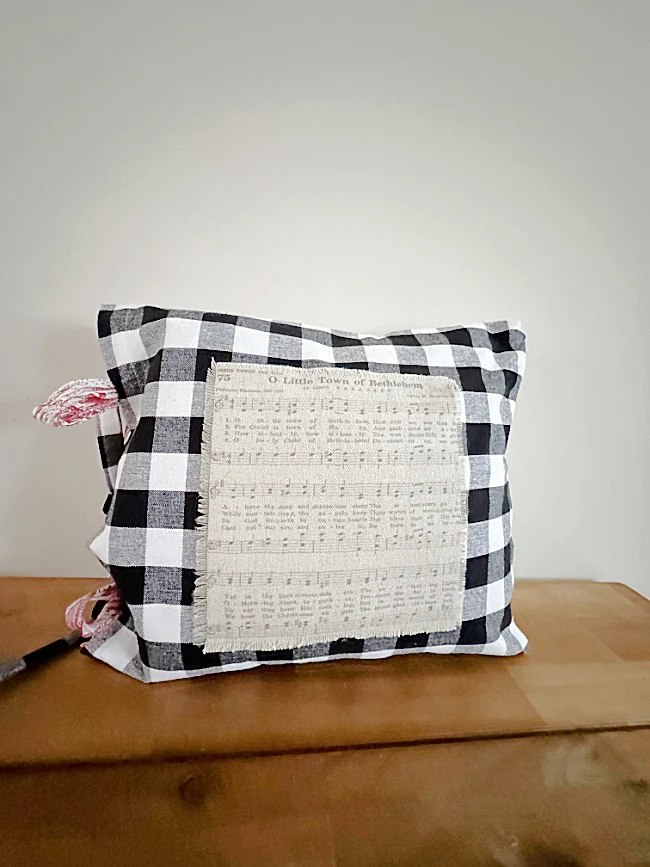
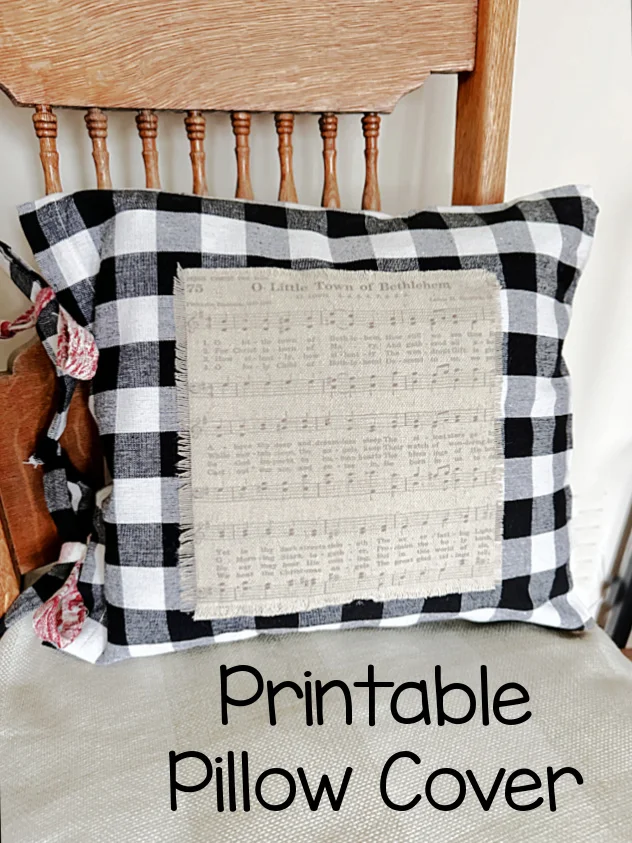
Christmas Music Pillow Cover
Recently I saw a pillow with Christmas music on the front and it made me want to create one of my own with a new look!
I'll show you how I printed on fabric and made the cutest little pillow cover using cloth napkins and fabric glue!
Are you ready for the holidays? Do you make gifts for people? Do you sell? It's time!
Take a look!...
Like I said I began with a couple of cloth napkins in contrasting colors that I no longer use. I've actually downsized my huge collection of cloth napkins and I'm using them to repurpose into crafts now.
As you're reading through this post please pay attention to the bold blue links that will take you to more information and the products I used for this project. Also the READ MORE sections will take you to related Homeroad projects.
How to Print on Fabric:
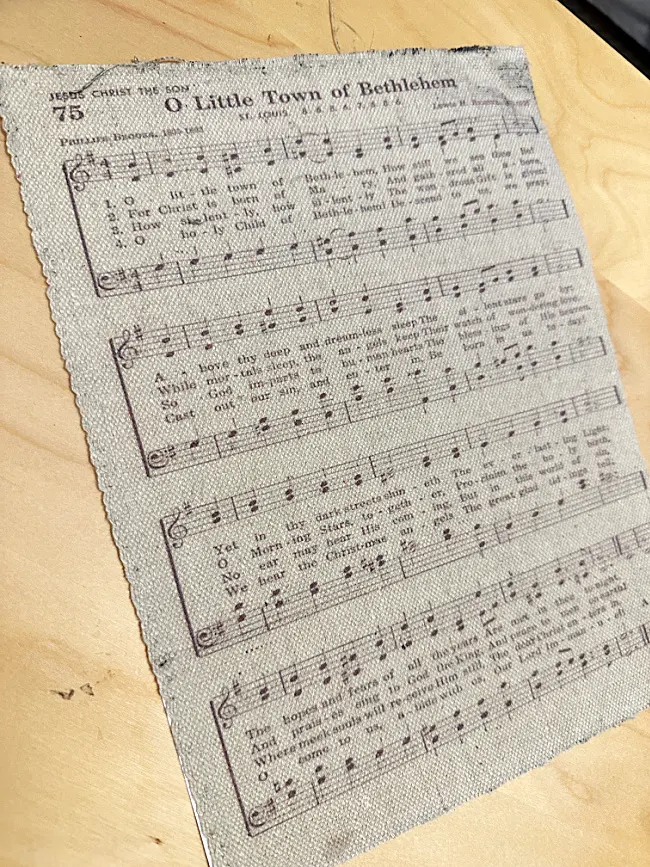
The first thing I did was to find a music printable I liked. I'm using one from Lovelyetc.com.
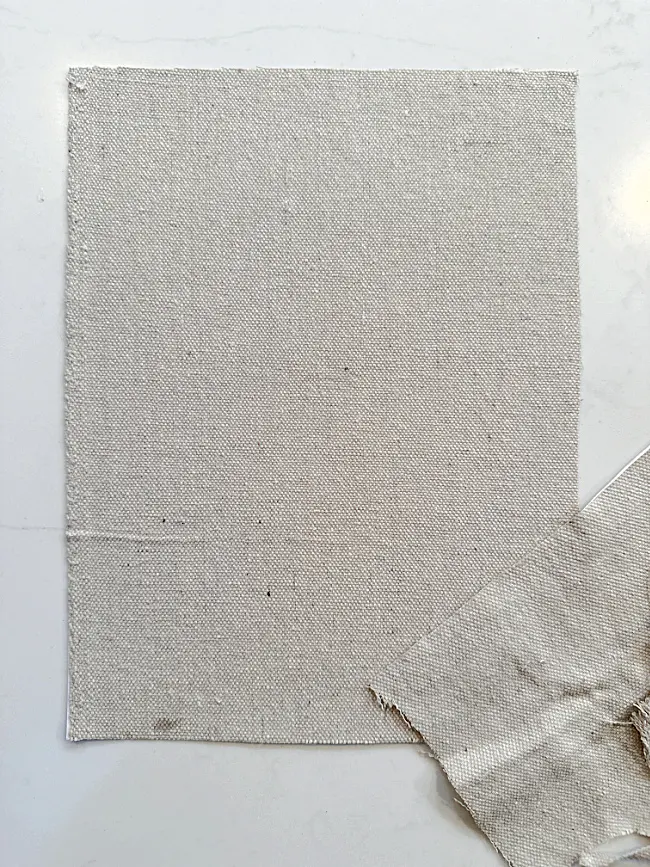
I am going to print this image on fabric, drop cloth fabric. I found a piece of drop cloth material and stuck it to a large sheet of sticker paper.
I cut around the fabric to fit the sticker paper exactly and stuck it into my printer.
I had to guide the fabric paper through my machine with a little push but it printed beautifully. I have an Epson EcoTank Printer. *Please note: An image from a regular printer is not washable. The drop cloth fabric I used was fairly thick, a thinner fabric will be even easier to use!
I removed the sticker from the back of the fabric and cut the image to fit then fringed the edges by removing strings along the edge.
Now for the pillow...
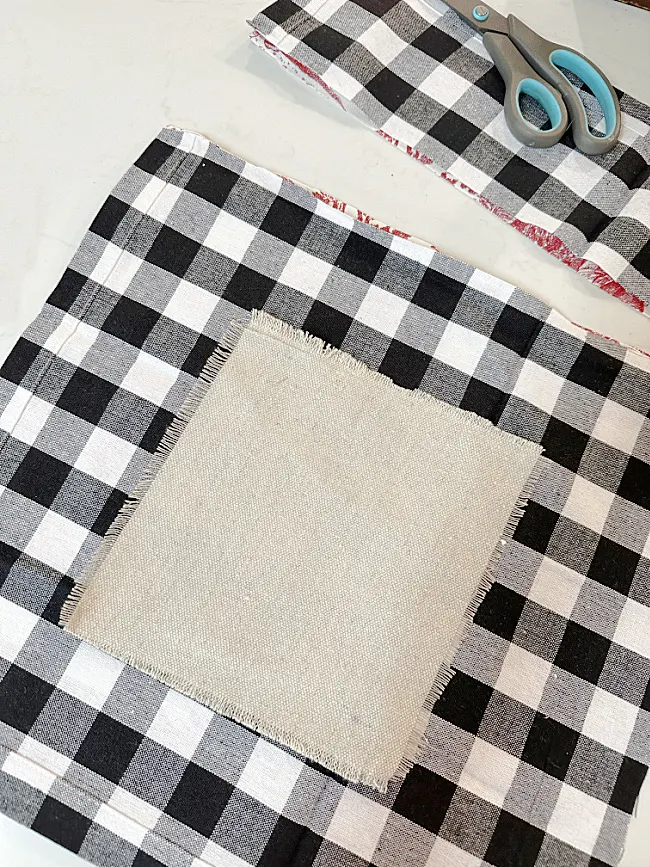
I lined up the napkins and make sure they are the same size. If not you may need to trim one of them but before you cut... you want one of the finished seams to be on the end that does not get sealed.
My napkins were the same size but much too big for the pillow I wanted to make and the image I printed so I cut 3 sides of the napkins to make it smaller. Cutting on the buffalo check was easy! Just follow the lines!
Remember it is very important to keep one finished side of the napkins for the opening end of the pillow.
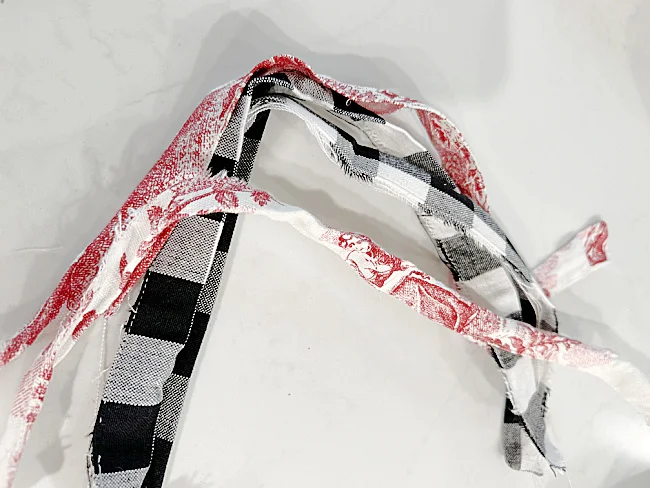
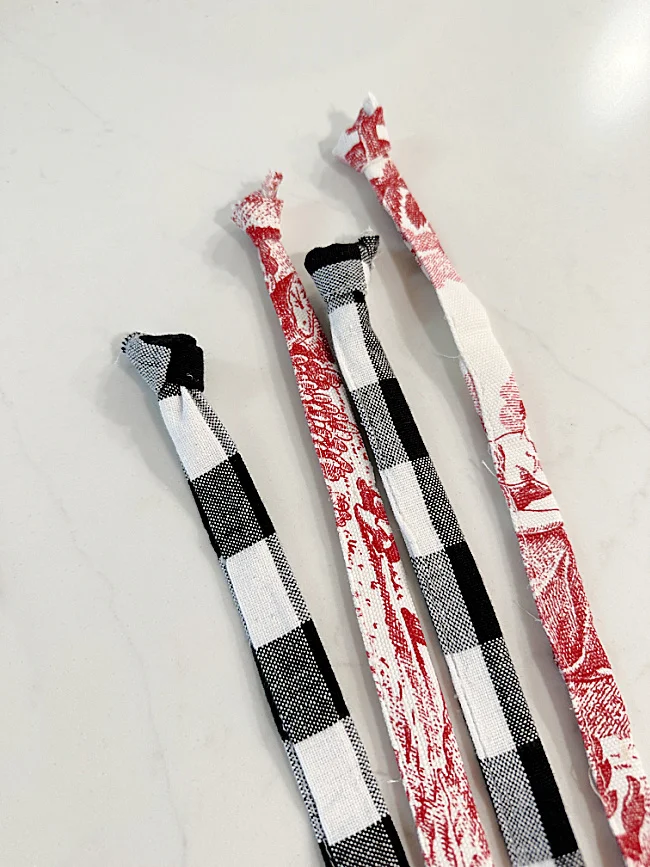
With the scraps from the napkins, I cut the edges and fashioned them into strings that I will use to tie my pillow closed.
Now how to construct a pillow cover...
I put right sides together and used fabric hot glue (you could sew it) around three sides of the pillow leaving the side with the finished edge open.
I turned the pillow right side in and ironed it flat.
Next, I gathered the ties I made, tied one end in a knot and hot glued them inside the open edge of the pillow. I put the red ties on the black side and the black ties on the red side. I tacked them down with a few hand stitches to make sure they were secure.
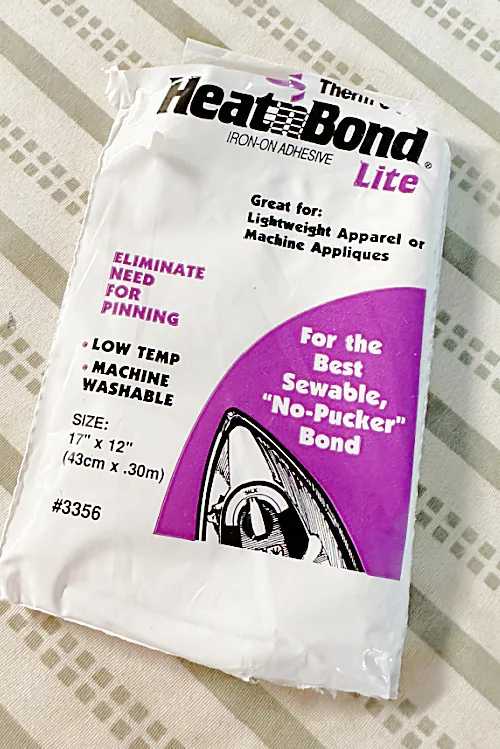
I used Heat n'Bond on the back of the music sheet and ironed it onto the pillow on the black and white side. You can use the fabric hot glue as well. The Heat n'Bond I used was "lite", I suggest you get the Heat n'Bond Ultra Hold for craft projects.
All I needed to do now was to find a pillow form to fit, the one I used was a buffalo check pillow I had stored away.
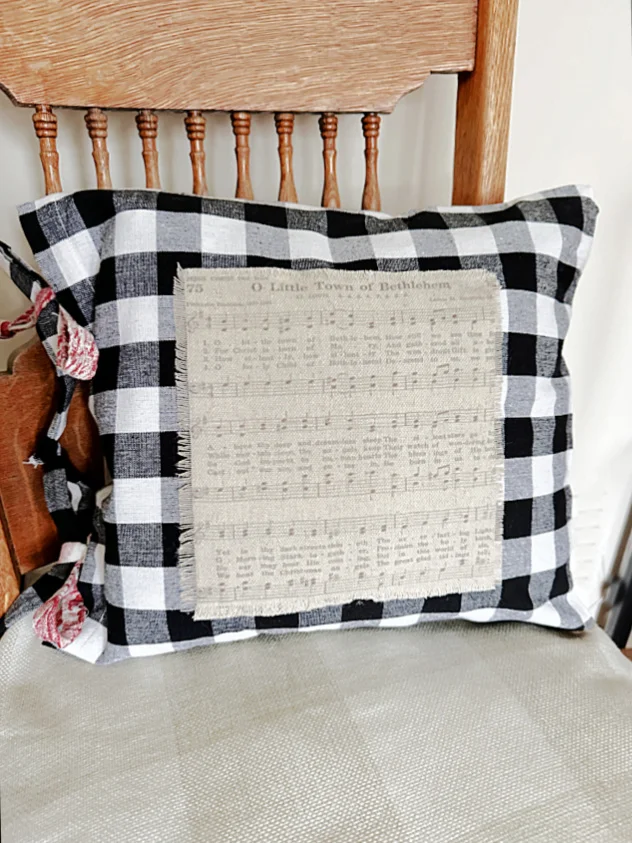
I stuffed the pillow cover and tied the ties.
That's it!
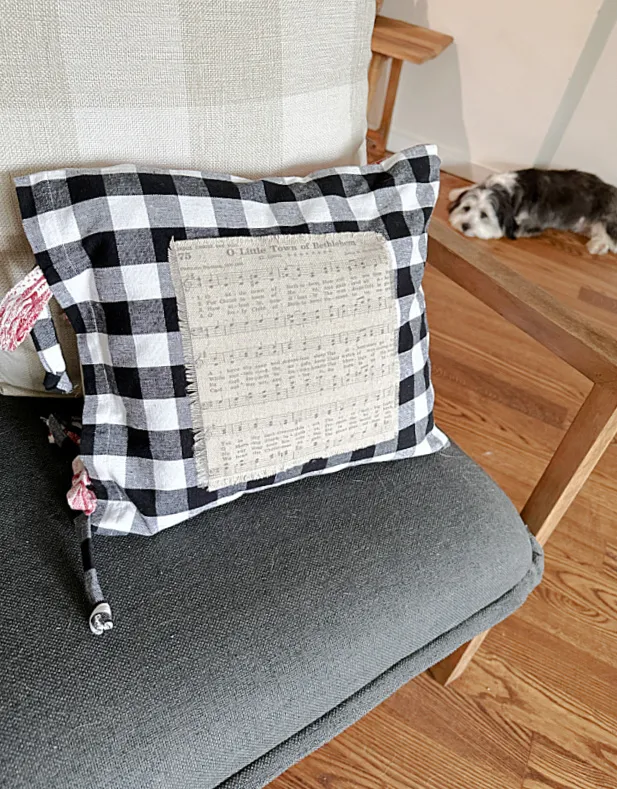
It looks adorable and the best part is that it is a cover that can be removed, folded and put away after the season! Little Sam tries to get in every photo, this one I let him!
This easy pillow was fun to make and the music sheet print can be replaced with any design or printable!
Please pin for later --->>
Thanks so much for stopping by and before you go please take a minute to sign up for the Homeroad emails so my next DIY tutorial will go out straight to you!


