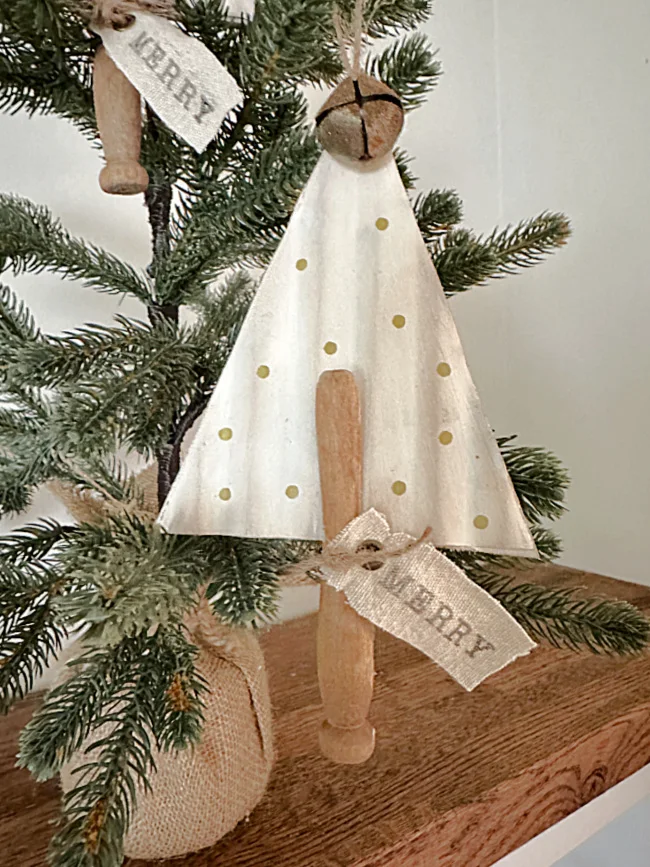
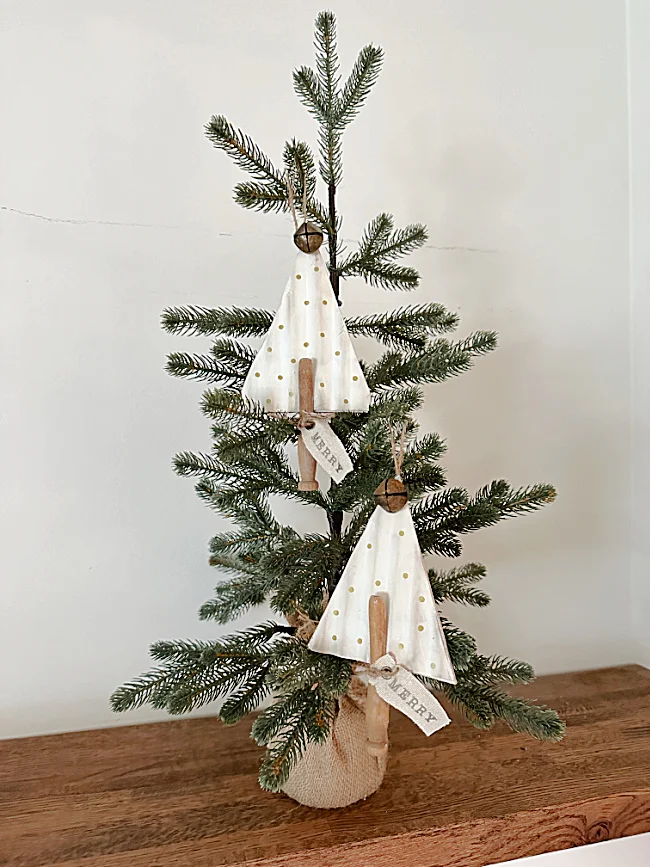
Corrugated Metal Christmas Tree Ornaments
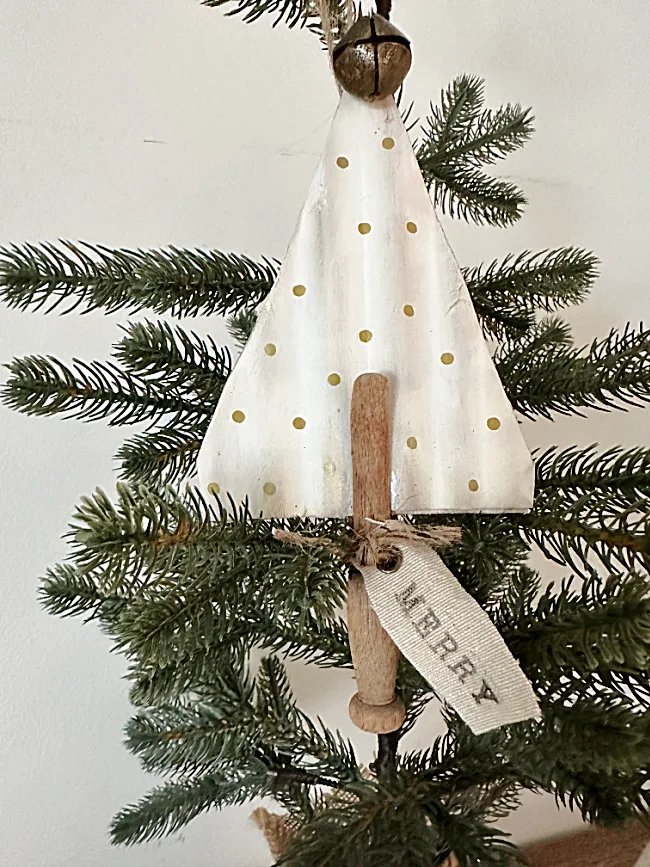
This was a quick and easy project and I love the final look of these vintage inspired Christmas tree ornaments.
I had all the supplies at home and the ones I didn't came from the dollar store.
These ornaments would be great sellers at a craft fair, to make with the kids, or to make yourself to fill your tree!
Take a look...
As you're reading through this post please pay attention to the bold blue links that will take you to more information and the products I used for this project. Also the READ MORE sections will take you to related Homeroad projects.
Supplies needed for the corrugated Christmas trees:
- corrugated metal piece from the Dollar Tree
- cardboard
- hot glue
- vintage clothespins
- bells
- gold paint pen (Dollar Tree has these too)
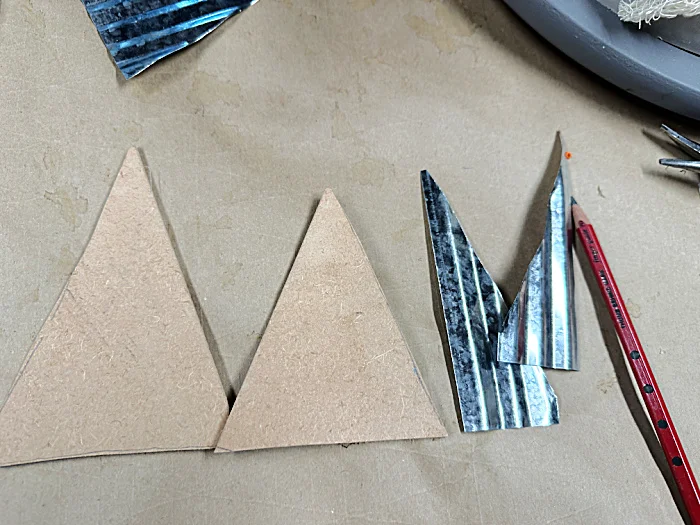
The first thing I did for this project was to cut the piece of corrugated galvanized metal from the Dollar Tree into a triangle from the corner of one side to the opposite corners. The metal cuts very easily with tin snips or a heavy duty scissor.
You can find the corrugated metal in the craft section or if not, Dollar Tree has framed pieces of corrugated metal and you can just remove the frame.
I ended up with one triangle and 2 half triangles which I am going to flip around and attach for my 2nd Christmas tree.
I traced the metal triangles onto cardboard and cut out 2 cardboard triangles the same size.
You can also use chip board but you will need a jigsaw to cut out the triangles.
Next, I used E6000 glue and glued the corrugated metal to the cardboard. I clipped it all the way around and let the glue dry overnight.
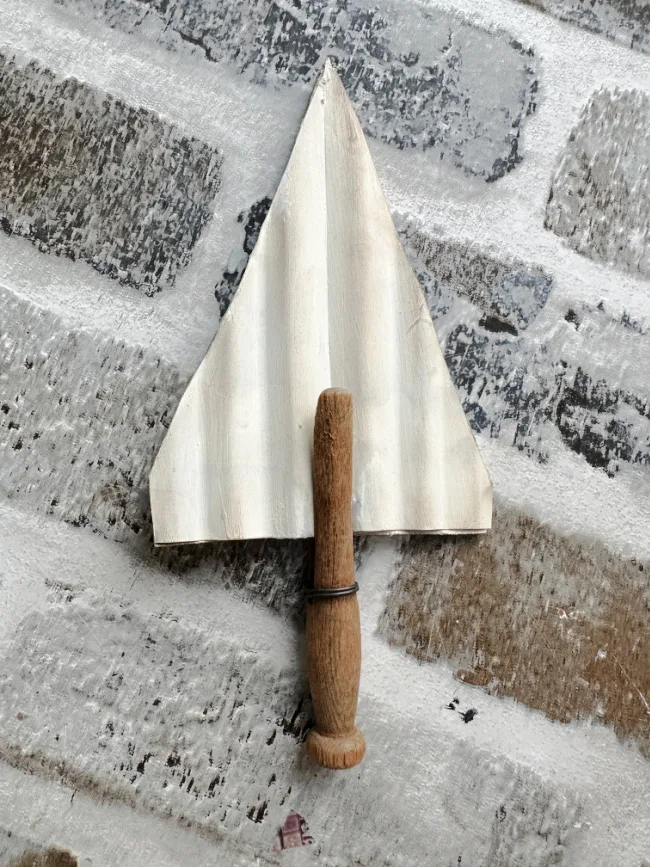
In the morning I painted the triangle trees with 2 coats front and back of Waverly Chalk Paint in the color Plaster.
When the chalk paint dried I used a Vintage Ink stamp pad and a soft brush to give the corrugated trees some definition.
Next, I added a little glue and slid the vintage clothespins onto the trees. These are the trunks of the tree.
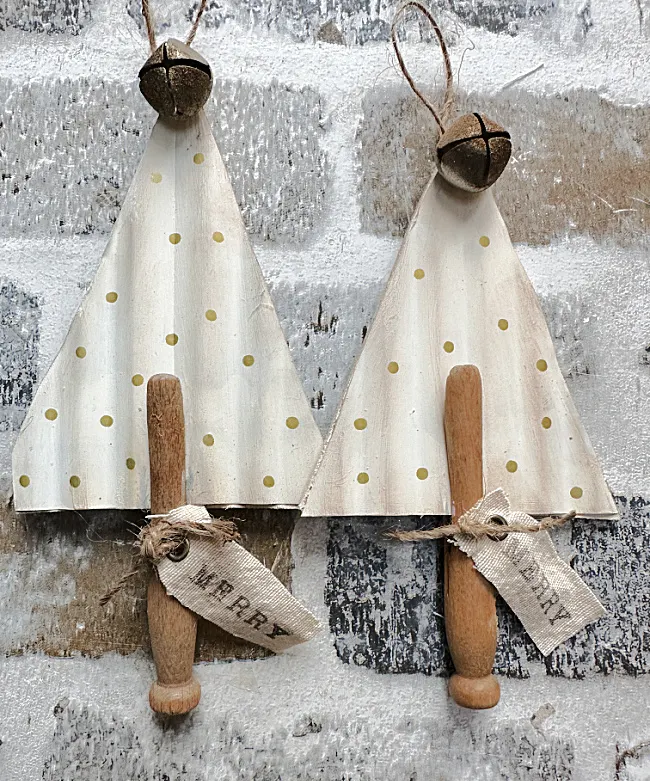
I used a gold paint pen to add dots all over the front of the tree. You can use colored paint pens or metallic.
For the star I'm using a bell. My bells weren't rusty so I sprayed a few quick coats of black spray paint on them and while they were wet I dusted the bells with cinnamon. I then gave the bells a quick spray of gold spray paint then coated them with a matte sealer.
The "rusty" bells came out great!
Lastly, I cut a piece of coffee dyed fabric and stamped on the words MERRY using these great clickable letter stamps. I added a grommet and tied them on to the trunk of the tree.
Then I tied a loop of jute and attached it with hot glue to the back of the trees for hanging.
Please pin for later --->>
READ MORE: CHRISTMAS ORNAMENTS
This was a very easy project and the recycled cardboard worked great to back up the corrugated metal.
These trees will make great gifts or tied onto a gift for the holidays!
READ MORE: DOLLAR STORE PROJECTS
Thanks for visiting and before you go please take a minute if you haven't already to sign up for the Homeroad emails so my next DIY tutorial will go straight to you!


