Decoupaged Snowman Wreath Banner
Today I was on line in TJMaxx and if your TJMaxx is like ours, you can stand in line forever!
Along the line the aisle is packed with things you "may have forgotten" while shopping.
Today I must have forgotten snowman napkins because the cutest little snowman shaped napkins jumped into my cart!
And you can bet I'm not using them as napkins!
Take a look...
These were the most adorable snowmen napkins I've ever seen and the best part is that they are snowman shaped! They almost have a vintage 1950's look!
As you're reading through this post please pay attention to the bold blue links that will take you to more information and the products I used for this project. Also the READ MORE sections will take you to related Homeroad projects.
Well don't you know my mind started creating right there in line at TJMaxx!
I knew just what I was going to do with them.
When I got home, I got to work. When I opened the package I realized that each napkin had 4 snowmen on it.
Really? I only really needed one, maybe 2 napkins for my project! Then I'd have the rest of the package to make something else! So I got started. I grabbed a box from the garage and cut off the flaps. I just love working with cardboard! It's free, it looks great, and you are recycling!!
I was only going to make 4 snowmen because I want to hang this small banner on a wreath. If you notice, the snowmen face in 2 different directions.
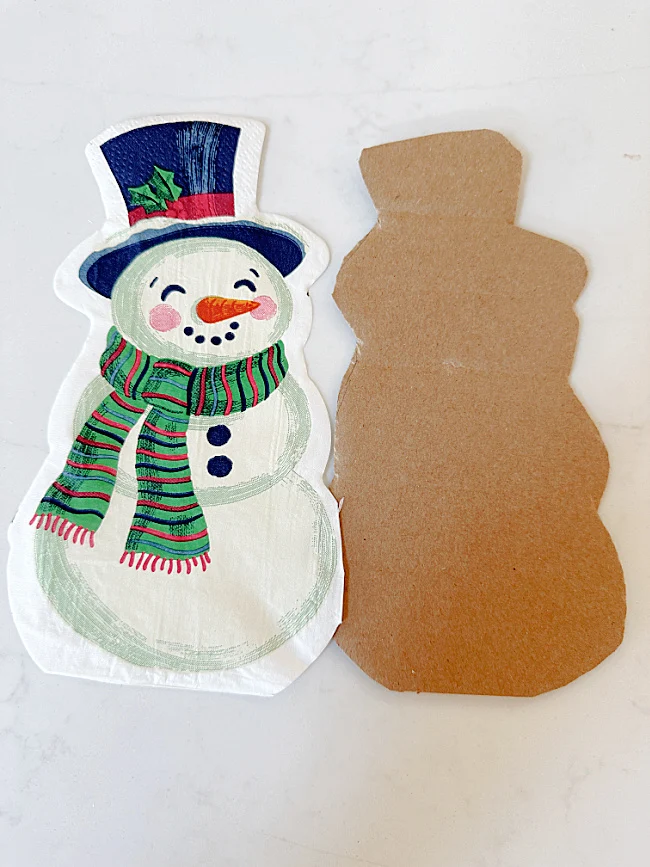
I used a piece of graphite paper, better known as typing paper to all the seasoned women out there. I slipped the graphite paper between a piece of cardboard and the napkin and when I trace the shape it will trace onto the cardboard. I'm only tracing the outer edge of the snowman napkin, about 1/4" all around.
I cut out 4 snowman shapes from the cardboard box flaps. You will need to flip two of the cardboard snowmen over so you have 2 facing in one direction and 2 in the other. This is important when you glue on the snowmen.
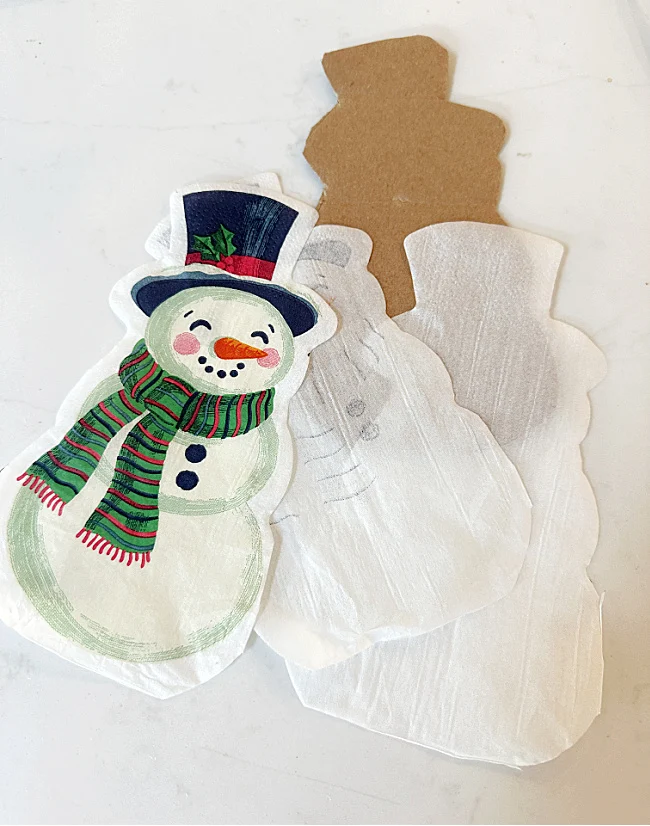
I then cut the snowmen apart on that one napkin and peeled off the three layers. I was only going to use the top layer with the design.
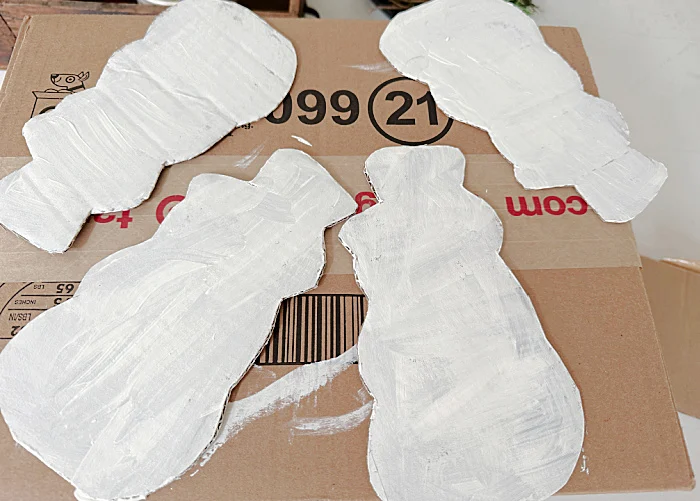
Next, I gave the cardboard a coat of off white chalk paint I'm using Waverly Chalk Paint in the color Plaster.
I let the paint dry then put a coat of Mod Podge over the paint and let the Mod Podge dry.
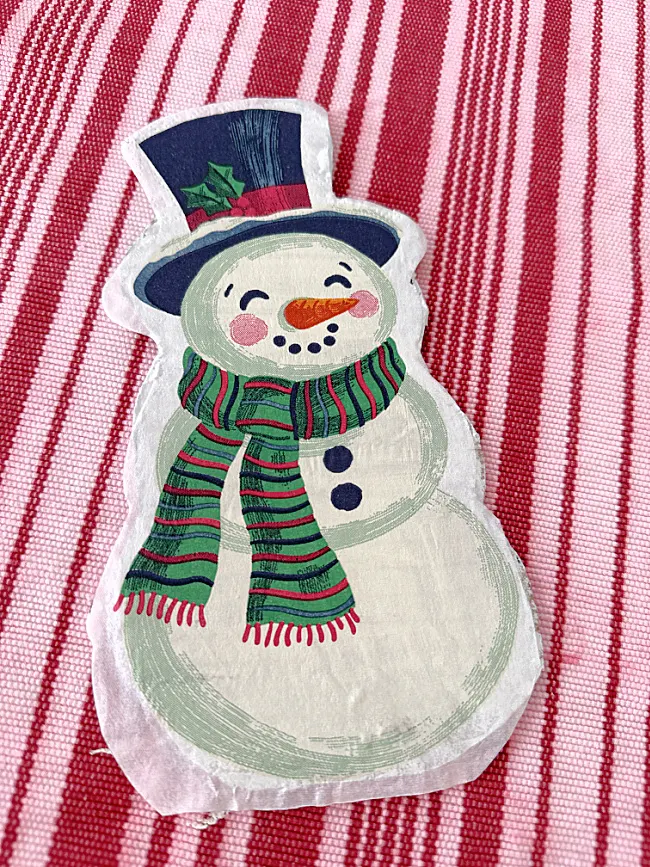
Then using a small craft iron and parchment paper, I ironed the snowman napkin shape onto the cardboard. Don't worry if the napkin hangs over.
There...
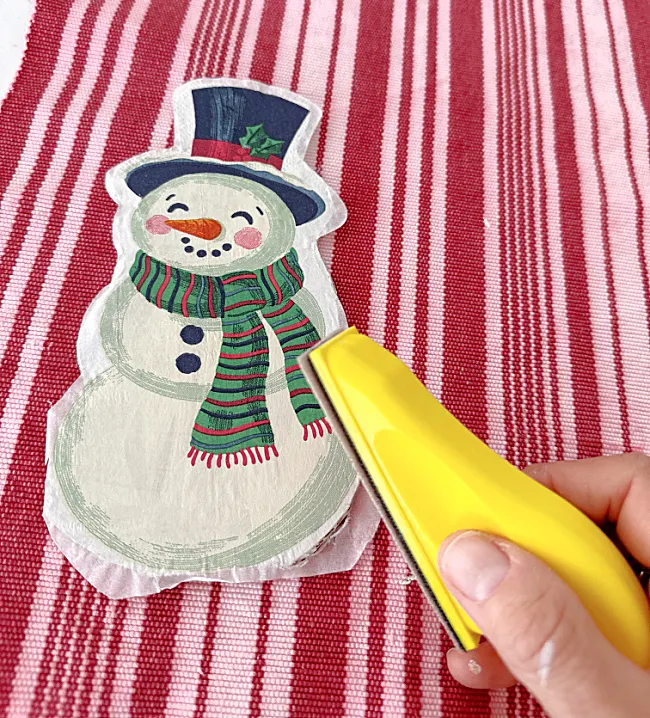
Now using a small sander, I went around the snowman shape and sanded off the napkin that hung over the cardboard.
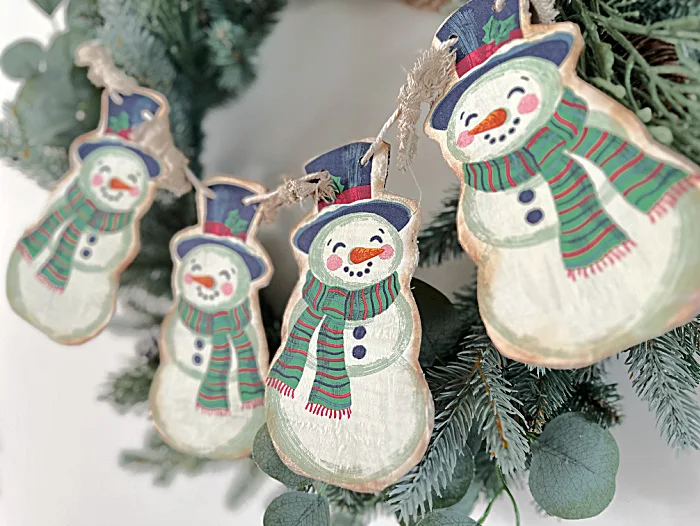
Now it was time to distress my snowmen. I used a Distress Ink pad and a soft brush to brush around all the edges of the snowmen.
They looked even better distressed!
See the difference? ...
Now you can stop here but you may want a backing on your snowman banner.
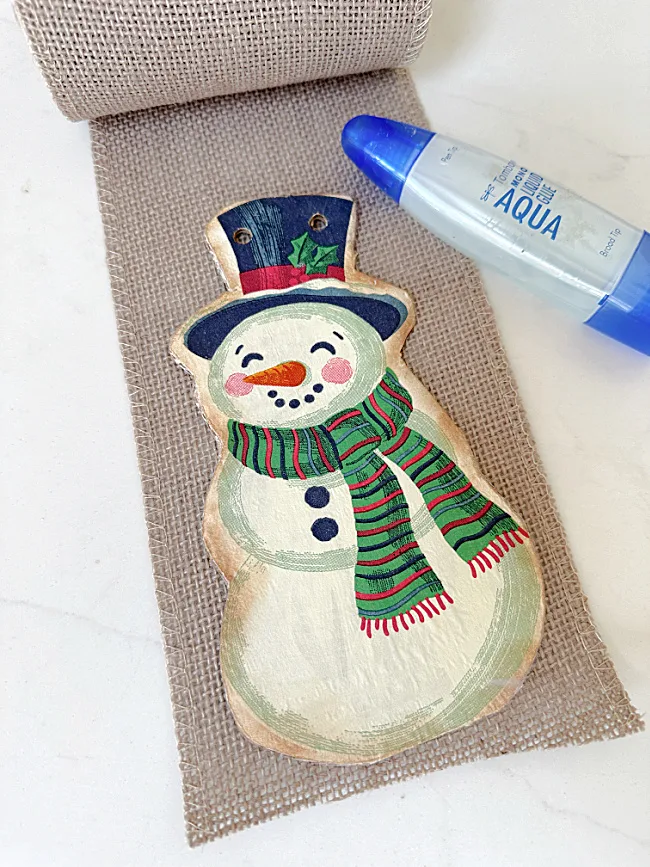
I decided on a 5" burlap ribbon and glued the snowmen to the burlap then cut around the cardboard. This glue worked great!
The burlap was perfect!
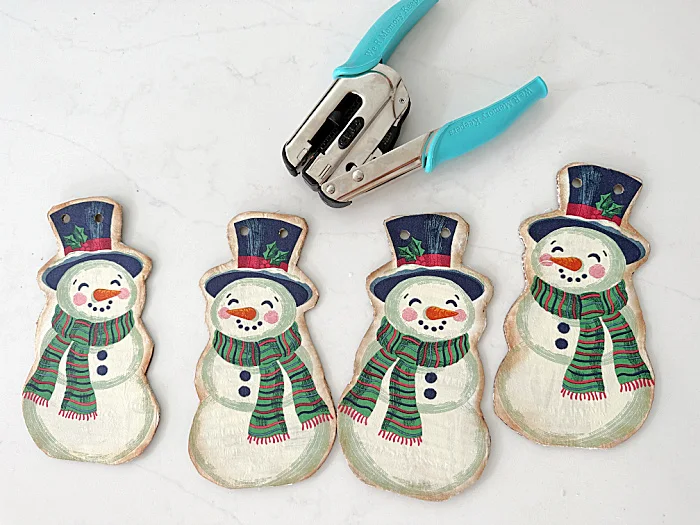
I used a heavy duty hole punch to go through the cardboard and made 2 holes in the top of each snowman's hat.
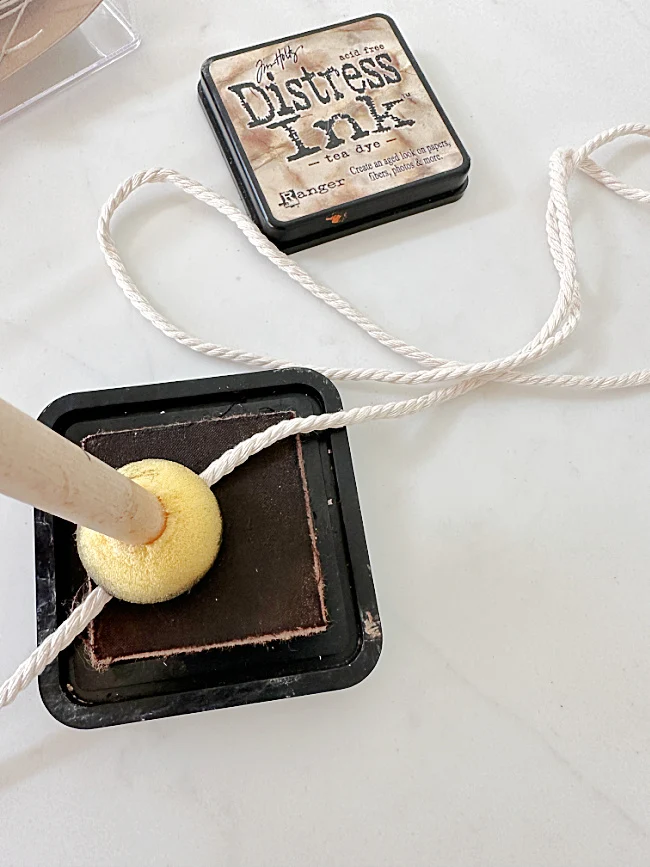
I wanted a distressed look on the macrame twine I was using to string the snowmen so I ran the twine through the stamp pad, holding it down with a sponge pouncer.
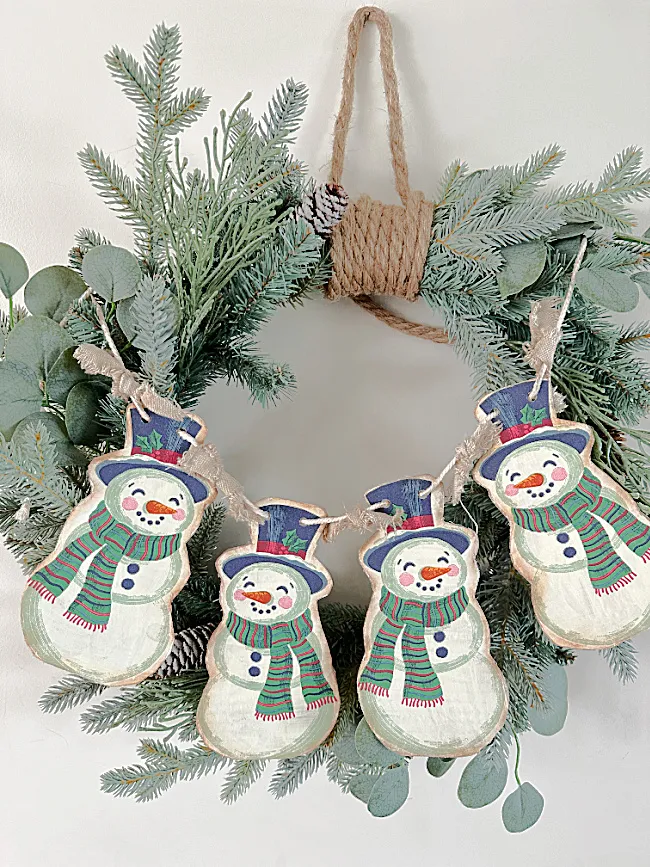
I strung my snowmen in 2 sets facing one another.
I added coffee stained painter cloth bows between them.
That's it!
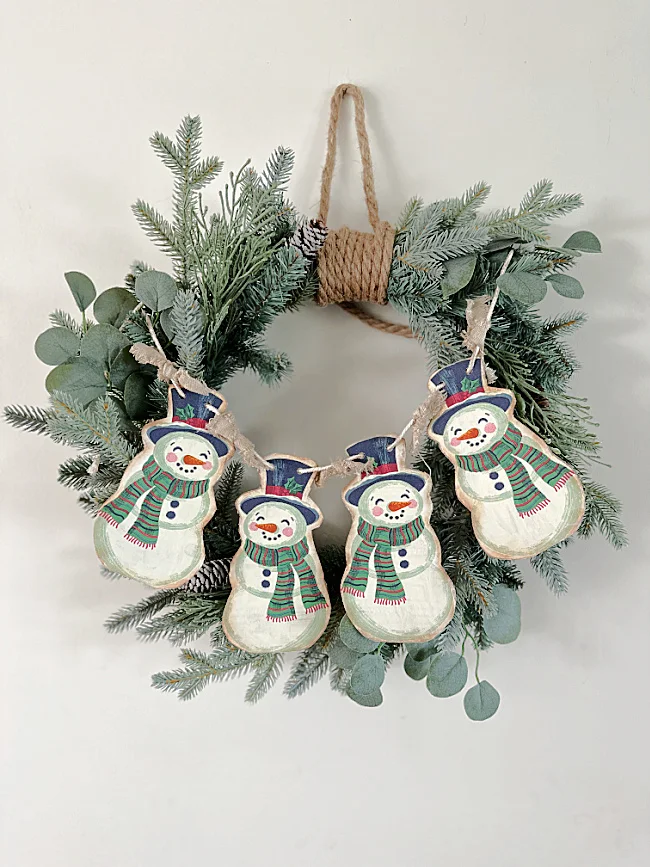
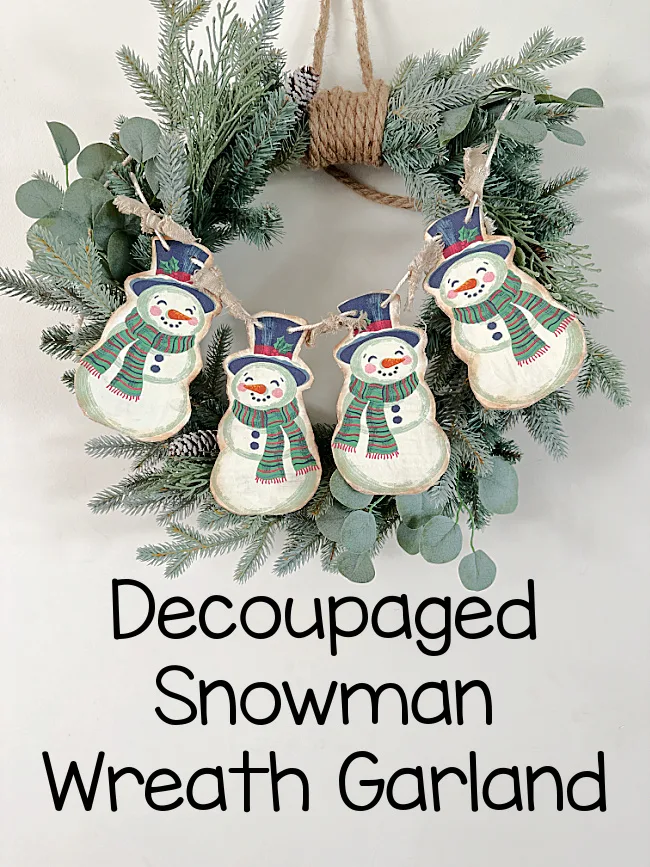
This is the cutest snowman banner!
I made the banner small so I can hang it on a wreath for Christmas.
The banner can also be hung by the mantel and if that's where you want it, you may want to make more than 4 snowmen.
Please pin for later --->>
I hope you like this vintage looking snowman banner! I had fun making it too.
If you are interested in purchasing a few snowman napkins to make this project, please send me an email and I will let you know if I have any left.
Thanks so much for visiting and before you go please take a minute if you haven't already, to sign up for the Homeroad emails so my next DIY tutorial will go out straight to you!


