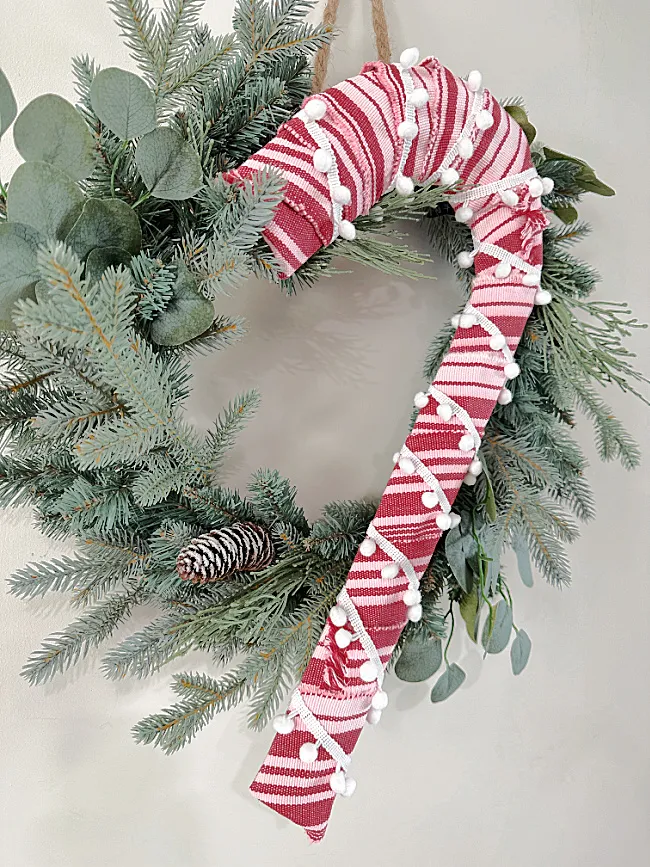
Dollar Store Christmas Candy Cane Wreath
Here's another quick and easy project to decorate your home for Christmas!
I'm attempting to throw all kinds of easy DIY projects out there so you can choose what works for you, maybe all of them do, maybe none but I'm giving you many choices this month!
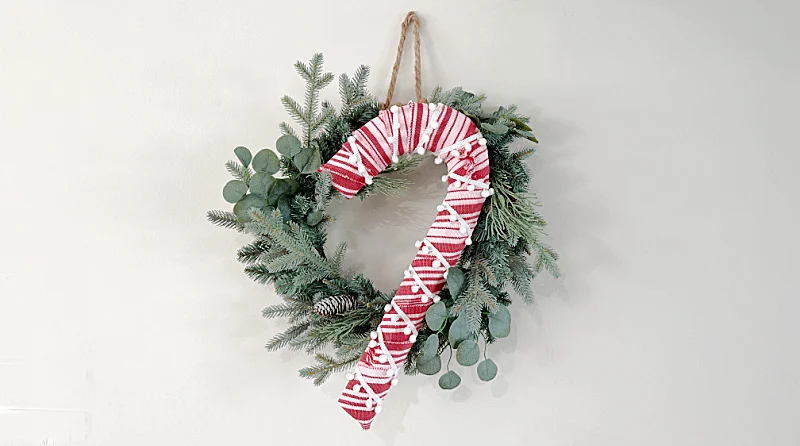
Today I'm using thrifted placemats and a candy cane frame to create a large candy cane to hang on a wreath!
Take a look--->>
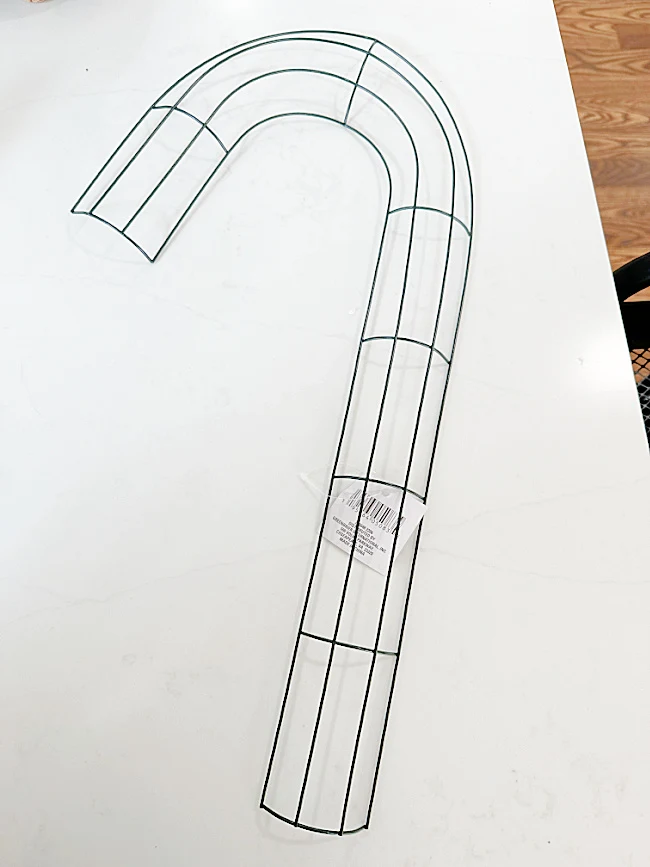
I'm beginning this project with the large candy cane wreath form from the Dollar Tree. It is 20.5" tall and only $1.25!
I'm also going to use what is left of the red and white striped thrifted placemats I found recently. I used one of the placemats to make small candy canes.
As you're reading through this post please pay attention to the bold blue links that will take you to more information and the products I used for this project. Also the READ MORE sections will take you to related Homeroad projects.
Now you probably do not have a red and white placemat but you can also use 3" ribbon which comes in all colors and patterns.
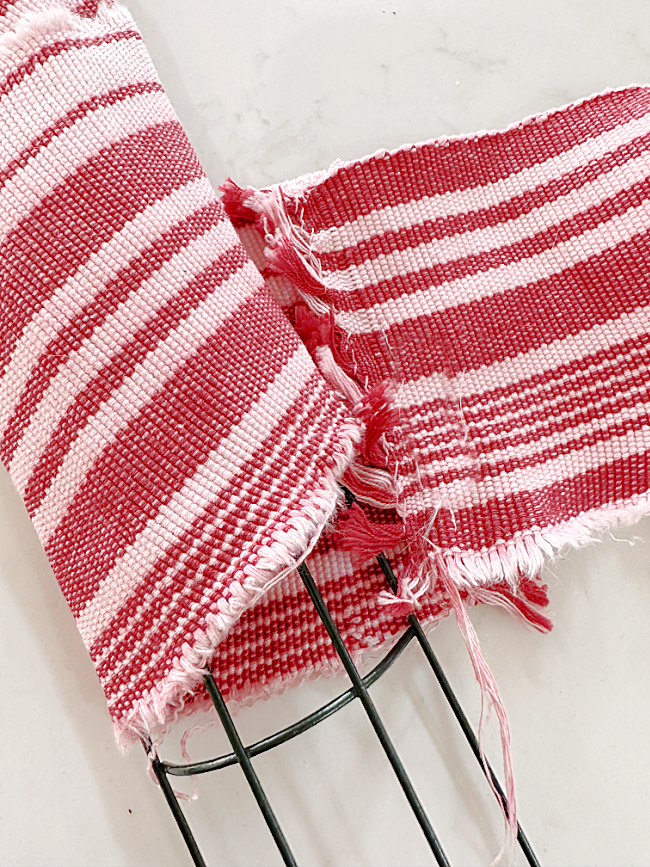
I cut 2 slits in each placemat and tore down the length of the placemat to create 3-4" strips of fabric with frayed edges.
This project is sooo easy!
All you do is begin wrapping one of the placemat strips beginning at one end. Secure the end with a little hot glue and wrap! When you run out of fabric just hot glue the next strip to the end of the last strip.
Continue wrapping the candy cane frame until you reach the end then hot glue the end.
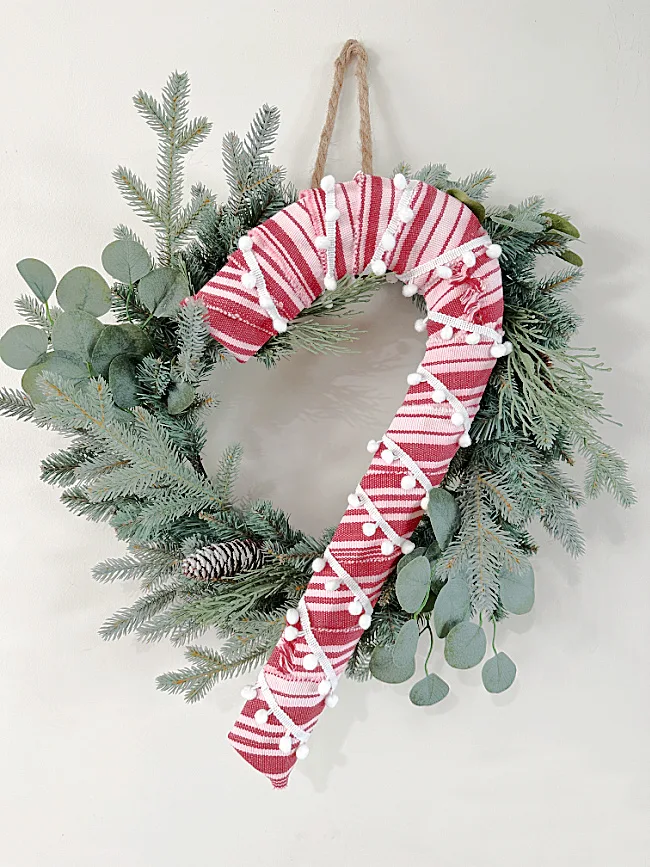
Next, I'm using white pom-pom trim which I also found at the Dollar tree and I'm wrapping the trim around the candy cane too but in the opposite direction.
Just hot glue the ends of the pom-pom trim to secure it.
That's it!
I zip tied the candy cane to a beautiful pine wreath I bought last year at Target and this project is done!
Please pin for later --->>
See I told you it was easy! I hope you'll give it a try.
READ MORE: DIY CHRISTMAS DECOR
Thanks so much for visiting and before you go please take a minute to sign up for the Homeroad emails so my next DIY tutorial will go out straight to you!

