Pallet Wood Christmas Tree
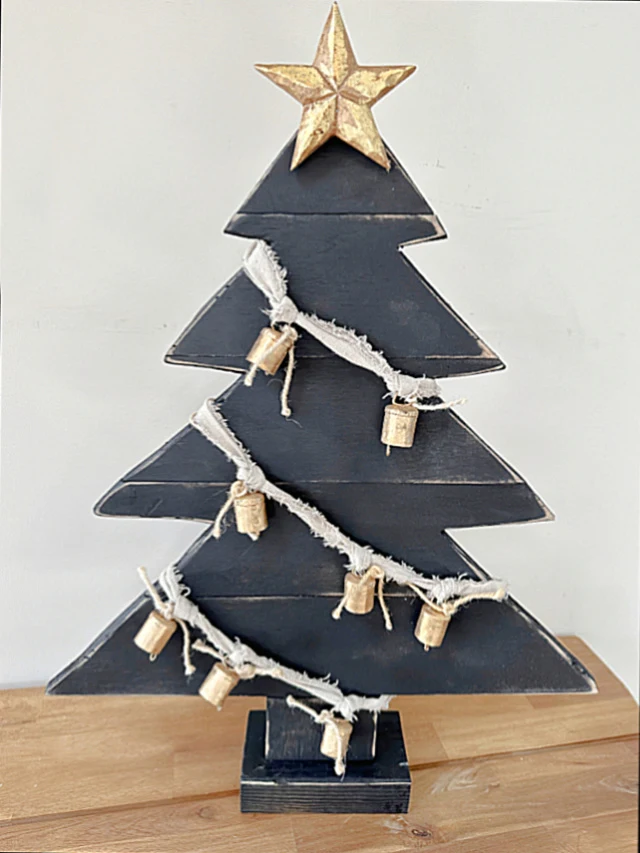
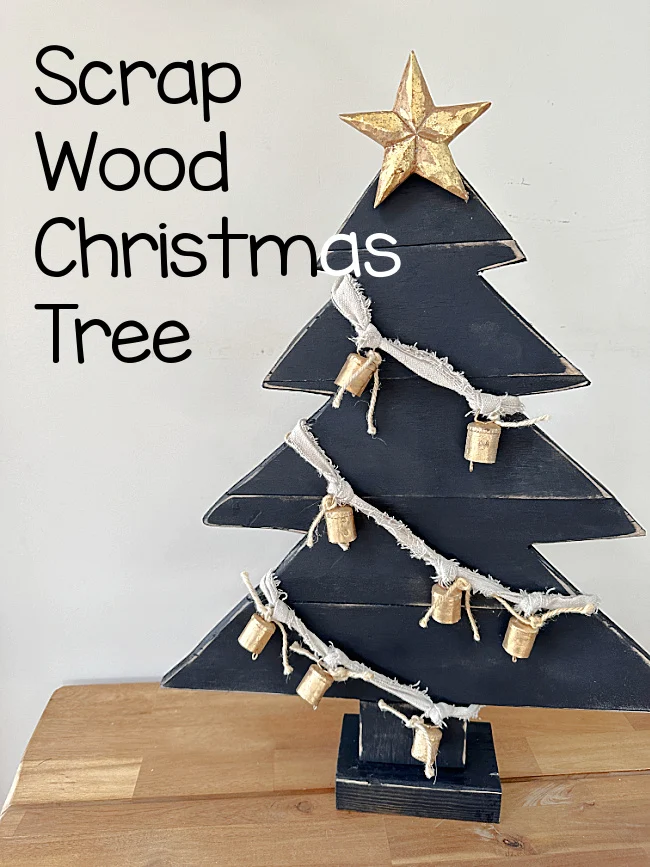
Today I'm creating the cutest large pallet wood Christmas tree for you!
Well actually not pallet wood, it was leftover wood that secured a large box for furniture, I guess you could call it pallet wood. Wood from an actual pallet will do the same.
Anyway, I created as I went with not much of a plan here and was pleasantly surprised in the end when I had a large sturdy, rustic wooden Christmas tree that I loved!
Take a look...
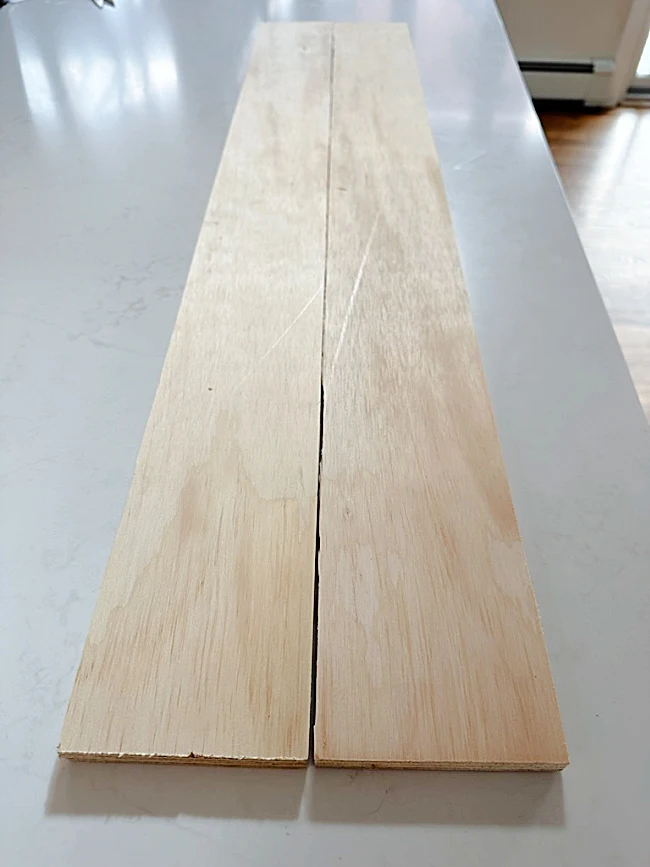
Here's the wood I found inside of a large furniture box. Just 2 pieces of good plywood that were about 4' long. You know I couldn't just toss it out with the box!
As you're reading through this post please pay attention to the bold blue links that will take you to more information and the products I used for this project. Also the READ MORE sections will take you to related Homeroad projects.
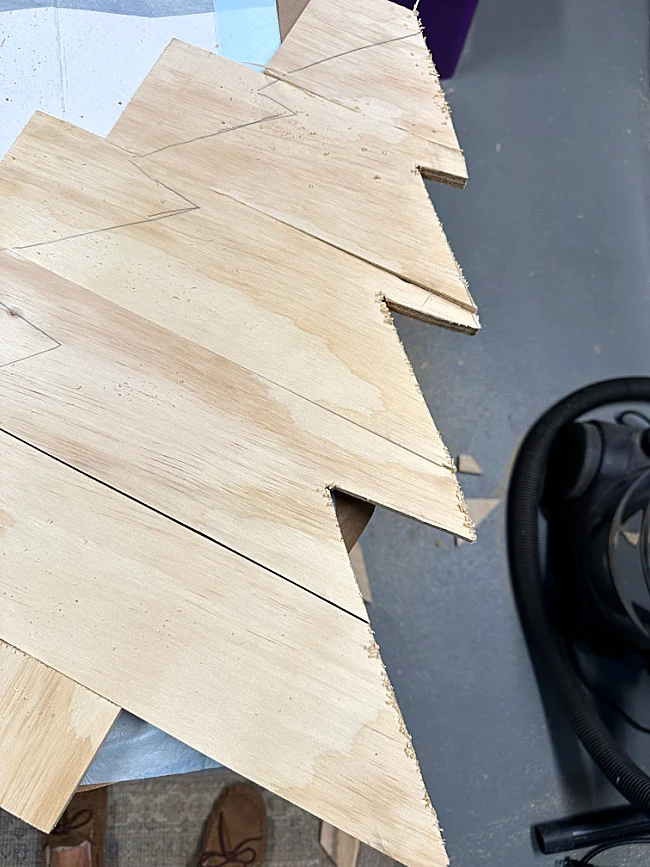
So here goes... I cut the pieces of plywood with a circular saw to get rough cuts that were in the basic shape of a tree. As I went along you'll see I moved the top small piece to the bottom for a trunk.
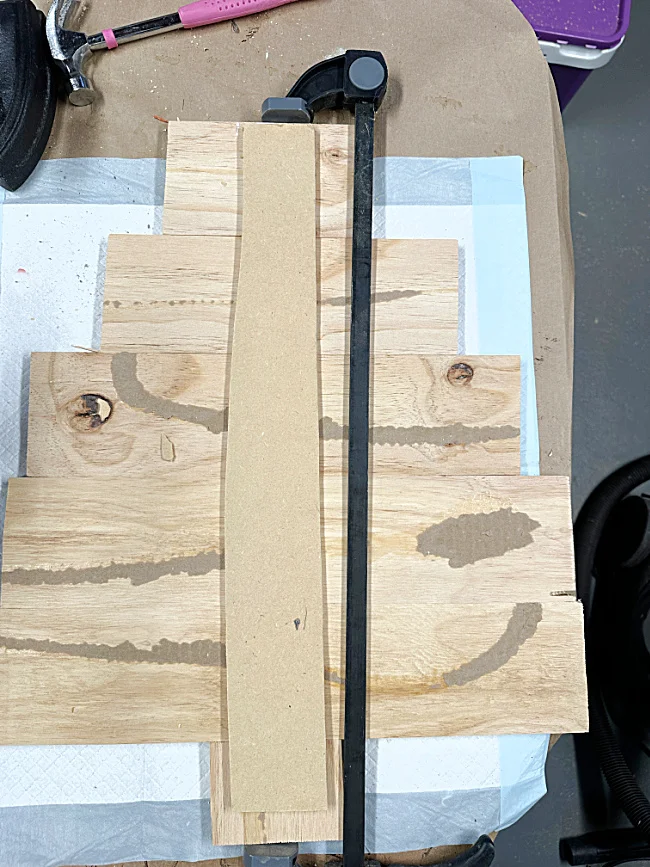
I used wood glue and a supporting strip of MDF wood to hold all the pieces together. MDF is a fiber board that is often found in IKEA furniture backs and yes, I save it.
I held down the MDF wood with heavy objects and a clamp while the glue dried. I also added a small screw to the back of each panel as I went for extra security.
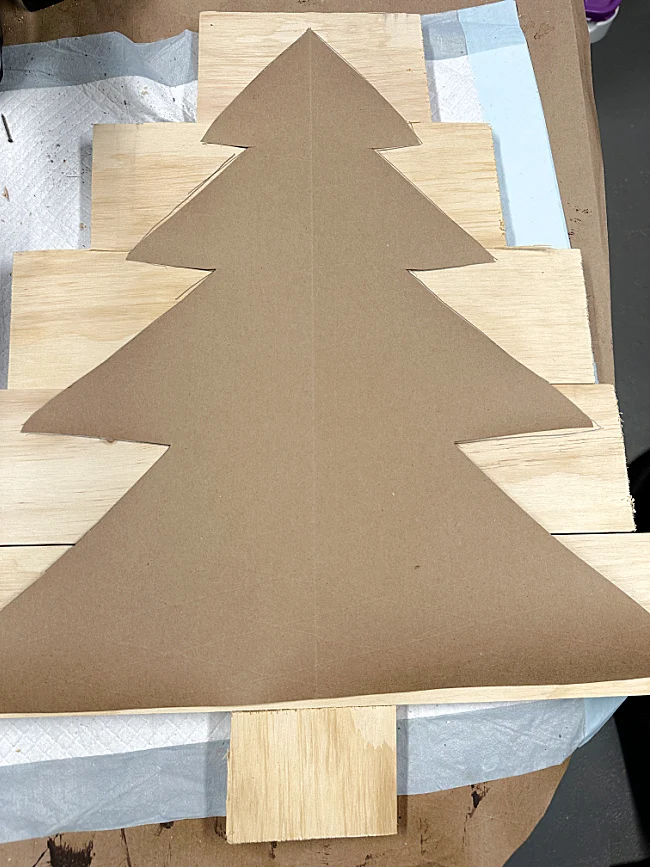
While the glue was drying I grabbed a piece of large craft paper to create the shape of a tree that would fit on the tree shape.
Once the tree was dry I removed the clamps and traced the Christmas tree shape onto the wood.
Next, I used a hand jigsaw to cut out the tree shape then gave it a good sanding.
I created a stand for the tree using a 2x4 attached to the back of the tree and another for the base. I nailed the base to the tree.
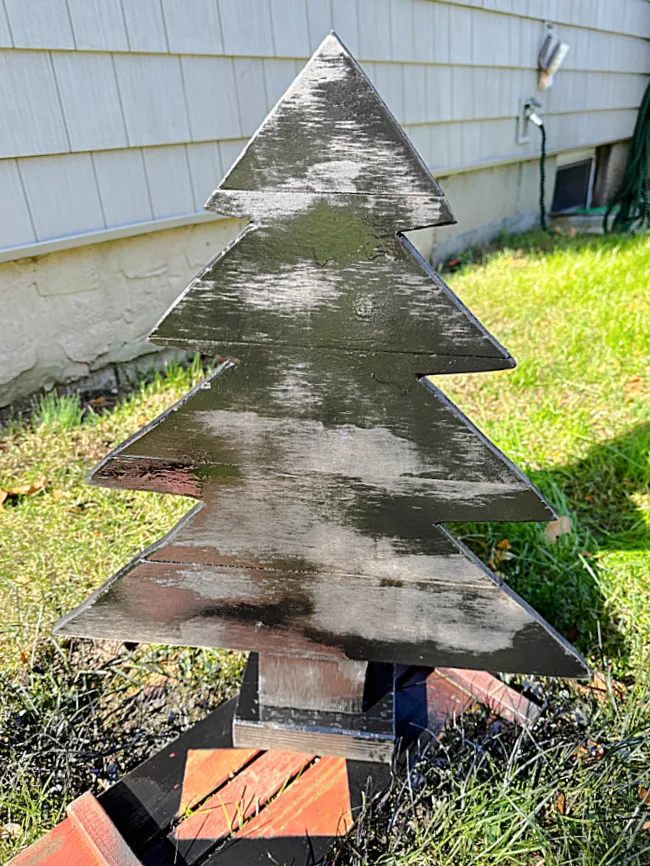
The next step took place outdoors. I spray painted the whole tree front and back with matte black spray paint.
When the paint dried I used an electric sander to distress the black tree.
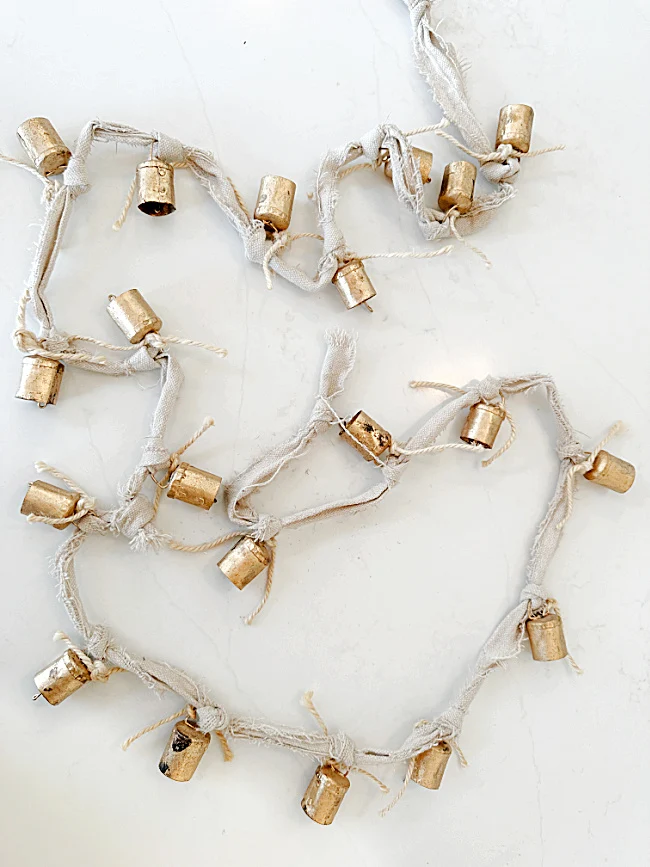
Now it was time to decorate the tree. I decided it needed a garland so I grabbed an easy bell garland I made last year.
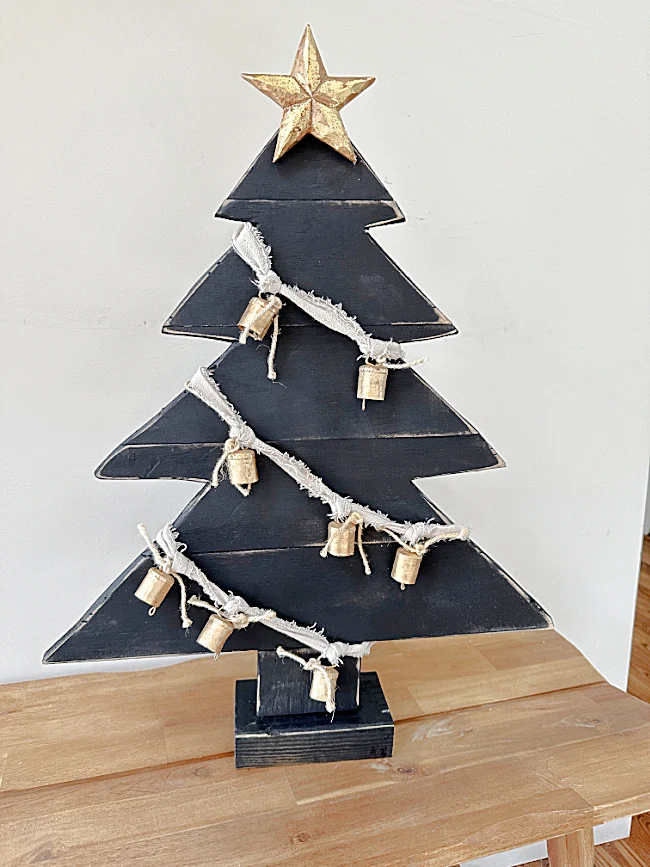
I wrapped the garland from top to bottom around the tree and secured it with a staple gun on the back.
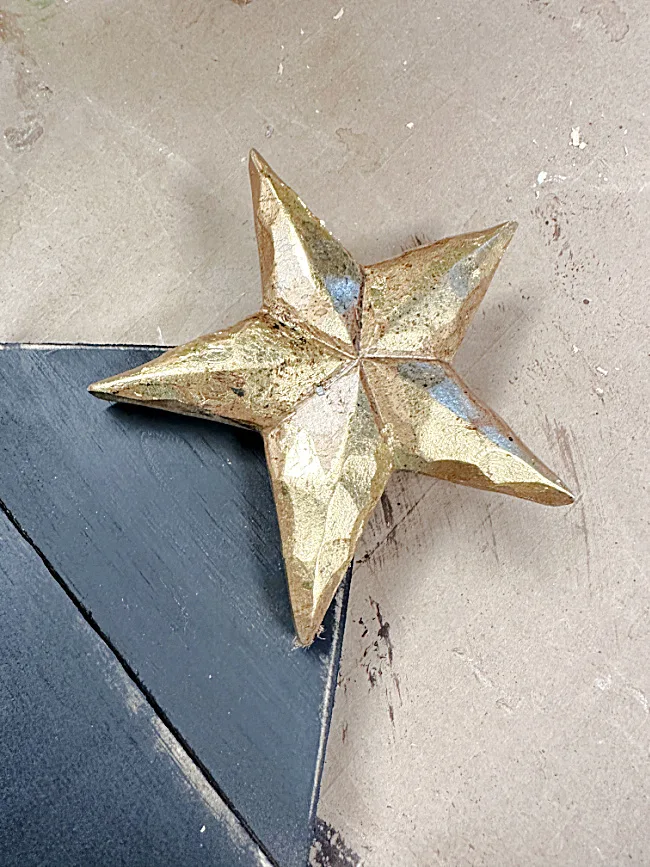
The bell garland also had a gold star at the end of it which I removed and nailed to the top of the tree. You can decorate your own star with Rub and Buff in the color Gold Leaf.
I'm so glad I had this bell garland from last year because it was just what I needed to decorate this tree!
That's it!
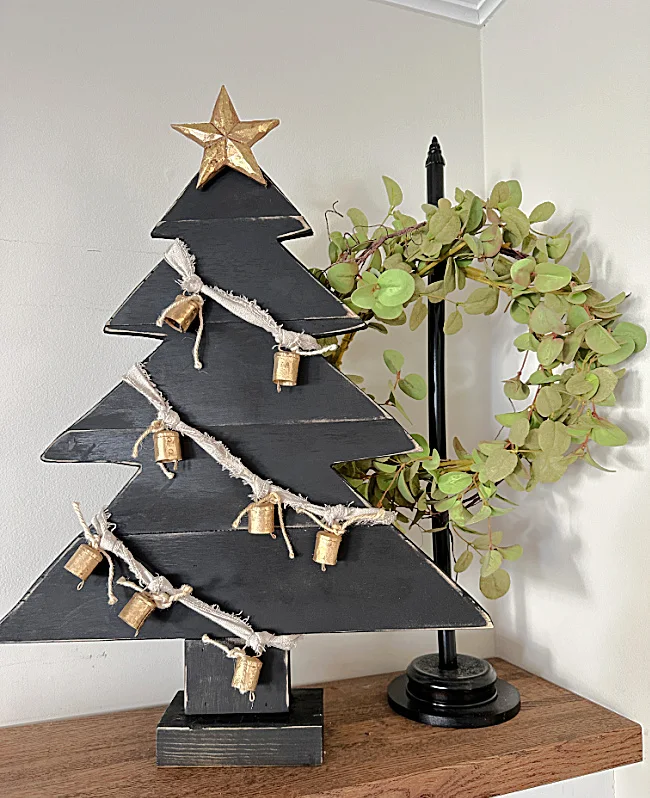
My pallet tree is about 3' tall and it stands tall and sturdy on the 2x4 stand. This wreath stand was also another recent DIY project.
As an added decoration you can wrap fairy lights around the tree with the bell garland and it looks amazing at night!
READ MORE: PALLET WOOD PROJECTS
Please pin for later --->>
I hope you see how just a few pieces of scrap wood can make an amazing project for the holidays!
READ MORE: SCRAP WOOD CHRISTMAS TREES
Thanks so much for visiting and before you go please take a minute to sign up for the Homeroad emails so my next repurposed and recycled project can go out straight to you!


