Reclaimed Wood Christmas Ornament Display
This year I need to figure out a new idea for Christmas.
As you may or may not know, we have a puppy. Well he just turned one but is still very much a puppy! I can not even imagine our usual 6' tree with ornaments anywhere near Sam.
I'm thinking of getting a 3' tree and putting it on a table but what about all my special ornaments?
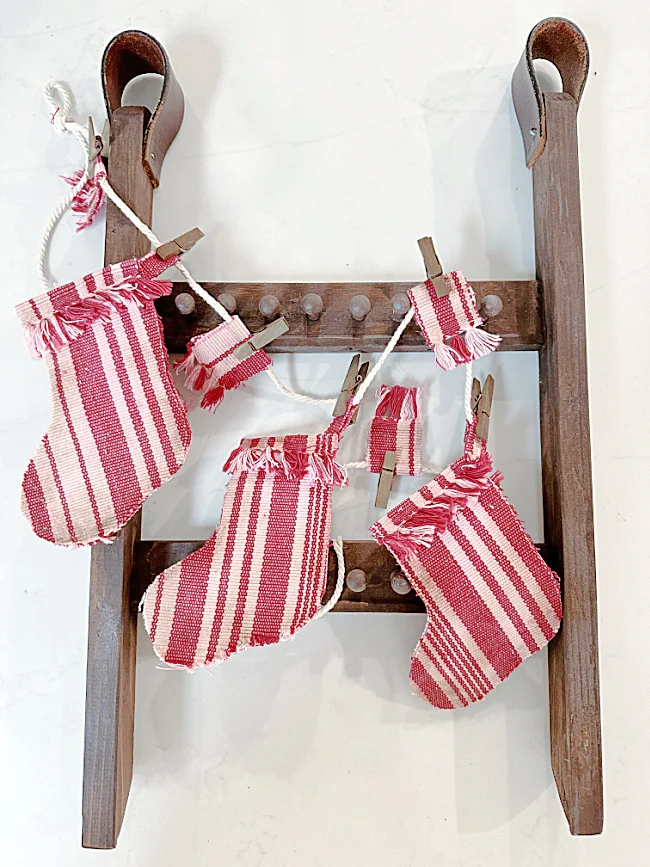
When I saw a gorgeous oak wall rack for ornaments on Antique Farmhouse I knew I had to make one of my own for all of our special ornaments. Needless to say the cost of this beautiful oak ornament rack was out of my budget.
See how it went...
I began by gathering wood in my workshop. The only problem is that I am very low on wood. All I had left were a few scraps and a broken canvas frame.
As you're reading through this post please pay attention to the bold blue links that will take you to more information and the products I used for this project. Also the READ MORE sections will take you to related Homeroad projects.
I had an idea and this was purely an experiment from soup to nuts!
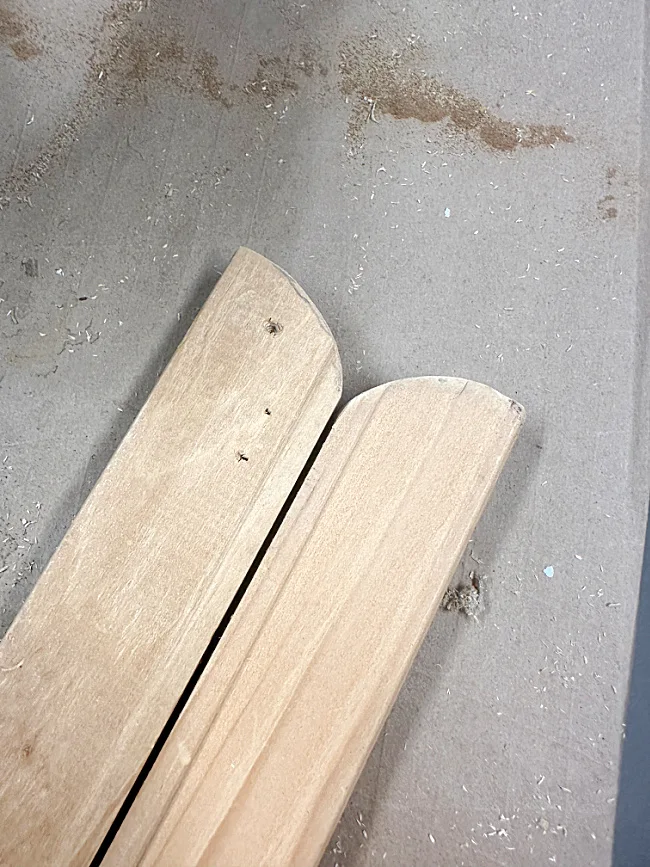
First, I removed what was left of the canvas off the wooden frame then cut 2 pieces that were about 17" long.
I used my jigsaw to round the edges, the top in one direction and the bottom in the other.
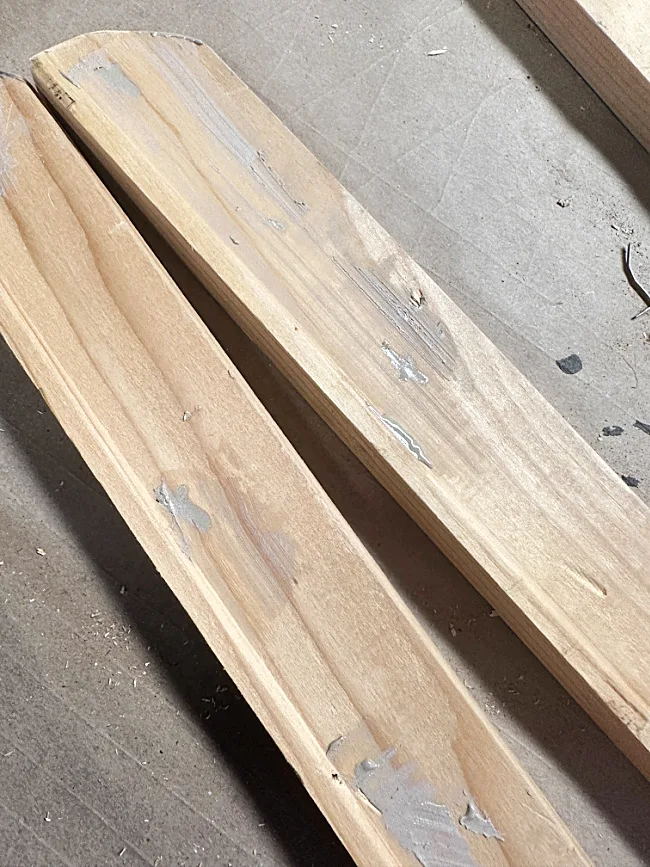
I had a lot of holes to fill from the staples so I used wood filler then sanded it smooth.
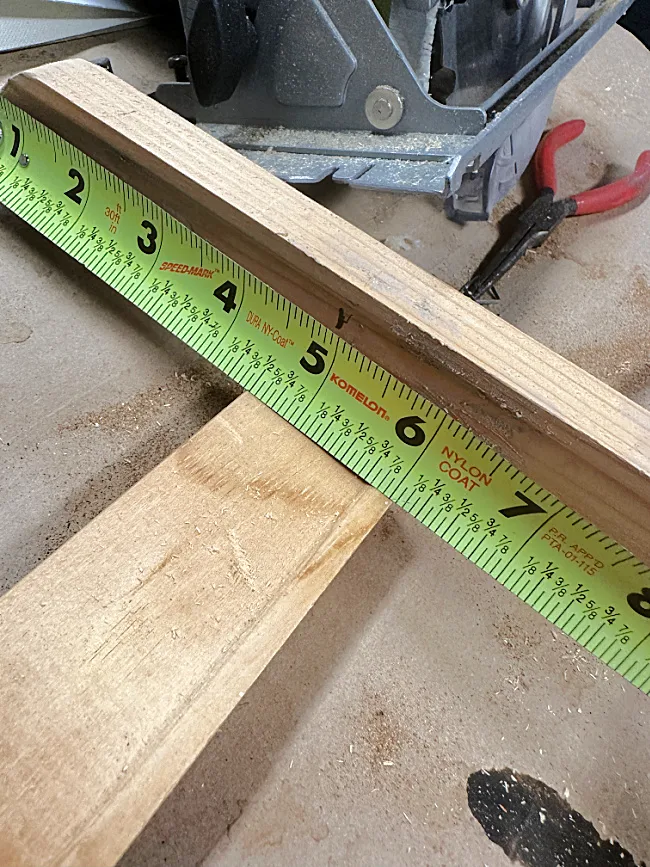
Now I cut 2 more pieces from the canvas that were 10" long each. I measured the distance between the pegs on my kitchen peg shelf to determine how wide I needed the shelf to be.
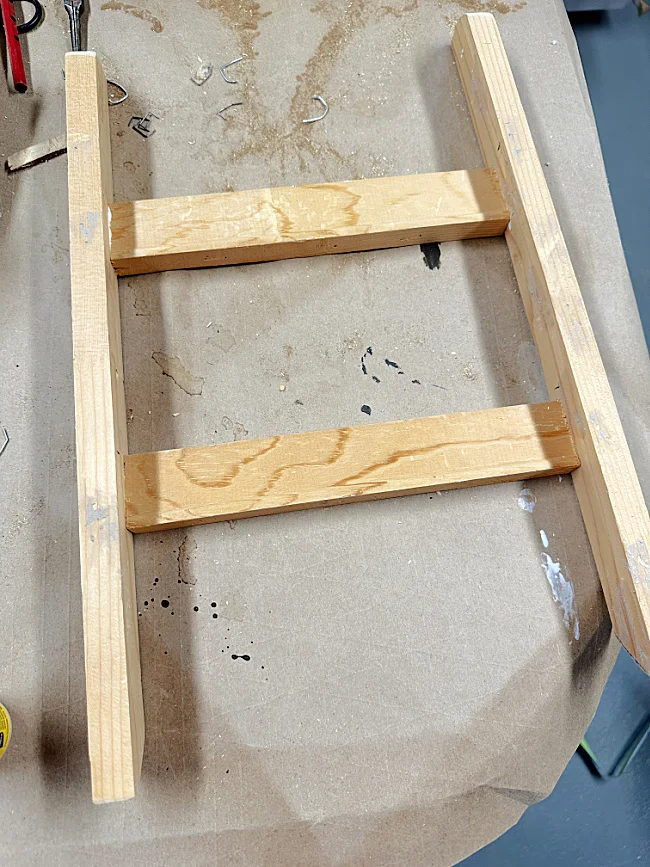
These shorter pieces would be my cross bars.
I measured to figure out the placement of the cross bars before I nailed it together.
Using wood glue and a brad nailer I attached the middle pieces.
Now it was time to sand and paint the frame. I used brown chalk paint and water to paint on and wipe off the paint which left a stained look and the wood grain showed through.
I let that dry for about a day until Amazon could deliver the pegs I needed. I found a package of tiny pegs that would be perfect!
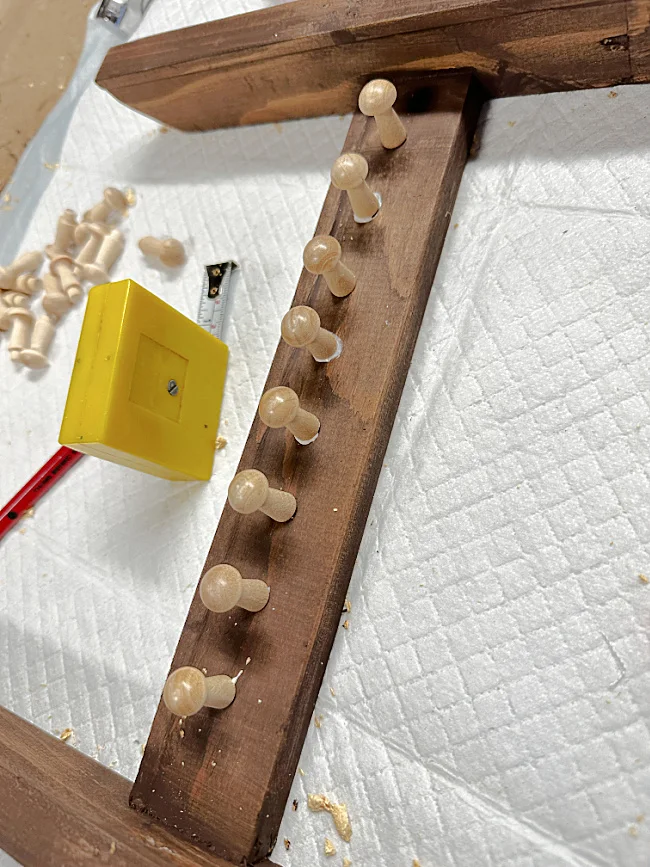
I measured where I wanted the holes to be and put a dot where I needed to drill.
I prepared my drill with a piece of painter's tape because I didn't want to drill too deep for the pegs and come out the back.
Once all the holes were drilled I filled the hole with wood glue.
I pushed each peg down securely then let it dry overnight.
In the morning I painted the pegs with the same mixture of paint and water.
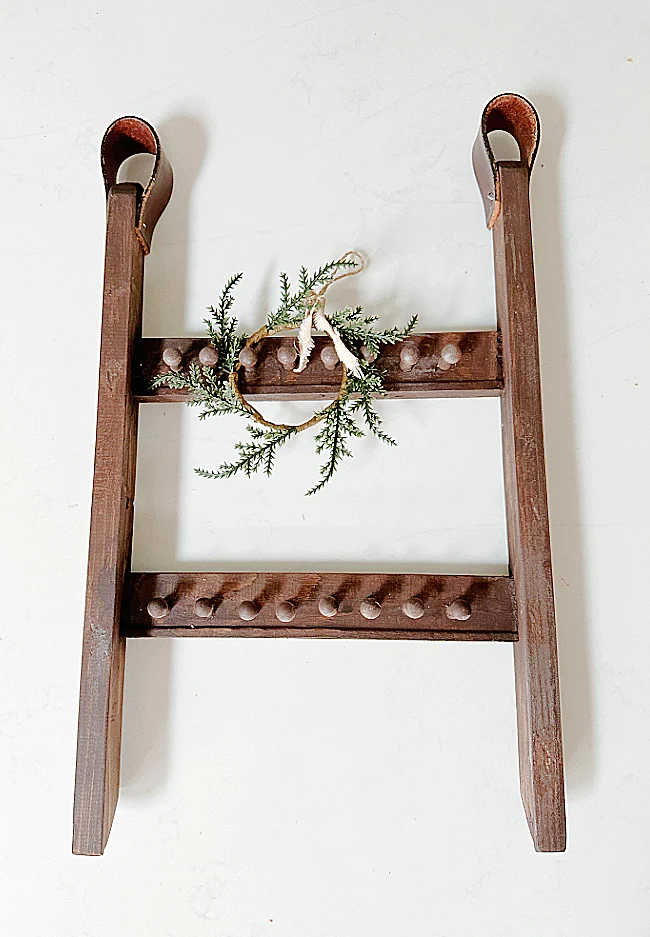
At the top I used 2 pieces of my husbands old belt to create loops at the top of the piece and attached them with the staple gun and small rounded staples. Lastly, I gave the whole thing a coat of matte sealer.
I just 💗LOVE💗 the way this came out and the best part is it was totally made from reclaimed materials!
Please pin for later --->>
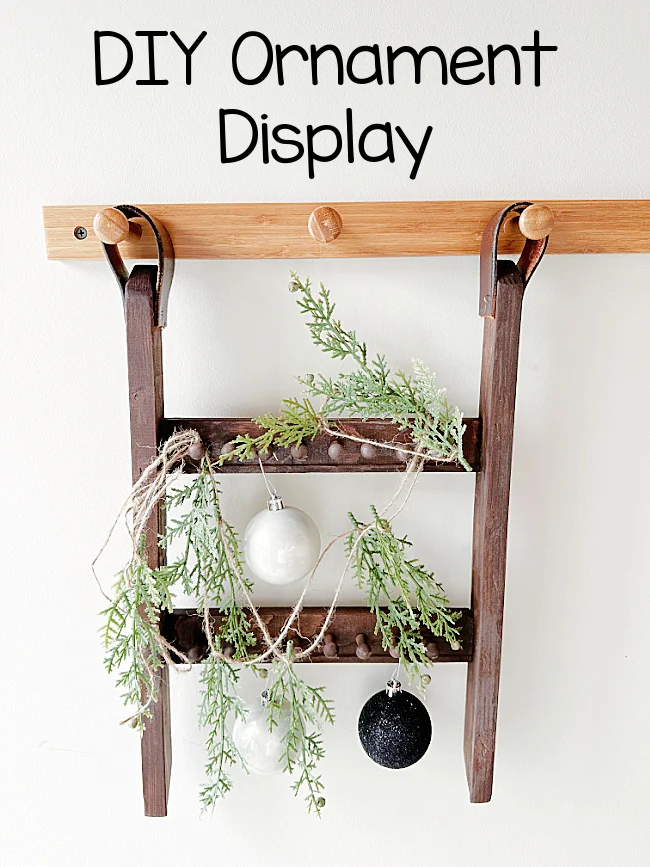
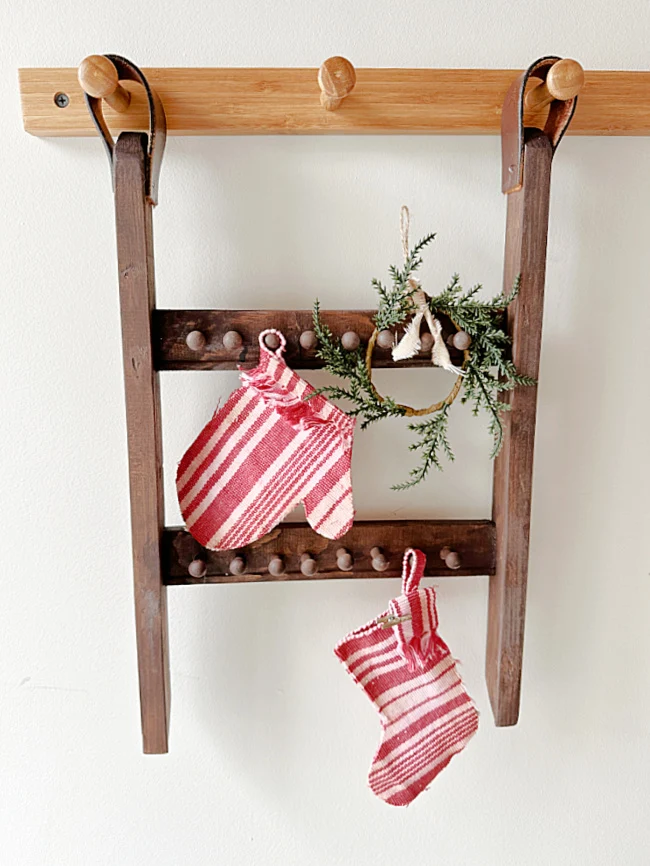
I'm going to hang it on the wall pegs and hang my favorite ornaments... So sorry Sam!
After Christmas this can be used to hang jewelry or whatever cute little decorations you collect. I know I will have no problem filling it up!
READ MORE: DIY CHRISTMAS ORNAMENTS
READ MORE: RECLAIMED WOOD PROJECTS
Thanks so much for visiting and before you go please take a minute to sign up for the Homeroad emails so my next DIY tutorial will go straight to you!


