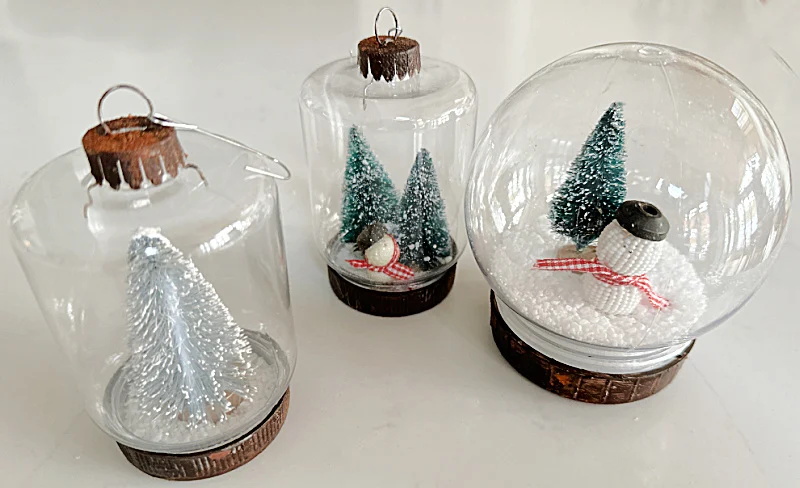
Rusty Snow Globe Ornaments
Don't you just love snow globe ornaments?! I love to make them myself too and I've made several over the years.
Today I'm going to show you how to dress up those cheapie dollar store snow globe ornaments. By adding a little rust we are going to make them amazing!
Just a few items from the dollar store and you'll have everything you need to bring those $1.25 snow globe ornaments to the next level.
Take a look...
Here they are, those cheap snow globe ornaments from the Dollar Tree. They look great for a kids craft but not for something you're really going to love or want to give as gifts.
As you're reading through this post please pay attention to the bold blue links that will take you to more information and the products I used for this project. Also the READ MORE sections will take you to related Homeroad projects.
Today I'm giving these ornaments a rust technique and filling them with simple items you can get at Dollar Tree or anywhere.
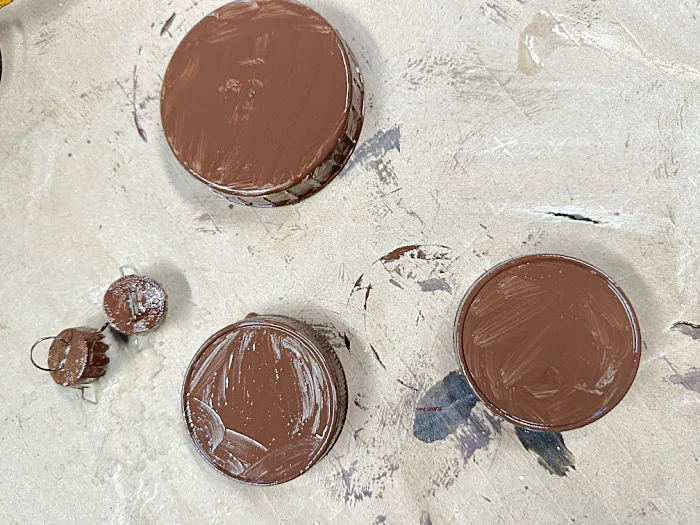
The first thing I did was to remove the bases and the metal hangers from the top.
I painted them with a FolkArt brown chalk paint.
While the paint was still wet I used pumpkin pie spice to sprinkle over the top of the wet paint. (I was out of cinnamon and the pumpkin pie spice works great, smells good too!)
When the paint and spice dried I added a little dabs of orange craft paint then sprayed the pieces with a matte spray sealer.
Lastly, I sprinkled a little more pumpkin pie spice then coated it all with matte Mod Podge and let it dry.
That's it!
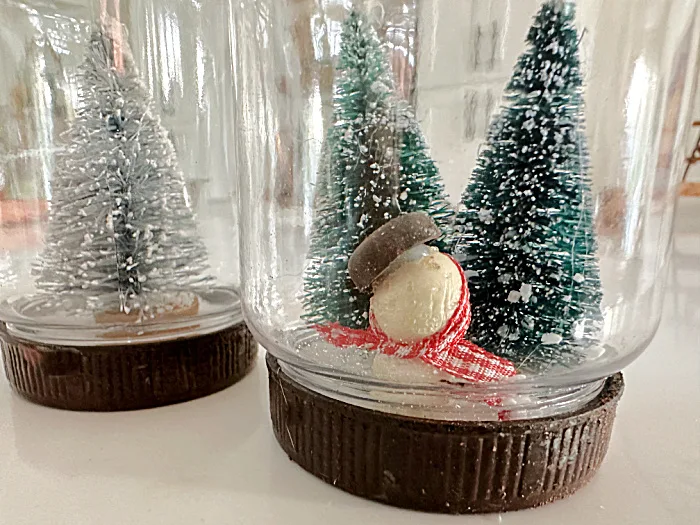
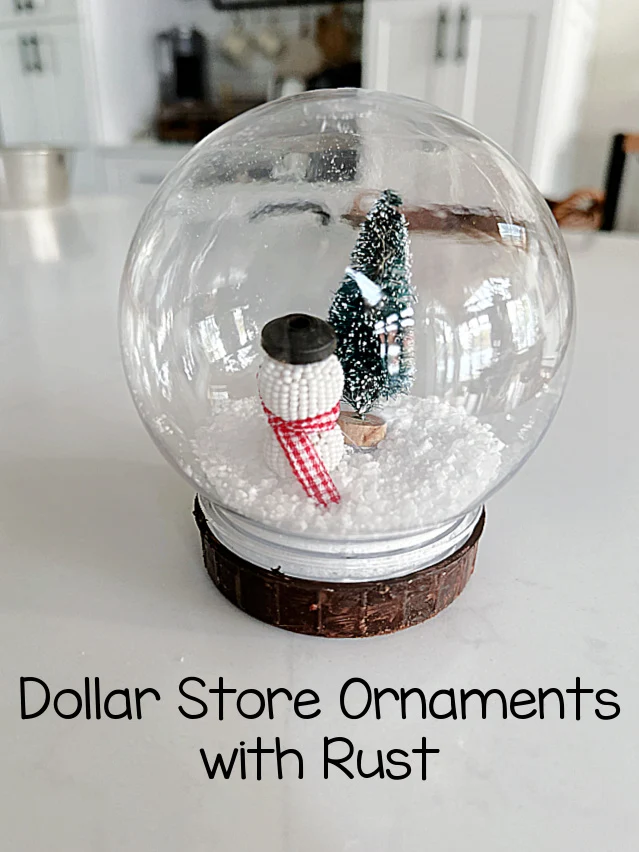
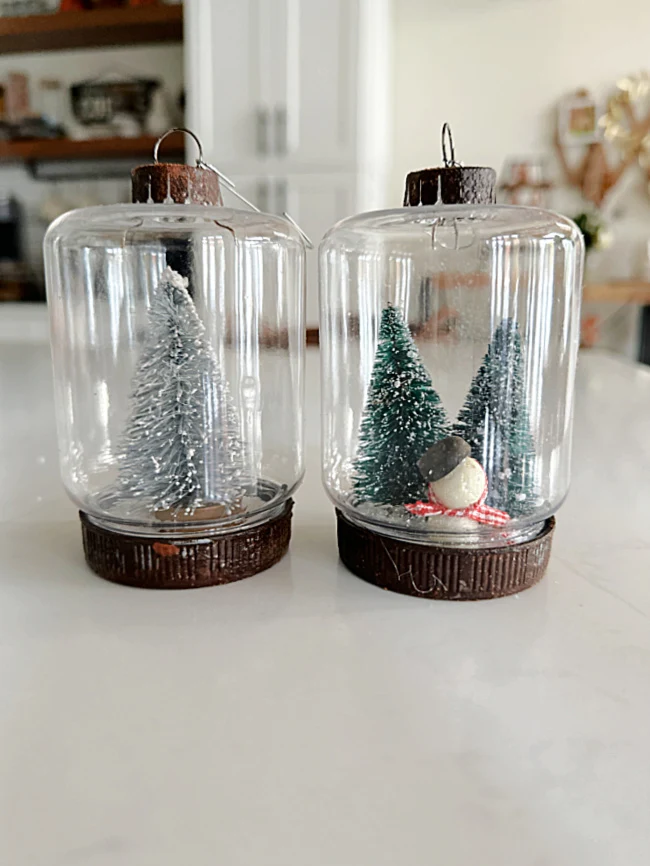
I filled the ornaments with small bottle brush trees and simple snowmen made with beads from an old necklace that I hot glued to the bottom of the lids. I sprinkled about a few teaspoons of epsom salt as snow and closed up the ornaments.
READ MORE: SNOW GLOBE ORNAMENTS
These ornaments went from zero to 100 in no time! Now they're ready for a craft fair!
Please pin for later --->>
READ MORE: CHRISTMAS ORNAMENTS
All the supplies for this project can be found at the Dollar Tree.
Thanks so much for visiting and before you go please take a minute to sign up for the Homeroad emails so my next DIY tutorial will go out straight to you!


