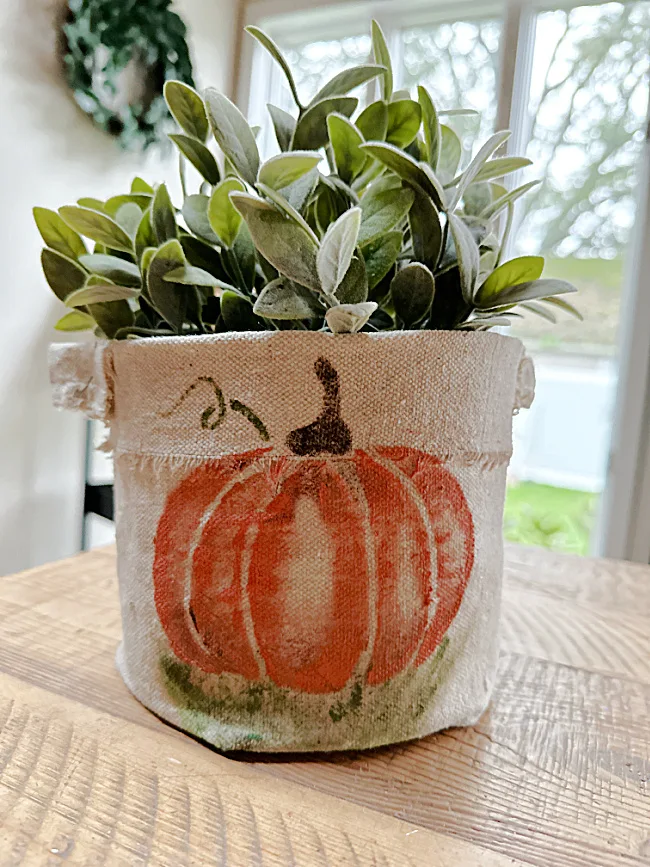
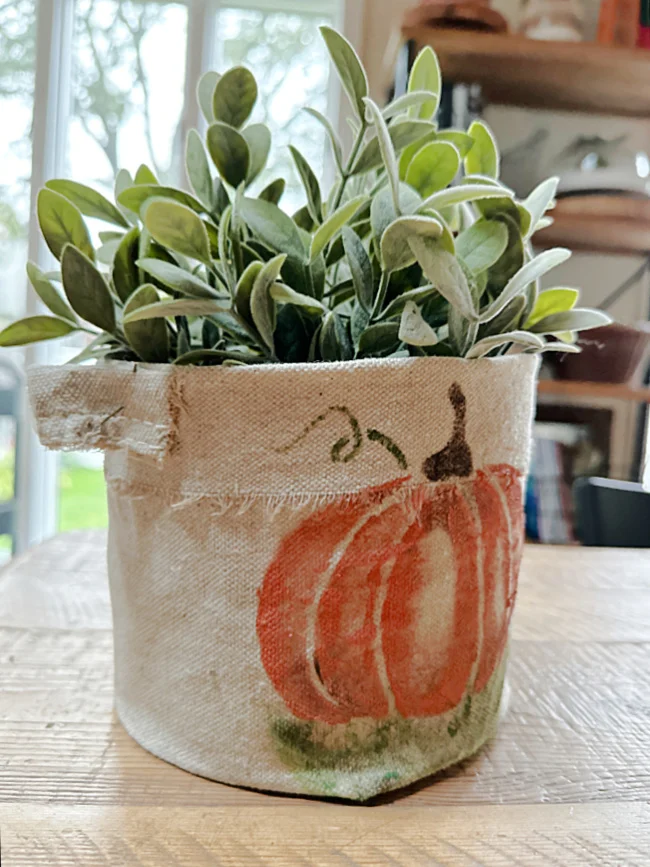
Stiffened Fabric Bucket Basket
Today's project was a bit of an experiment for me.
I had some drop cloth scraps and I wanted to see how well the thick drop cloth would stiffen.
I'm not using any special supplies, the whole project really cost me nothing.
I stenciled a pumpkin on the bucket but certainly this would be great for any season!
Take a look...
Like I said I had a big scrap of drop cloth material, it was about 10" x 20".
As you're reading through this post please pay attention to the bold blue links that will take you to more information and the products I used for this project. Also the READ MORE sections will take you to related Homeroad projects.
I began by grabbing a large coffee can, the one I used was cardboard.
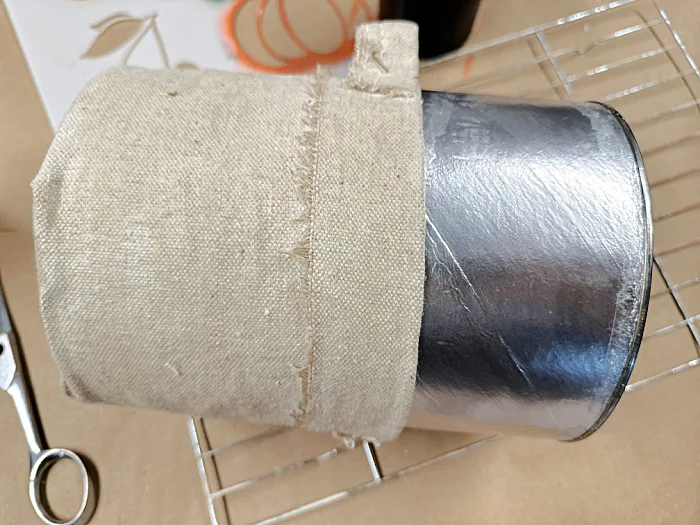
I folded the edge down on the frayed edge of the fabric and wrapped it around the coffee can and used hot glue to secure the edge all the way down the can.
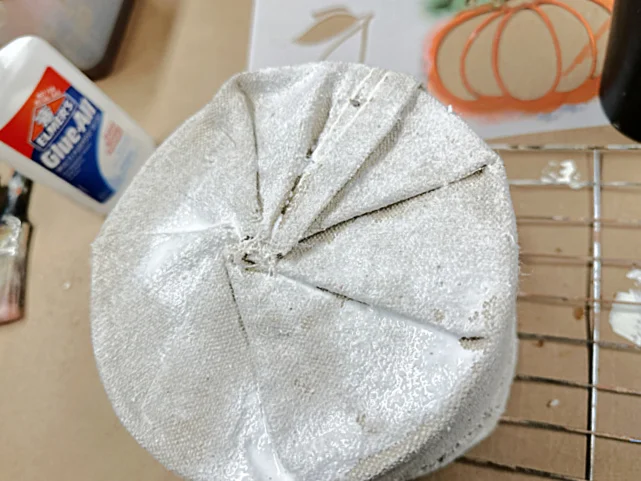
I flipped the can over and wrapped the fabric in a pinwheel design along the bottom of the can and secured it with hot glue.
Next, I cut off about 3" of the seam of the drop cloth material and hot glued one to each side of the can for a handle.
Now mind you, my fabric is frayed and so are the handles. It adds to the look of the finished basket.
Now it was time to stiffen the fabric. I painted a thick layer of plain old Ehlmer's Glue all over the outside of the basket and the handles.
That's it, regular school glue did the trick!
I turned over the canvas basket and let it dry on a rack overnight.
In the morning I removed the can from the canvas, and yes it was slightly stuck to the can. I took a butter knife and went around the can with it which loosened the canvas completely. If you want to avoid this you could wrap the coffee can with cling wrap.
It worked! The fabric was very stiff! The stiffened basket came out just as I had hoped! The only thing you may want to do but it is not necessary, is to remove the can when the glue is dry and give the inside a coat of glue. It would make the basket rock hard!
To decorate the outside of the canvas basket I had to slip the can back into the canvas which went back in easily.
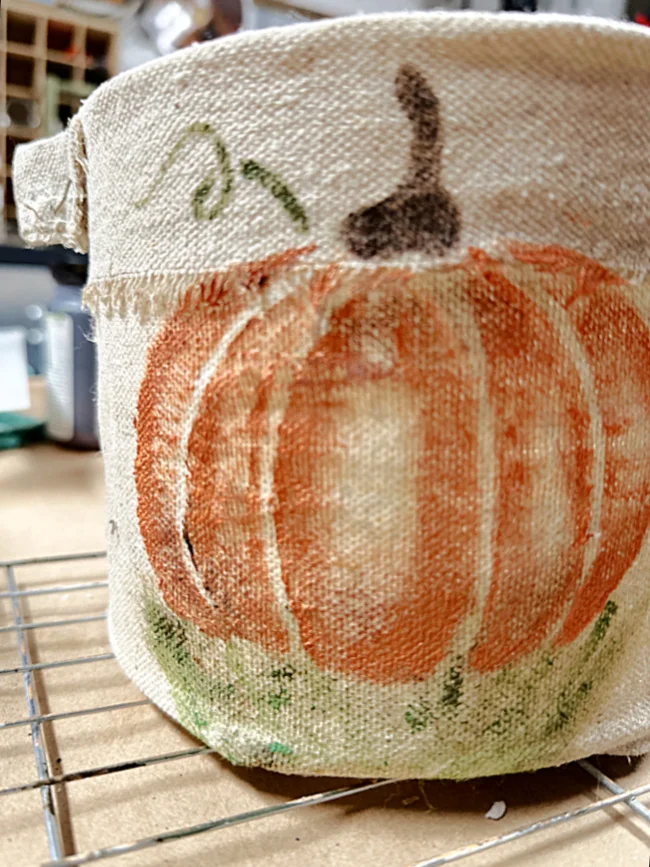
I'm using an Old Sign Stencil called Fall Produce Graphics. I stenciled the pumpkin with craft paint and a dry brush to keep the painted area shaded. I then went back in and added highlights and shading as well as grass to the stenciled design. The pumpkin design will take me through November!
This stencil set comes with several different stencils that are great for Fall!
That's it!
Please pin for later --->>
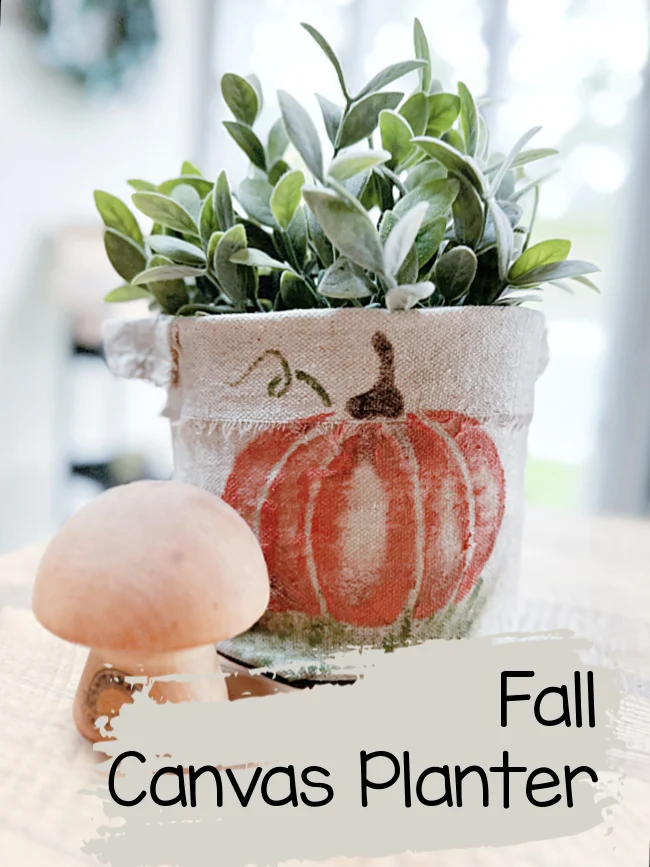
The stiffened fabric on the fabric basket holds up great! It is stiff enough to fill with a plant or whatever you want to fill it with.
If you turn it around (or don't stencil at all) you have a canvas basket that will be great all year long!
I love the way this experiment worked out!
READ MORE: DIY DROP CLOTH PROJECTS
I'm going to use this basket to hold a faux plant for November and then turn it around and fill it with holiday greens for Christmas!
Thanks so much for visiting and please sign up for the Homeroad emails so my next DIY tutorial will go out straight to you!
Old Sign Stencils provided me with the stencil for this project. All opinions are my own.


