Turkey Placemat Pillow
Happy November! Here's a super easy one for Thanksgiving!
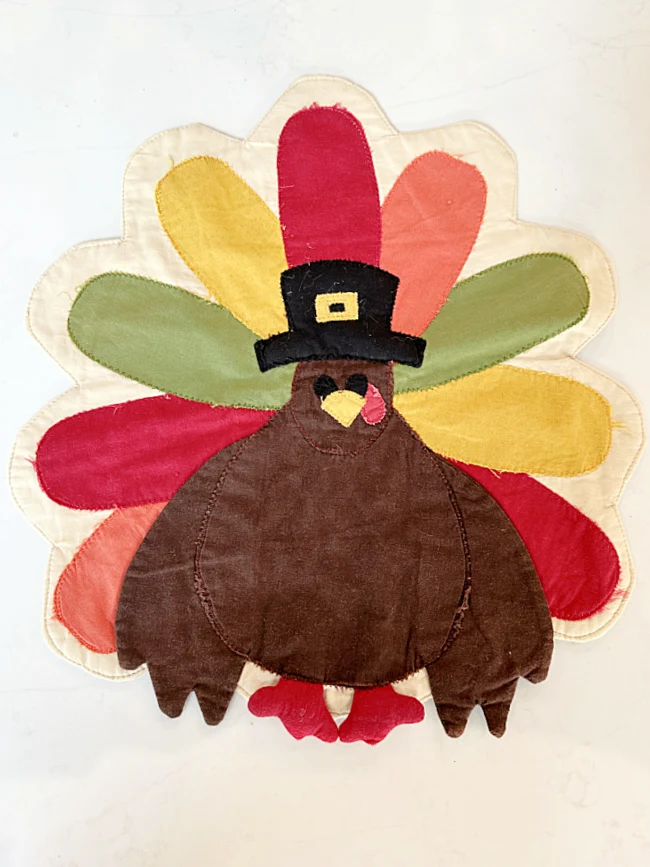
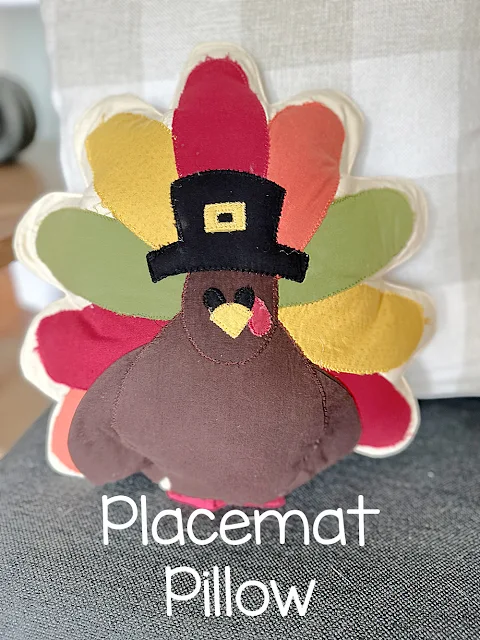
I found the cutest turkey placemat at the thrift store and the minute I saw it I just knew it was going to make an adorable Turkey pillow for Thanksgiving.
I'm pretty sure you'll never come across a turkey placemat in your travels but if you do and if you can see past the turkey, you'll think of placemats in a whole new way!
It will be the easiest turkey you've ever stuffed! Read to the end and see what cute details I added at the last minute!
Take a look...
I've repurposed many a placemat in the past but never a turkey placemat.
As you're reading through this post please pay attention to the bold blue links that will take you to more information and the products I used for this project. Also the READ MORE sections will take you to related Homeroad projects.
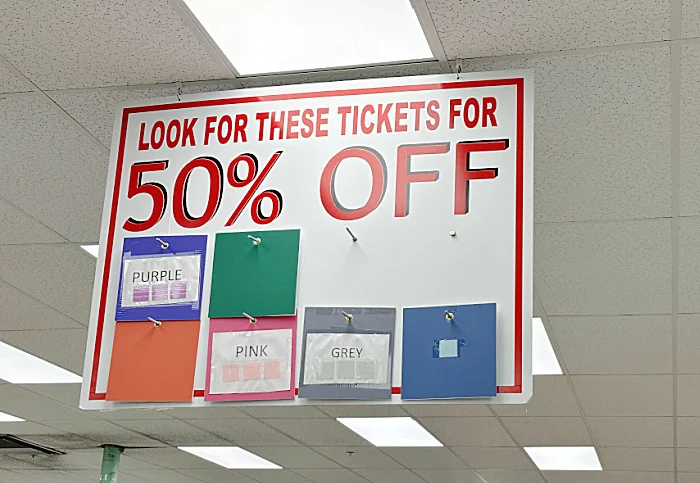
This project began in the thrift store today where all these colors were half price! You might think that is a great thing but let me tell you, it was so crowded I could barely get down the aisles! I guess we are doing a good job of sending people out thrifting!
This turkey placemat was beautifully zig-zag stitched around every part of him.
His legs and his wings were loose and absolutely perfect for what I had in mind!
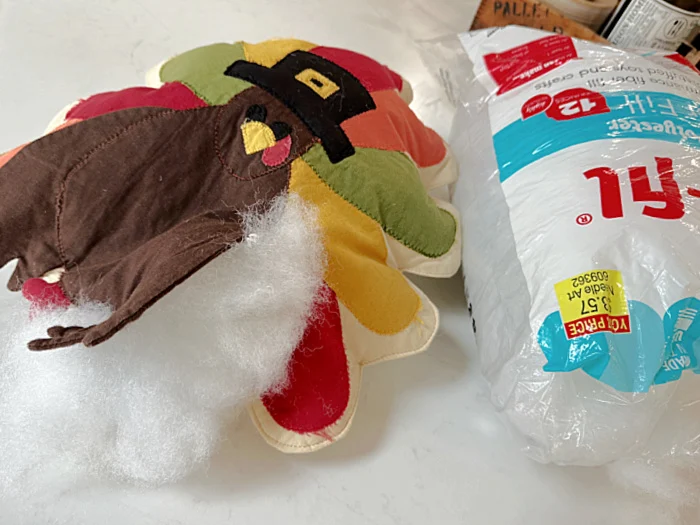
I checked under his wing and found an area I could cut with scissors so I could stuff the turkey. No pun intended!
I'm using Polyfil to fill the turkey but you can also use stuffing from an old pillow.
I stuffed and stuffed this turkey until he was ready to burst.
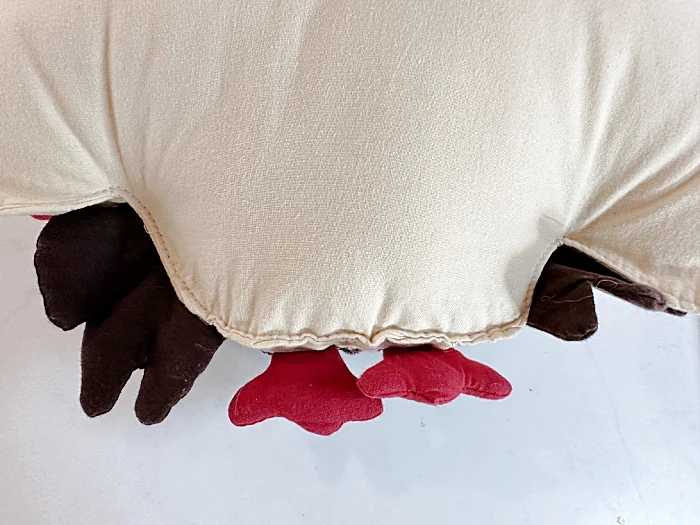
Then I lifted up his wing and used hot glue to glue it down and cover up the cut in the fabric I had made.
You will never know that I cut a hole to stuff my turkey front or back!
That's it! He is the cutest! And I had one more idea... hang on!
Please pin for later --->>
The easiest turkey you will ever stuff!
READ MORE: THANKSGIVING PROJECTS
And hopefully the only turkey I'll be stuffing this year!
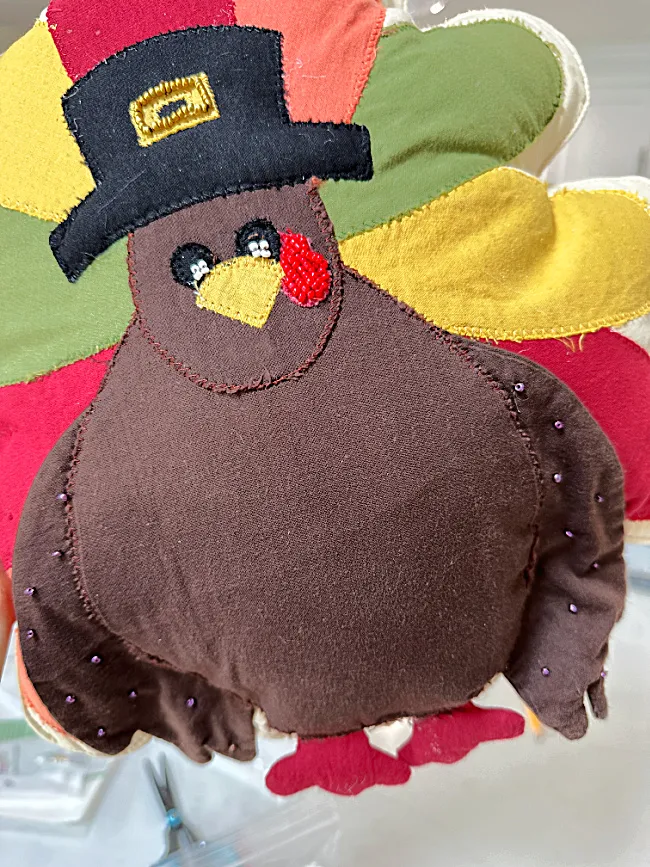
I decided in the end that I would add some tiny seed beads to my turkey. After all, the cute turkey pillows at target are adorned with beads...
I added a beaded gobbler, beaded eyes, the buckle on his hat and in random places on the wings.
I think the beading made the perfect final details!
Thank you so much for visiting and before you go please take a minute to sign up for the Homeroad emails if you haven't already. I'll be sending a newsletter and my latest DIY tutorial straight to you as soon as it hits the press!


