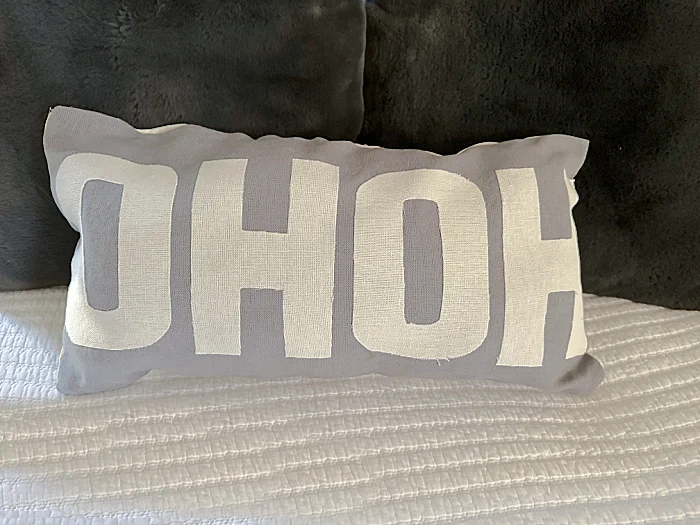
Neutral HO HO Christmas Pillow
Is it HO HO or HO HO HO?
That is the question today... The inspiration for this project says HO HO and after making it I think I can see why there isn't another HO.
Anyway I made a similar pillow for the Fall and when I saw this Pillow on Antique Farmhouse I was inspired to make another one only for Christmas!
Take a look...
So I really thought it should be HO HO HO but as I worked on this pillow I realized you'd need a pretty long pillow to get all of that on there!
I guess that is why my inspiration pillow only said HO HO! 😂
As you're reading through this post please pay attention to the bold blue links that will take you to more information and the products I used for this project. Also the READ MORE sections will take you to related Homeroad projects.
Anyway, all kidding aside, I'm making one today because I think they are pretty cute no matter what it says and since I made one for Fall, I was an expert already!
I began with 2 new tea towels that I washed before I used them. One of them was off white and the other light grey... the perfect colors for my house! These were Crate and Barrel tea towels and truth be told they will make a better pillow then tea towel anyway. They are pretty but don't seem very absorbent.
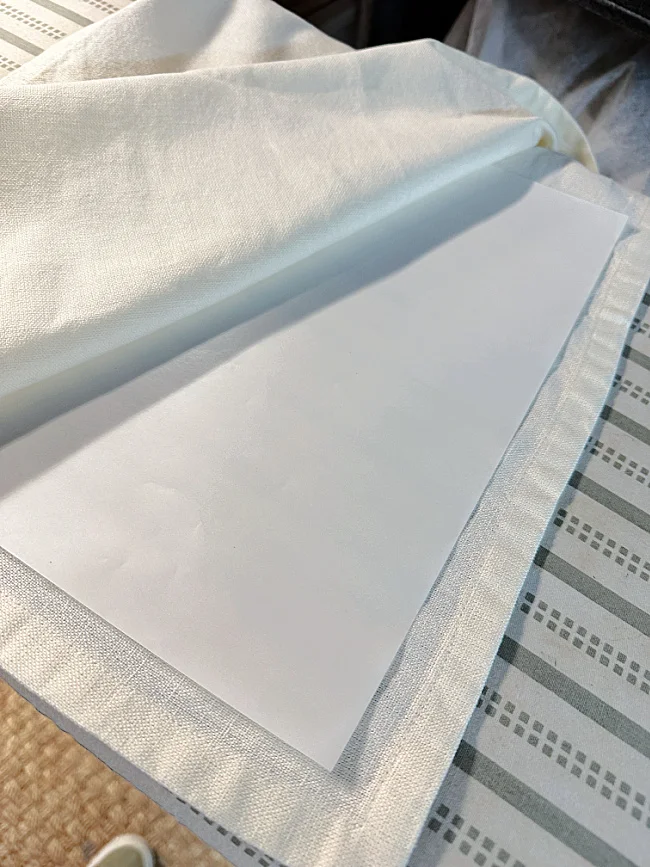
The first thing I did was to iron some adhesive to the off white tea towel. I'm using an iron on bonding adhesive I bought on Amazon and it worked pretty well! You iron the paper to your fabric with the paper side up.
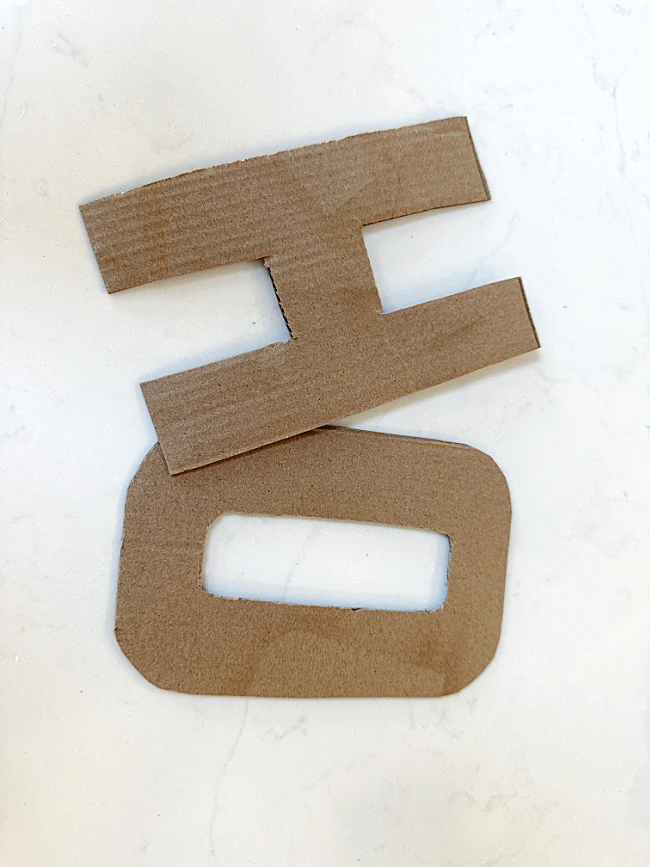
Next I made a cardboard stencil of an H and an O. I hand drew them, I was a PreK teacher for 30 years, it is just what I do.
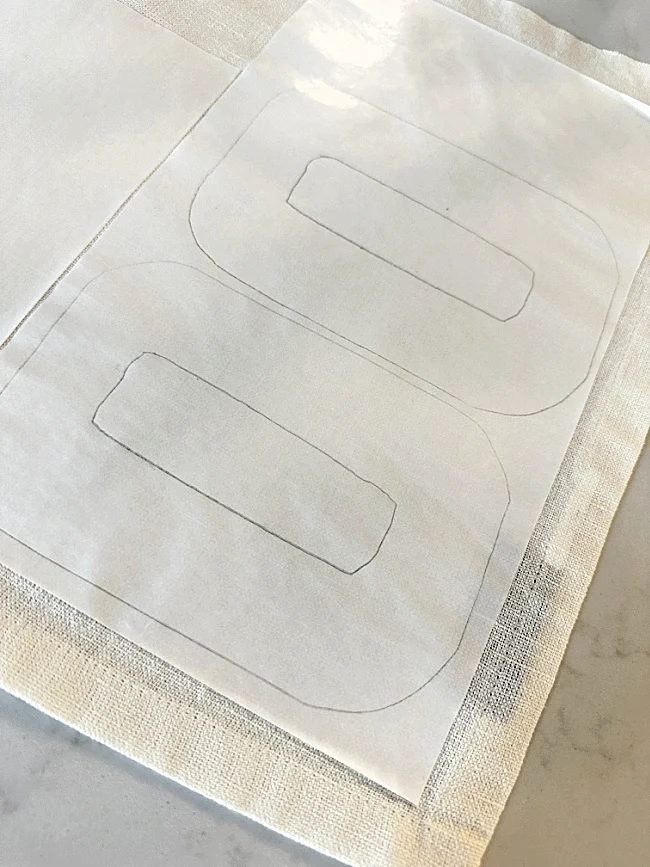
I traced the H and the O twice onto the ironed adhesive paper then cut out the letters.
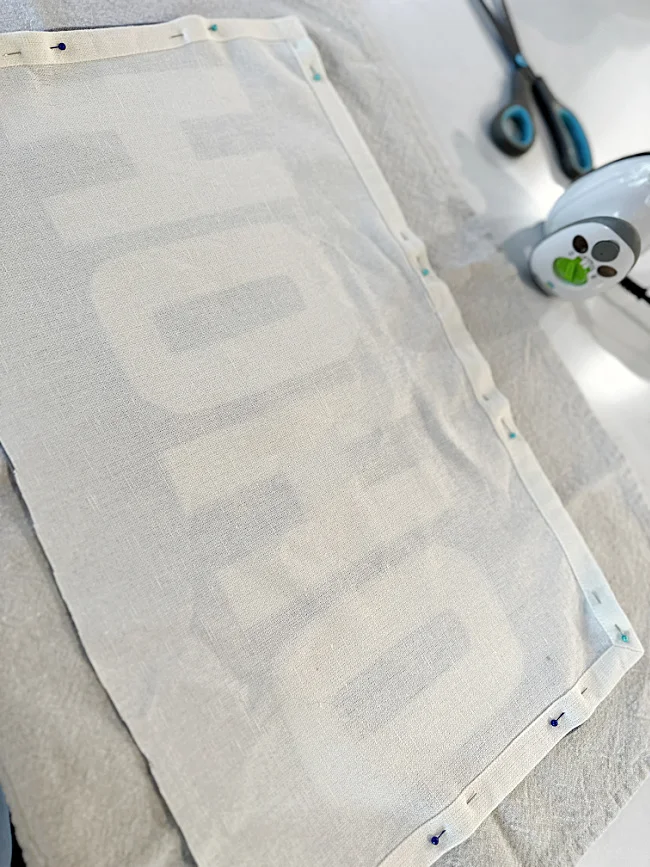
I peeled the backing off the letters then ironed them to the tea towel. Here is where I found out that if I had HO HO HO the pillow would need to be about another foot longer.
I started out using the small craft iron which is great for many things but I needed to get out the big guns to heat up these letters so I ended up using the big iron.
Now it was time to make the pillow.
I put the right sides together and tried to stitch around 3 sides of the pillow only to find out that my sewing machine is broken.
After about an hour of trying to fix it, I resorted to hot glue.
I hot glued the 3 sides then stuffed the pillow. I'm using stuffing from an old pillow that I no longer use.
Lastly, I hot glued the bottom edge closed and nobody will ever know that my sewing machine broke mid project.
Please pin for later --->>
So thankfully, according to my inspiration pillow, HO HO is perfectly acceptable this year!
So HO HO Merry Christmas everyone! If you want to use this pillow all year long, all you have to do is flip it over! LOL
I hope you like this project and you'll sign up for the Homeroad emails so my next DIY tutorial will go straight to your inbox!


