Velvet Christmas Mushrooms
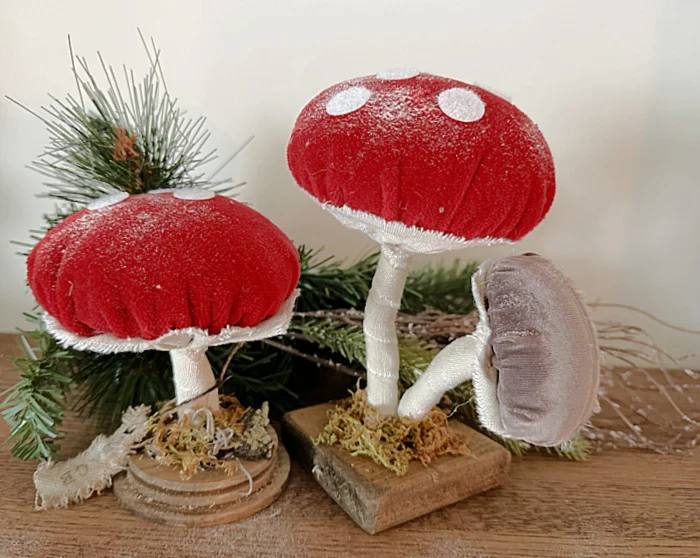
This project began with a trip to Michaels this weekend. I ran across the cutest velvet mushrooms that were 60% off.
I showed the mushrooms to my daughter who said "Mom, you could make those, just look at them and see how they were made."
And so I did.
I gathered recycled supplies from around the house and got to work creating the cutest mushrooms that can be displayed at Christmas or all year round!
Take a look...
I'm not sure where my new obsession with mushrooms came from but it's definitely a thing. I notice mushrooms wherever I go and I've acquired quite the collection.
As you're reading through this post please pay attention to the bold blue links that will take you to more information and the products I used for this project. Also the READ MORE sections will take you to related Homeroad projects.
These are the mushrooms I loved at Michaels. They were velvet, cotton, and had a stand.
I didn't have those jewel tone colors, which was fine because I'd love them even better in red. It was then I remembered a few red velvet pillow covers I had in storage, I could definitely sacrifice one for a good project! I grabbed the pillow cover and got to work!
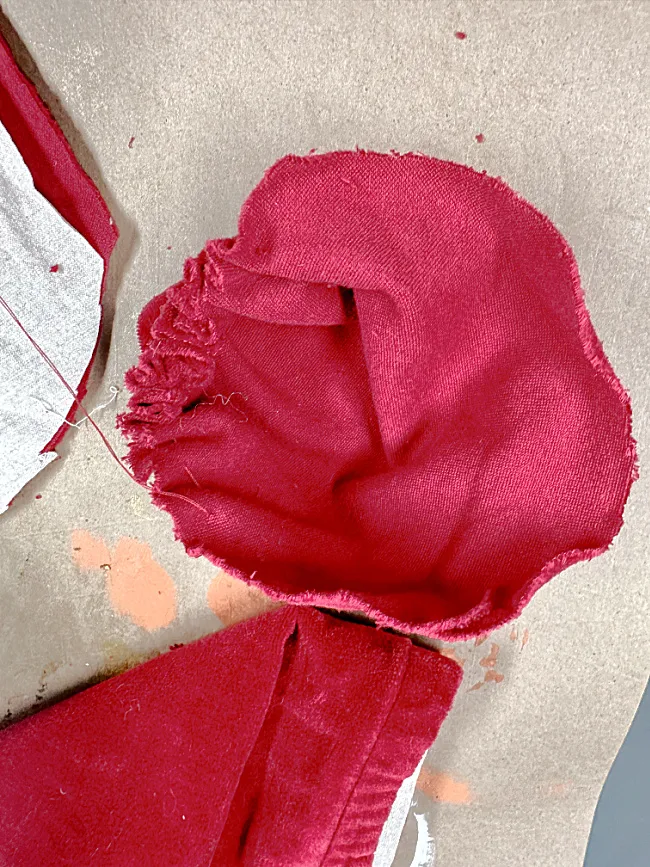
I cut a large circle from the red velvet pillow cover. It was about a 6" circle which was about 1/4 of the pillow cover. I can make 4 from one side of a pillow cover.
Using a needle and thread I stitched around the edge of the circle and gathered it up to create a pocket.
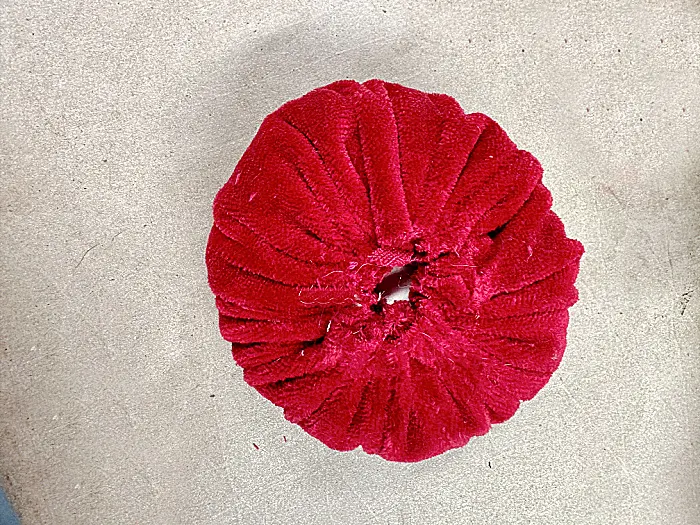
I filled the pocket up with pillow stuffing and topped it off with a large size mason jar lid. You can also cut a circle from cardboard for this part. The jar lid makes the bottom of the mushroom flat.
I pulled the string tightly so it almost closed around the stuffing and mason jar lid. Make sure you leave a little opening.
Next, I worked on the stem...
I folded rebar wire into thirds. It was about 4" long when folded.
I wrapped the wire in a piece of an old curtain I've been using for 100's of projects lately. You can also use drop cloth fabric.
Then using a 1/2" strip of frayed curtain fabric, I wrapped the stem from one end to the other.
I used hot glue to attach the stem into the gathered hole on the bottom of the velvet mushroom cap.
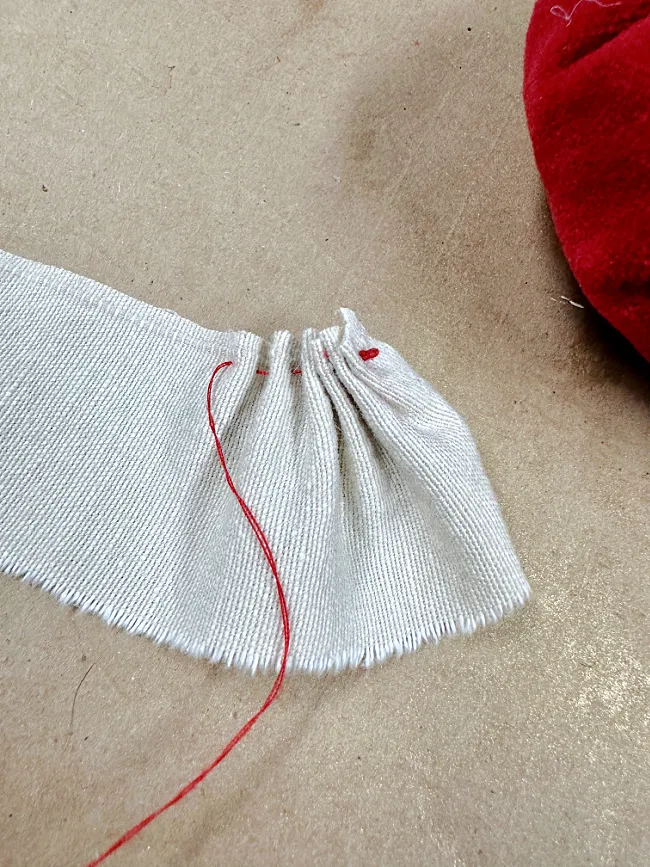
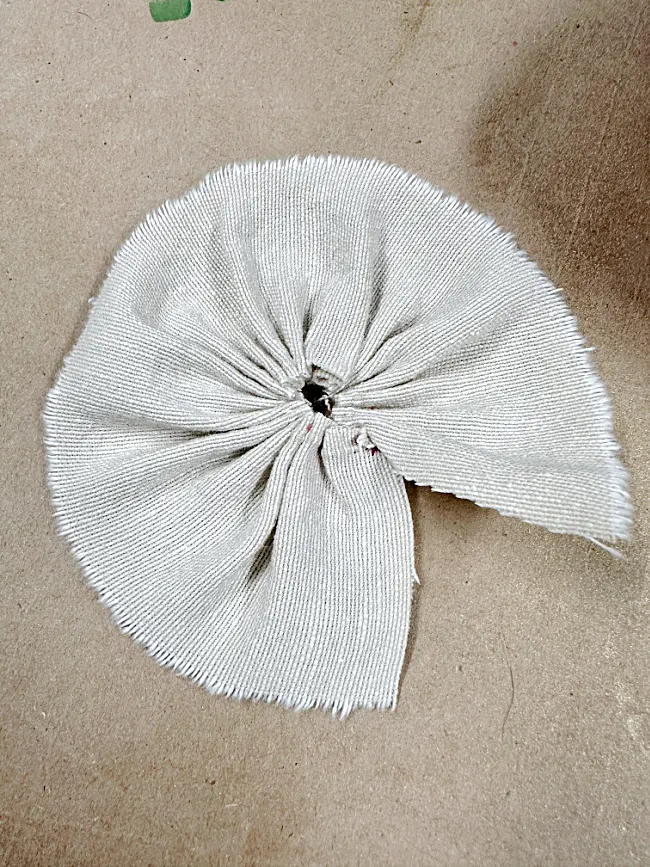
Next, using another strip of the curtain fabric, about 1 1/2" x 6", I again hand stitched one side to gather the fabric. I'm using red thread to show the stitching.
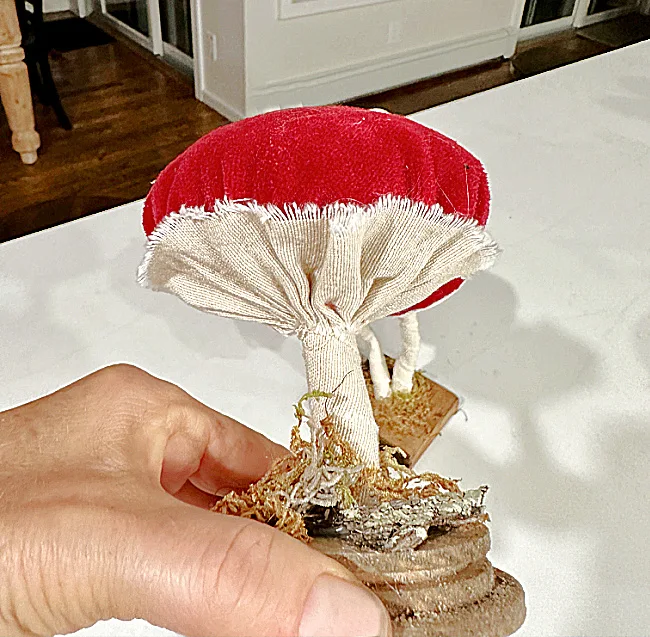
I pulled it tight and then wrapped and glued it around the stem on the bottom of the mushroom cap.
It made the perfect gathered mushroom bottom!
Now it was time to make a stand for my mushroom.
I grabbed a scrap of wood, drilled a 3/4" hole in the center, then stained the wood.
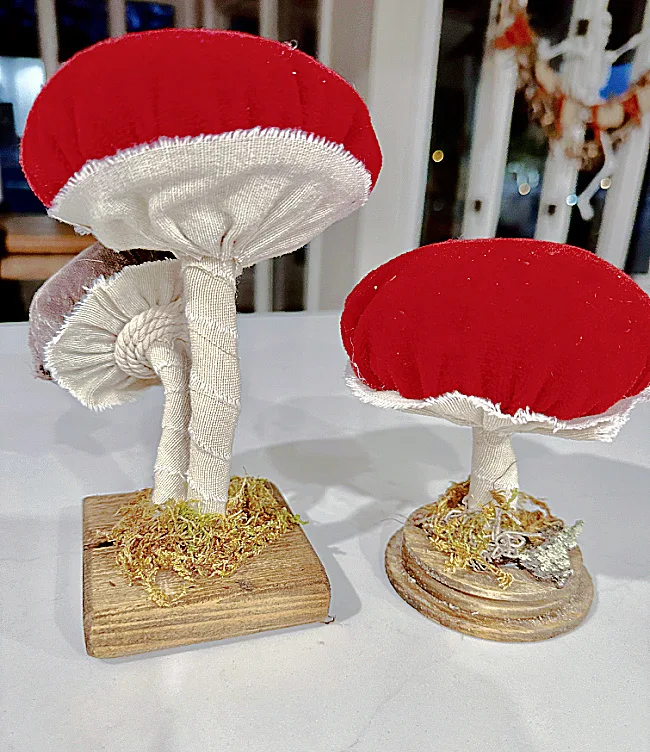
I used hot glue again to hold the mushroom into the hole then decorated around the bottom of the mushroom with moss.
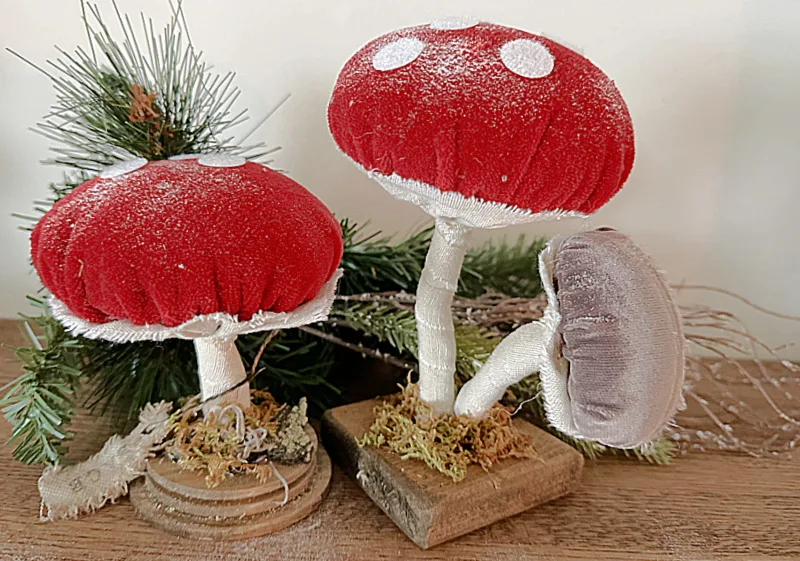
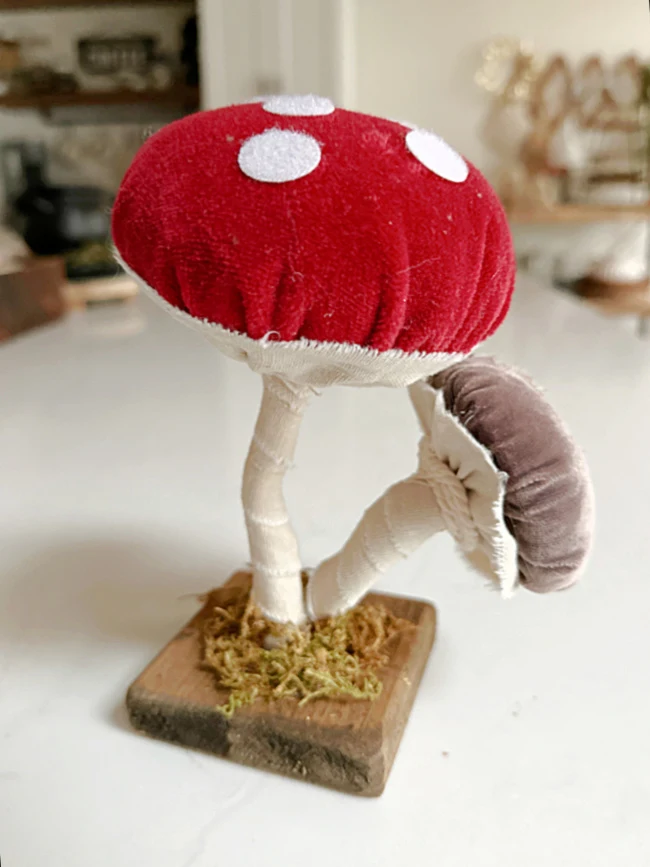
I did the same procedure with one more red mushroom and a smaller brown mushroom that I made from 2 1/2" velvet ribbon that I glued together.
I attached the brown mushroom to the base of the red mushroom and bent it slightly. The rebar wire in the stem lets you bend the mushroom in any direction. On the bottom of the brown mushroom I wrapped some macrame twine to give it a different look.
The bottoms of the mushrooms are almost cuter than the tops!
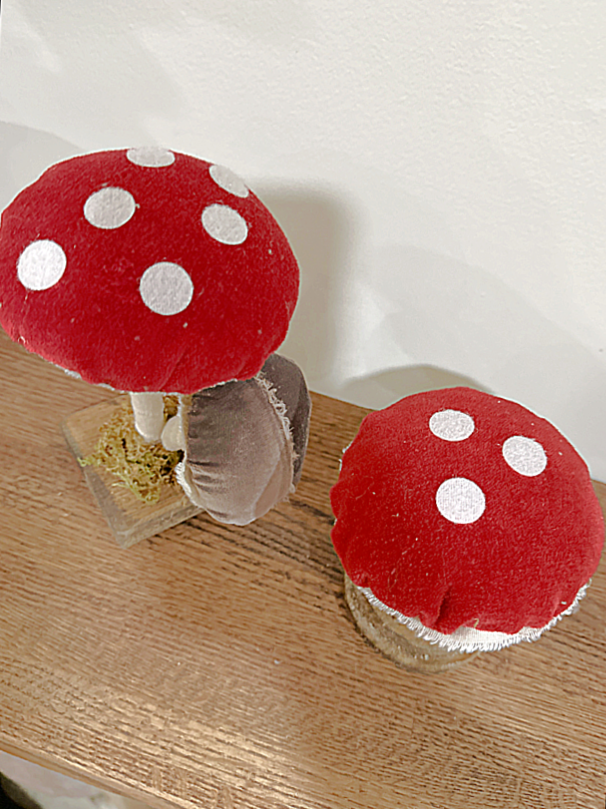
Lastly, I needed spots for my red mushrooms so I am using the soft side of white velcro dots from the Dollar Tree.
I added a coffee stained tag to one mushroom that says PEACE using click together stamp letters.
I think these mushrooms came out better than the ones at Michaels!
Please pin for later --->>
I'm so glad I decided to take my daughter's advice and make them myself! She is very talented and has made many projects with me here on Homeroad.
READ MORE: HAND STITCHED PROJECTS
The best part is that I didn't have to buy a thing! I used all recycled materials and things I had on hand!
I'm calling these Christmas mushrooms because they look beautiful on the mantel with greens and maybe even a sprinkling of a fine white glitter or epsom salts for snow!
Thanks for visiting and before you go please take a minute if you haven't already to sign up for the Homeroad emails so my next DIY tutorial will go straight to you!

