Creating a Board and Batten Accent Wall with Hooks
Happy New Year everyone!!
With the new year comes a new home decorating project. You see, I have this wall in my kitchen...
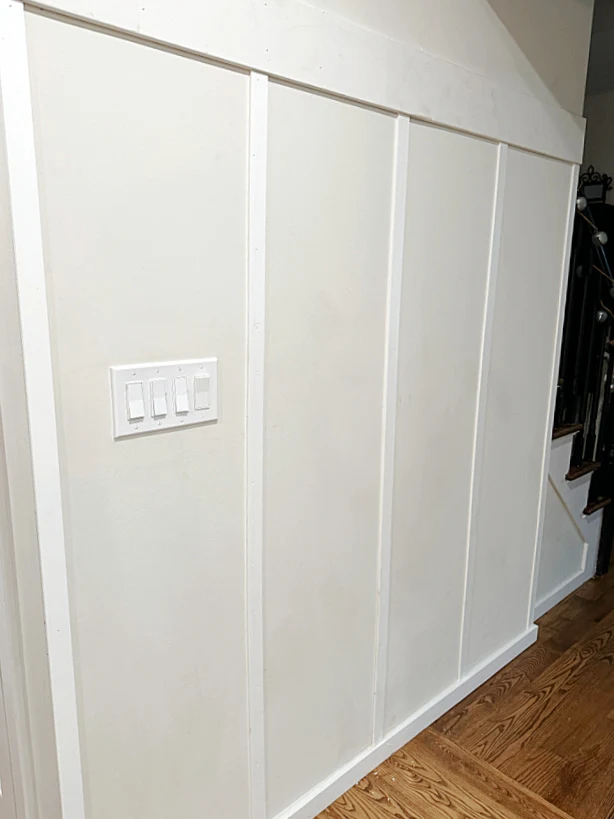
Most of my first floor is open flooring including the new kitchen, but there is this wall that was too big and too blank compared to everything else in the house. Most of the walls in my kitchen are windows, except this one.
I've had many ideas but never got around to doing anything with it, until now.
Take a look...
So the big blank wall has had several looks so far.
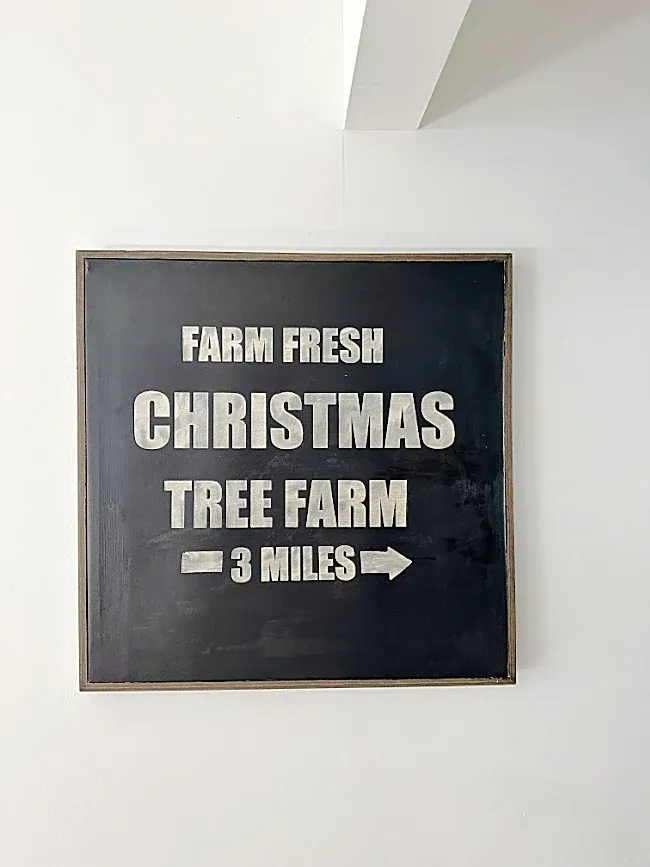
Just recently the wall was adorned with a Christmas sign.
But none of it was right!
I thought about painting the wall 3/4 of the way up and putting wall lights on either side of the painting.
I also thought about creating an accent wall with wallpaper, I even ordered a few rolls.
This is one of those pictures from Wayfair where you picture an item in your room. I tried to decide if a console table against the wall would give me the look I wanted.
You can read all about the painted stair rails in this post.
The wall was just too big and blank but I finally decided on a solution. I was going to make a 6' tall board and batten wall with hooks! This was going to be one of the least costly solutions and I think one of the easiest too!
As you're reading through this post please pay attention to the bold blue links that will take you to more information and the products I used for this project. Also the READ MORE sections will take you to related Homeroad projects.
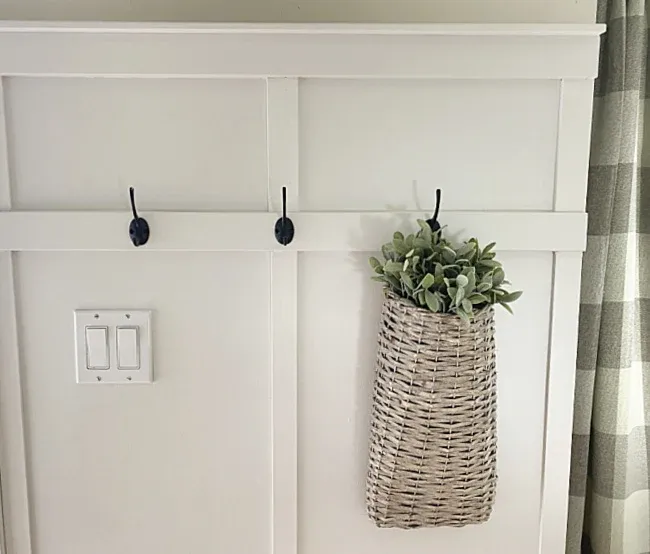
All the directions for making a board and batten wall can be found in this post. I wrote this post a couple of years ago when I did a small wall by the front door and a couple of walls at my daughter's house.
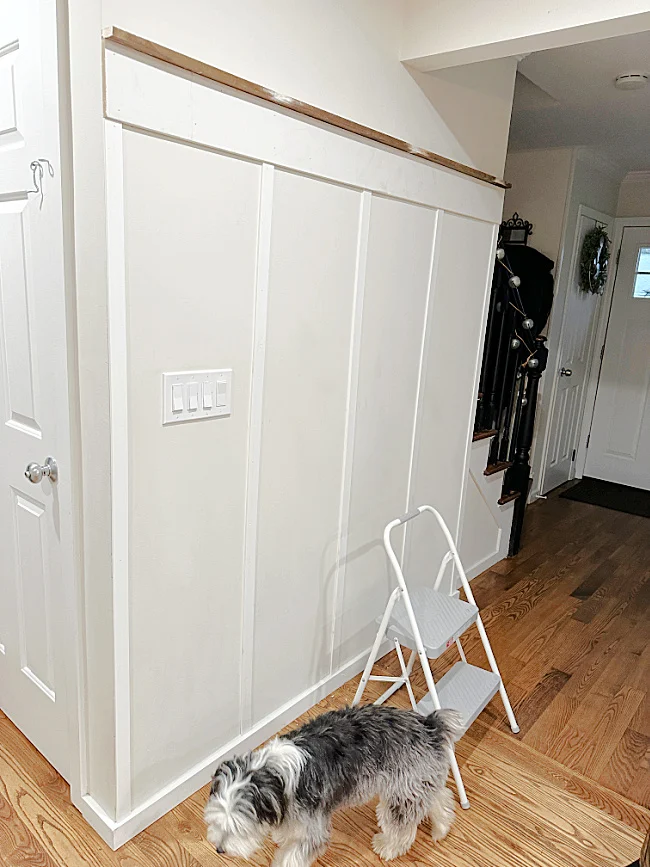
I constructed the new wall the same only the slats I used for this wall were 5'6" tall 1 1/2" PVC slats. I measured the wall then divided the space so I had 4 spaces and 5 slats. I had all the wood cut at Home Depot, they were very nice!
I nailed the two end slats up first. They just sat against the flat moulding on the bottom. You can use adhesive if you want to but I only used a nail gun.
I used a 1x6" piece of wood for the header. I laid the header board on top of the two outside slats and nailed it onto the wall.
Next, I nailed up the remaining center slats. First I used painter's tape to tape the slats to the wall and make sure that they were evenly spaced, straight and where I wanted them, then I used the brad nailer to nail them to the wall. If you are a little math challenged like I am this may be the hardest part.
As luck would have it I forgot to buy the 1x2" piece I wanted to use as the shelf on top of the header so I headed down to my workshop to see what I had I might be able to use. Truthfully, I am almost out of scrap wood options.
I found a wooden frame made of 1x2" pieces of wood in the basement and since I didn't want to go back to the hardware store, I cut the frame apart and glued and nailed it together at the mitered corners of the frame. I cut the newly fashioned piece to the 71" size I needed then nailed and wood glued it to the top of the header.
It wasn't perfect but it was free, recycled, and it worked! Sam thought so too! 🐾
Next, I used spackle to fill all the tiny holes from the nail gun and sanded them flat. I used a damp microfiber cloth to wipe off all the dust.
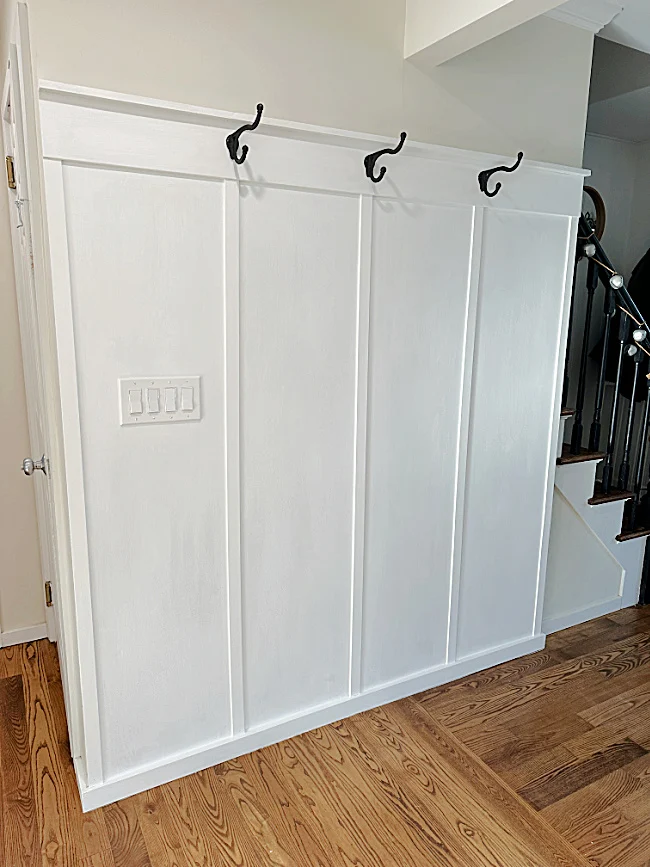
Now it was time to paint, I used a white satin trim paint to paint two coats on the entire wall, header, and shelf. Later on I did go back and give the wall one more coat of white trim paint.
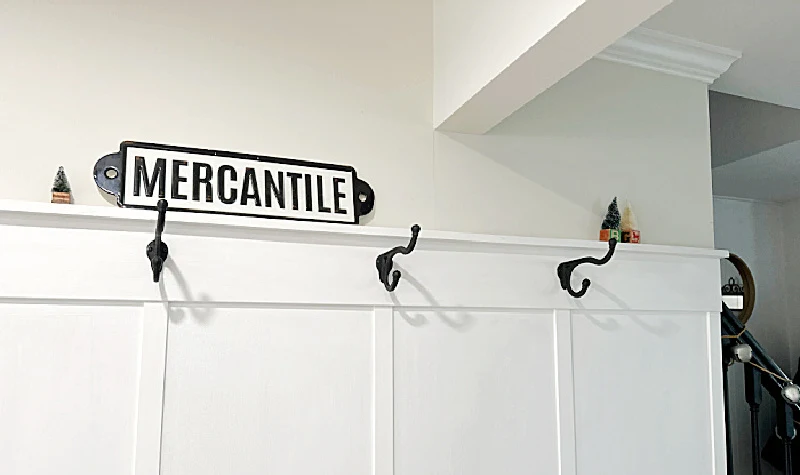
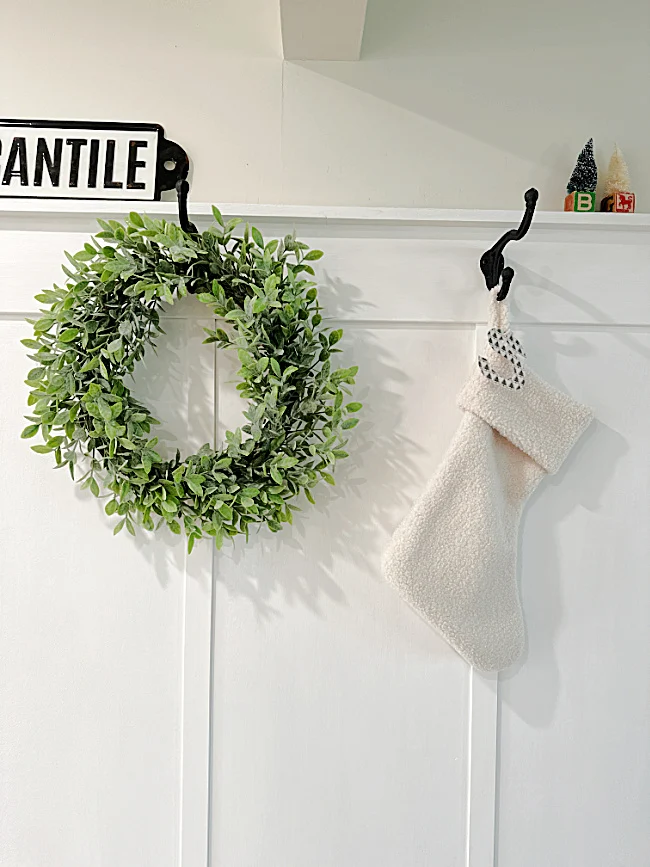
The last thing I did was to add 3 large black cast iron hooks from Hobby Lobby. They are placed high enough that they won't be in anyones way and they will look amazing holding a wreath, a basket or seasonal decor. The little shelf is also a great place for little things.
If I can keep my husband from hanging his ball caps here I'll be lucky!
The wall is everything I wanted it to be now! The easy board and batten gave the big blank wall character and texture!
Don't forget to visit the front entry board and batten post for all the details!
Please pin for later --->>
Thanks so much for visiting and before you go please take a minute to sign up for the Homeroad emails so my next DIY tutorial will go out straight to you!
Stay tuned because my next project is to paint all the interior doors a beautiful grey!

