Easy Candle Making
I have a new hobby I want to share with you today. Yes, another new hobby!
I have been making candles, it is just about my favorite thing to do right now. I get to make them, burn them, share them and just enjoy doing something fun and pretty easy! Not to mention it is much less expensive than buying them!
You might be surprised at just how easy it can be to make candles.
Take a look...
I started out a couple of months ago making candles and I've been having fun with it ever since. At first I was melting down glass memorial candles from the Dollar Tree. Those candles worked very well but it took forever for the wax to melt in a double boiler situation and I was deathly afraid of spilling the glass container full of hot wax.
As you're reading through this post please pay attention to the bold blue links that will take you to more information and the products I used for this project. Also the READ MORE sections will take you to related Homeroad projects.
I'm learning as I go so I'm sharing what I know now with you.
I bought an old pot at the thrift store and used it on my stove to melt down old candles I had around the house. This worked very well but I have a gas stove with a big flame and so melting wax over the flame made me nervous. I was also getting wax all over my stove.
After that I moved on to using a hot plate. My husband got me this one for Christmas and it is perfect for the little pot and melting wax safely. You do need to always be carful not to let the wax get too hot.
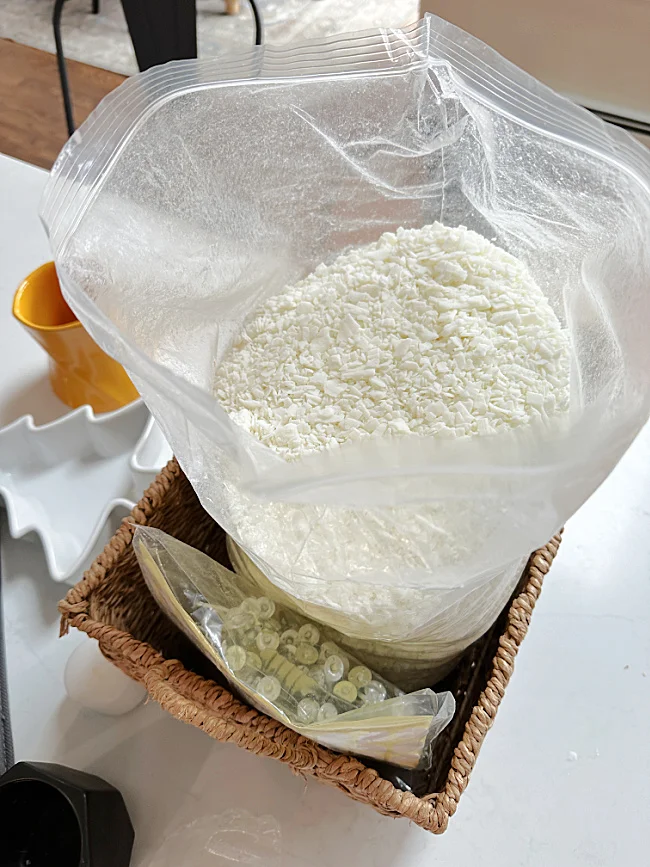
Once I melted all the old candles I had in the house, I bought a great candle making kit. This kit came with shredded soy wax, wicks, wick stickers, and wick centering devices. It had almost everything I needed to make great candles now!
The next thing I needed were jars to pour the wax into. I headed to the thrift store once again and found all kinds of vessels that would make beautiful candles.
How to make DIY candles:
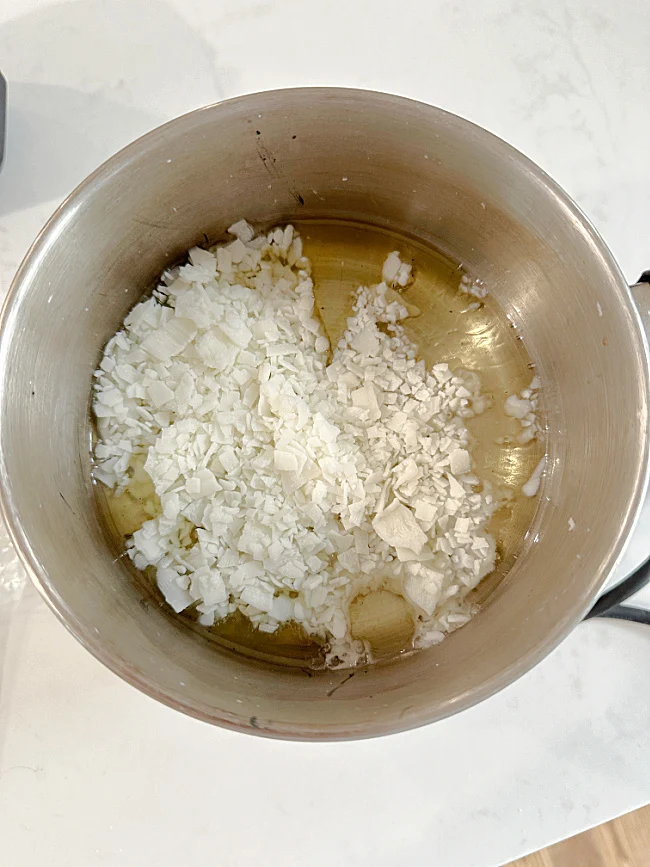
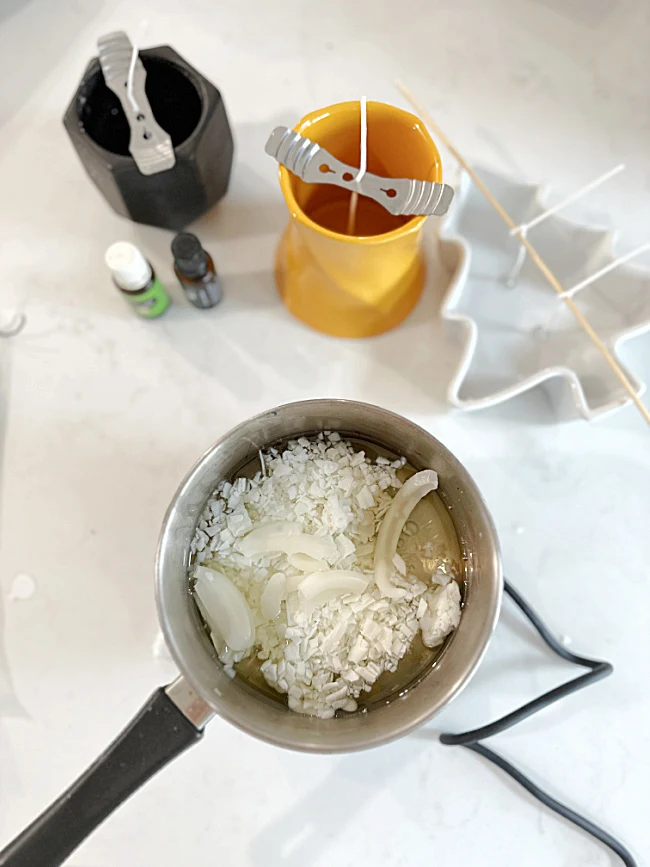
First, you scoop the wax shavings into a pot or metal pitcher on the stove or hotplate. My next purchase will be a metal pitcher with a spout to melt the wax, it will direct the wax pour much better than the pot I am using now. See... learn from my experiments!
Next, add your favorite essential oils to the melting wax. I used Pine and Citrus.
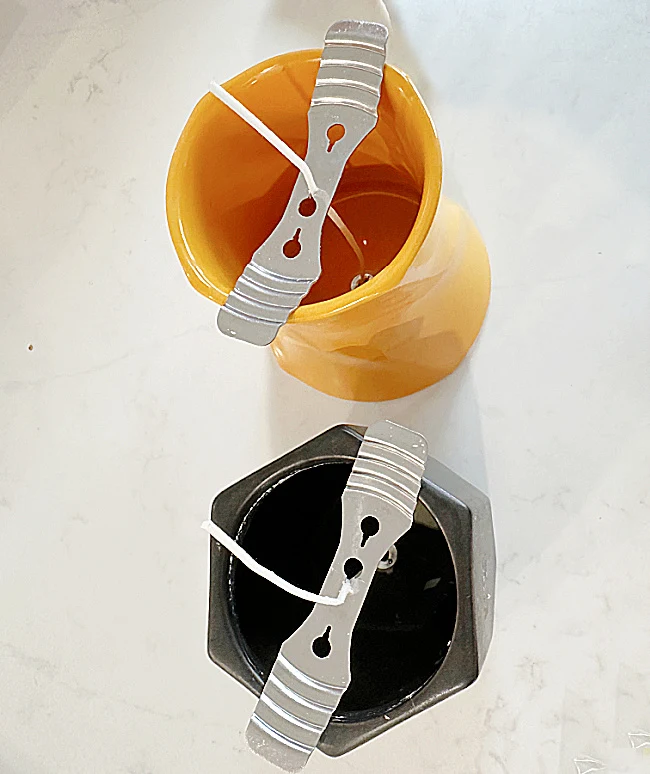
While the wax melts, use a wick from the kit and a wick sticker to stick the wick to the bottom of a jar or container.
On the top of the jar use a wick centering device to hold the wick straight. You may need more than come in the kit. These things are amazing and hold the wick so easily!
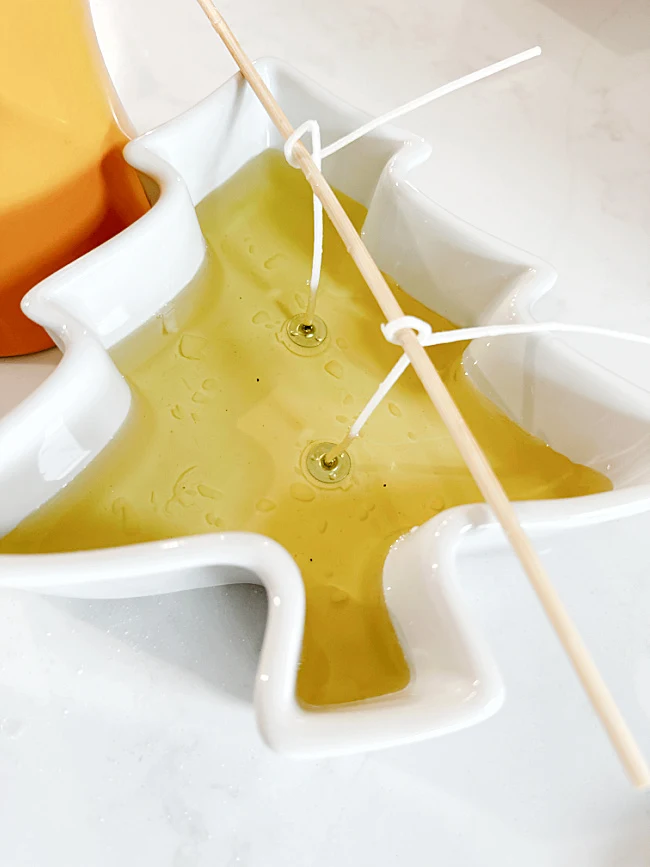
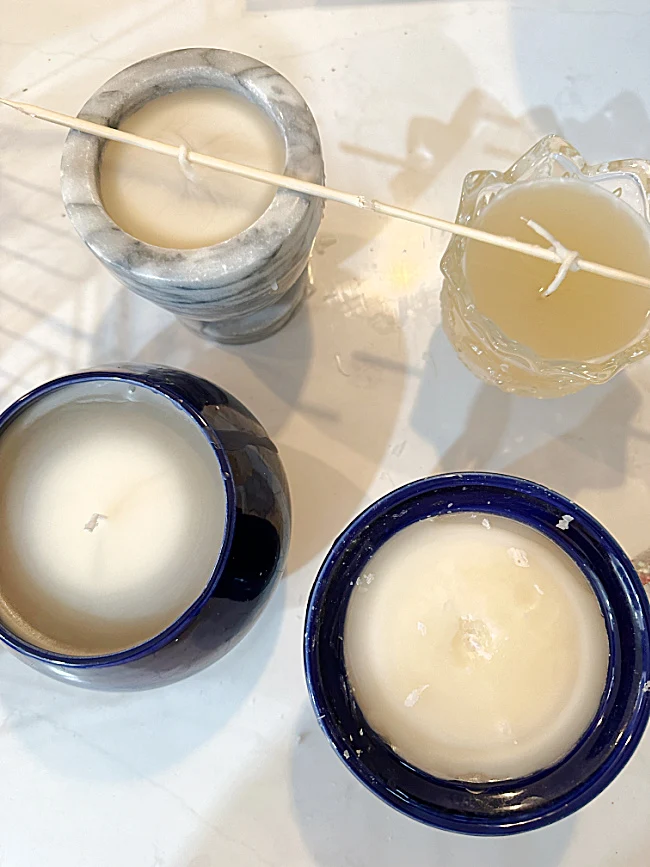
I only had two devices so in some places I used a wooden skewer to hold the wicks. The skewers do not work as well as the metal thingies.
Once your wick is set up just pour the hot wax into the vessel to just below the rim.
Let the wax set until it turns white then trim the wick.
What vessel to use to make a candle:
My favorite vessels for candles were found at the thrift store. For one candle I used a marble mortar from a mortar and pestle set.
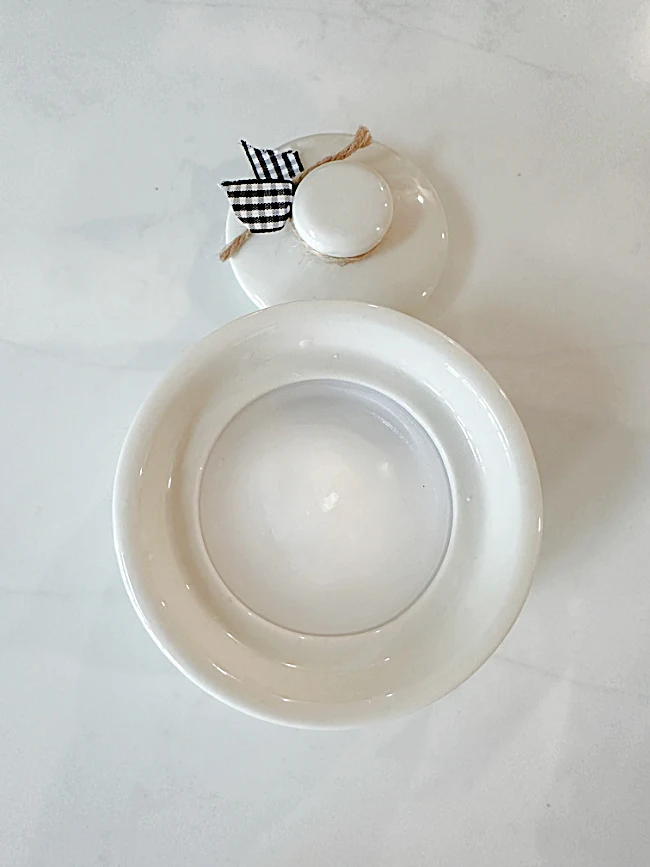
I also found a few small ceramic jars with lids.
The best however were the tea mugs I found with little pockets in front for tea bags. I filled those with a pack of home made matches to go with the candles.
The home made matches actually were small packs of matches purchased at Dollar Tree. I used craft paper to wrap around the box to match the candles.
These candle and matches sets make great gifts! I made a whole bunch for Christmas this year!
Please pin for later --->>
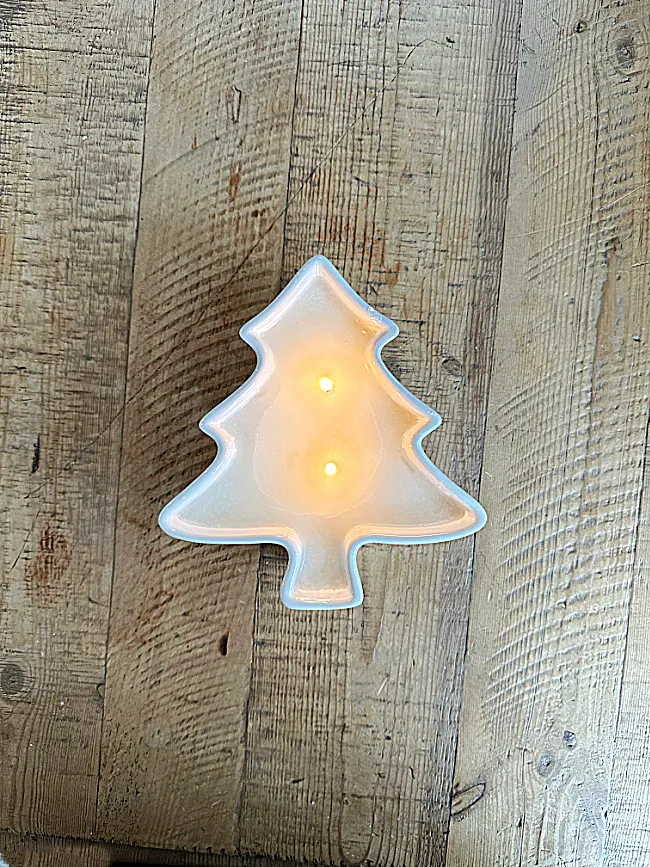
I hope you'll give this a try, it is really much easier than I thought and I'm having so much fun! I've left up the pine trees after Christmas so I'm still burning a tree candle :)
Here are a few things I've learned about candle making:
- be careful with the hot wax you could get burned
- use a hot plate to heat the wax so it doesn't get too hot
- for less spilling use a metal pitcher with a spout for pouring
- use the wick stickers and centering devices, it makes it so much easier!
- soy wax chips melt quickly
Thanks so much for visiting and before you go please take a minute to sign up for the Homeroad emails so my next DIY tutorial will go out straight to you!


