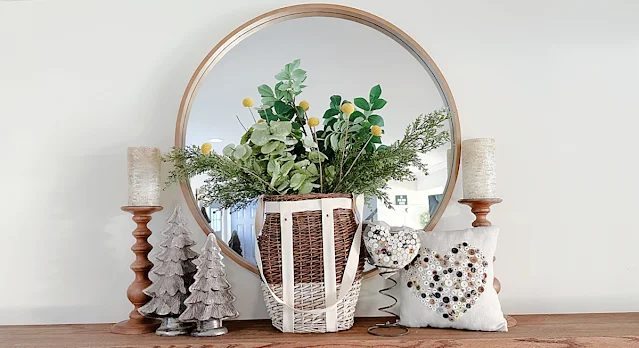
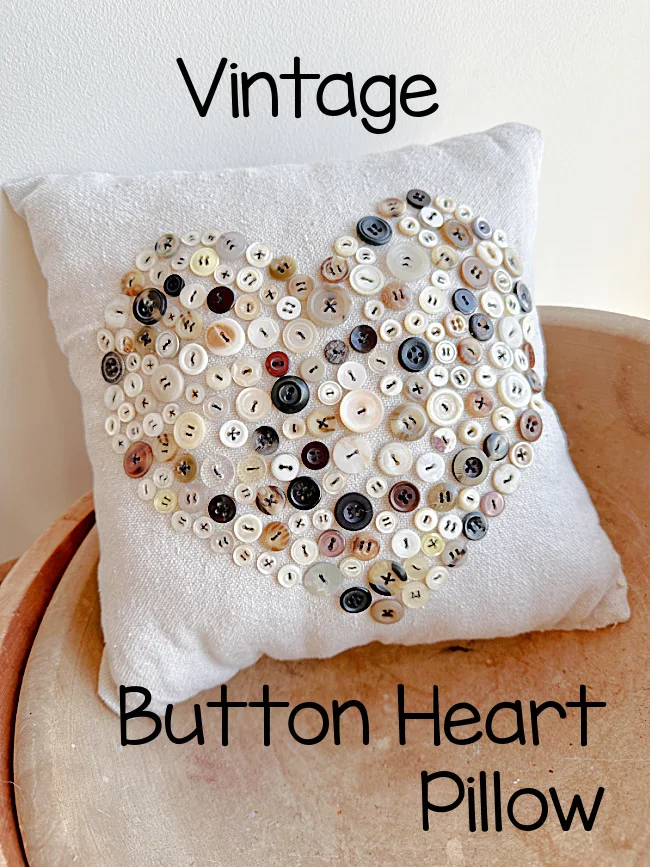
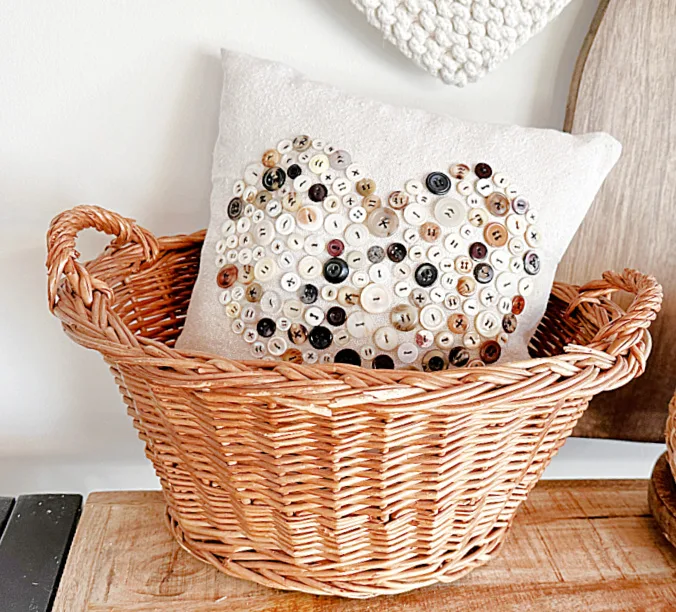
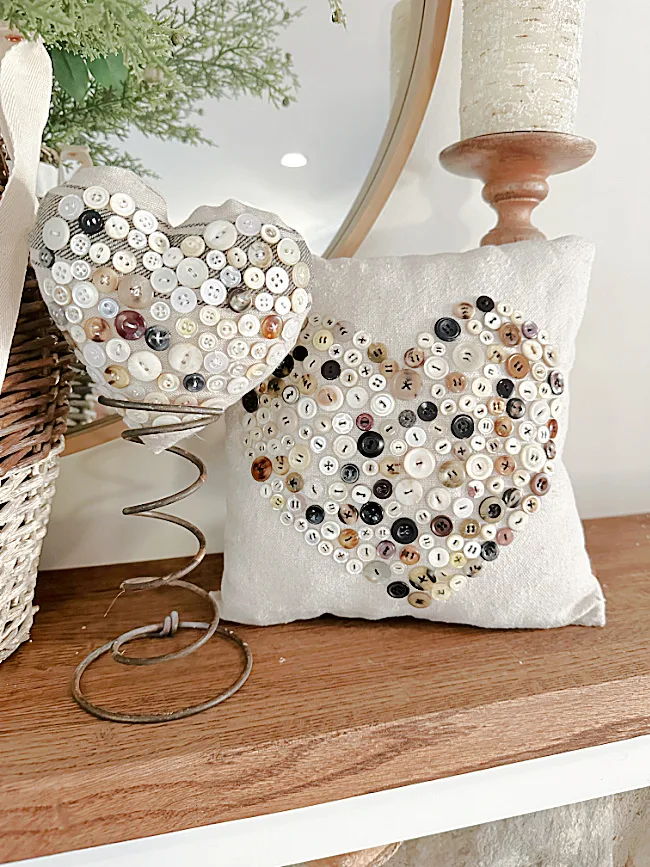
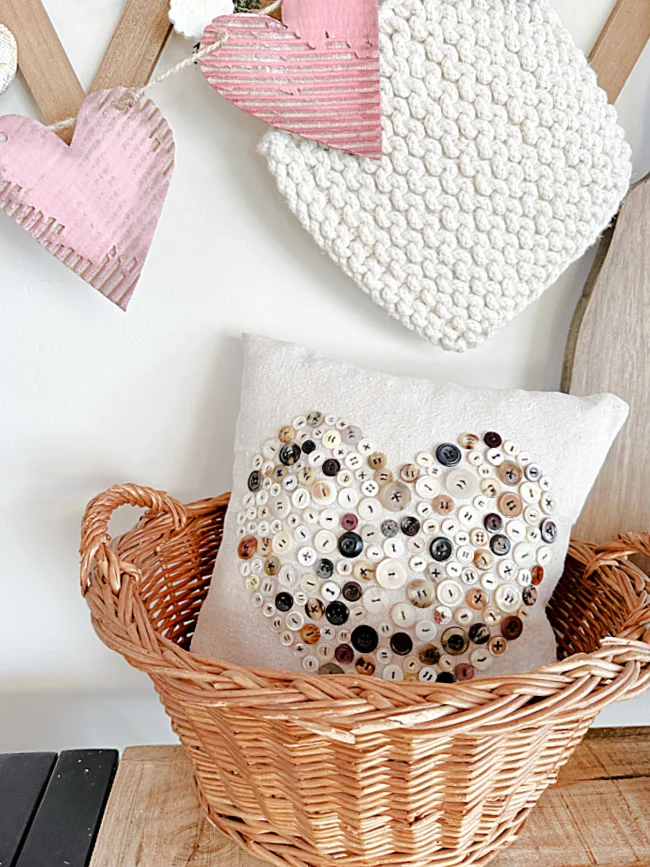
Vintage Button Heart Pillow
With Valentine's Day quickly approaching I thought I could get one or two more projects finished before it was time to put it all away!
That's the way it works for me, I just keep making things until it's time to pack them all away for another year.
I've seen a lot of projects lately using vintage buttons on barnwood and it gave me a good idea.
Grab your vintage button collection and a scrap of fabric and follow along!
Take a look...
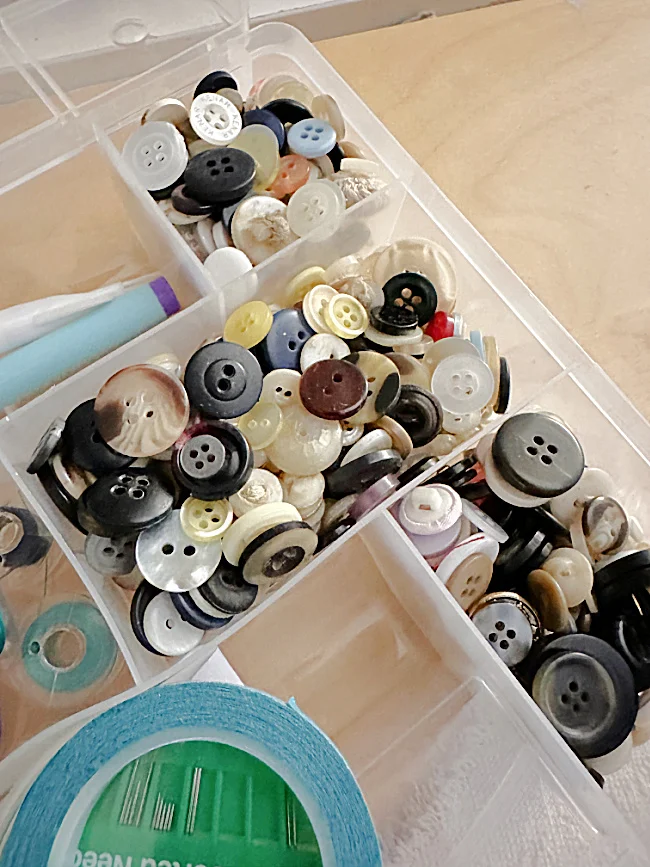
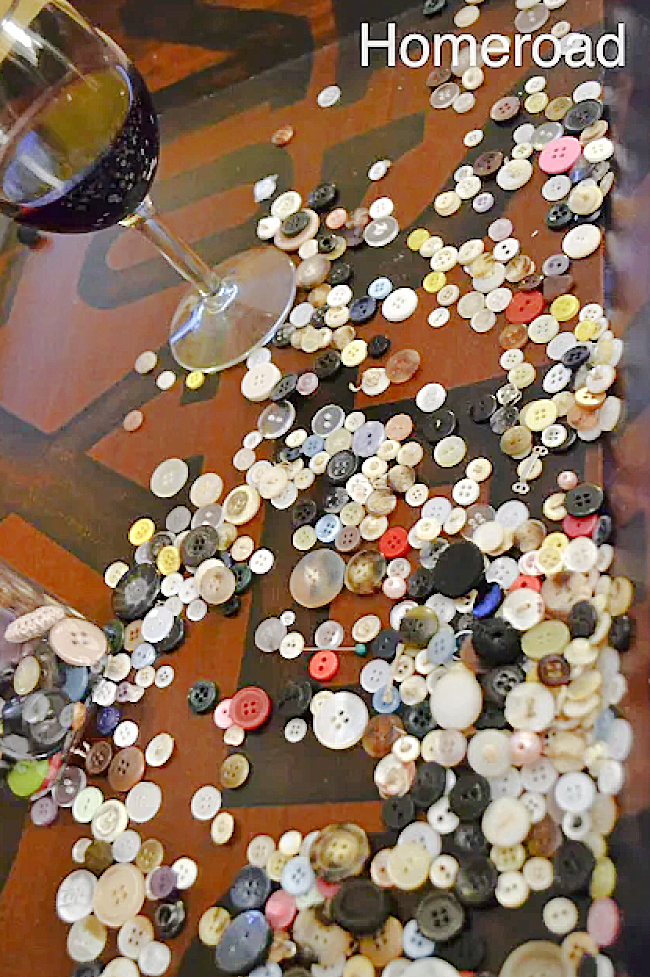
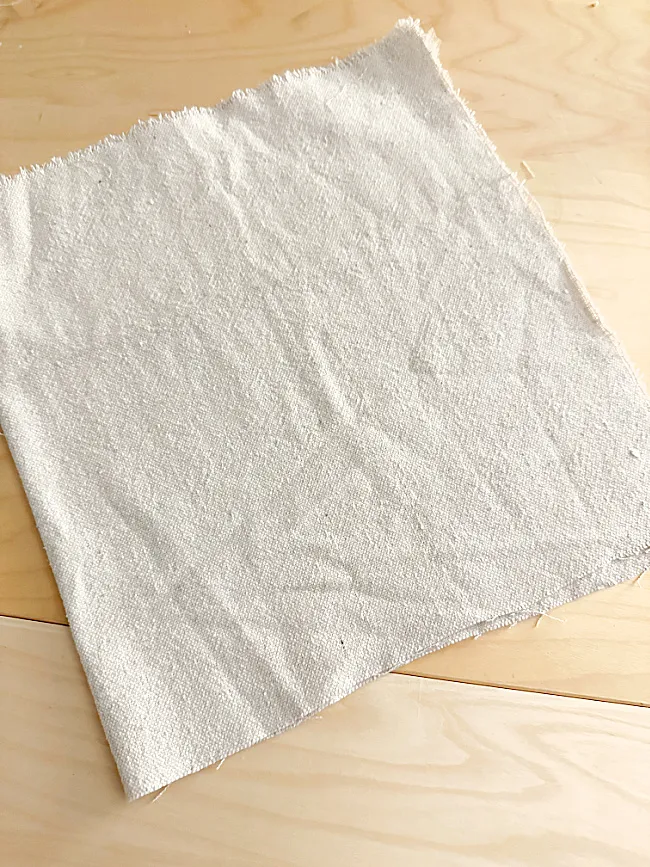
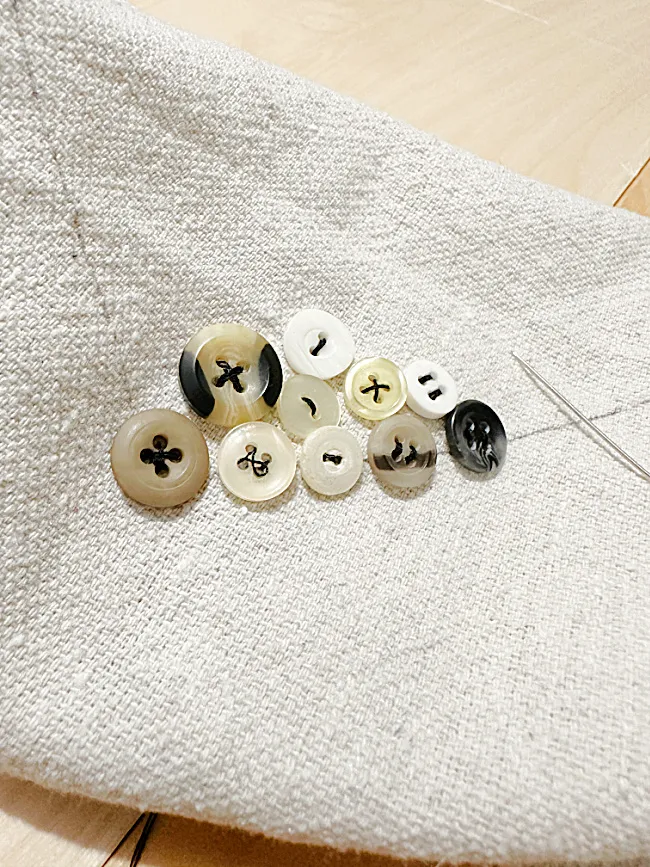
I started with an idea, a small piece of drop cloth fabric and a bunch of old buttons.
As you're reading through this post please pay attention to the bold blue links that will take you to more information and the products I used for this project. Also the READ MORE sections will take you to related Homeroad projects.
I used to have a pretty large antique button collection and many came from my great grandfather but through the years on Homeroad I've been busy using them on projects.
My favorite button project was this button garland I made a whole bunch of years ago.
I think turning vintage buttons into useful and decorative items is a great way to remember and honor the past. Today I'm making a button pillow with a heart using what's left of my button collection.
Now mind you, this project is not one of my quickie projects.
I began with a piece of drop cloth fabric that was about 20 x 10 inches long.
I folded the fabric in half and used a piece of scrap paper to cut a heart shape that fit on the front of my fabric.
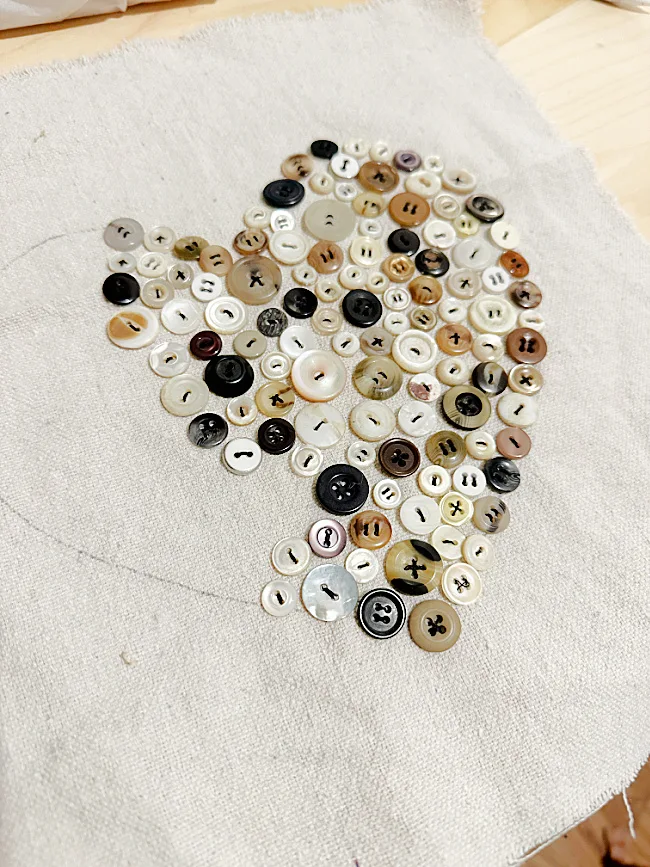
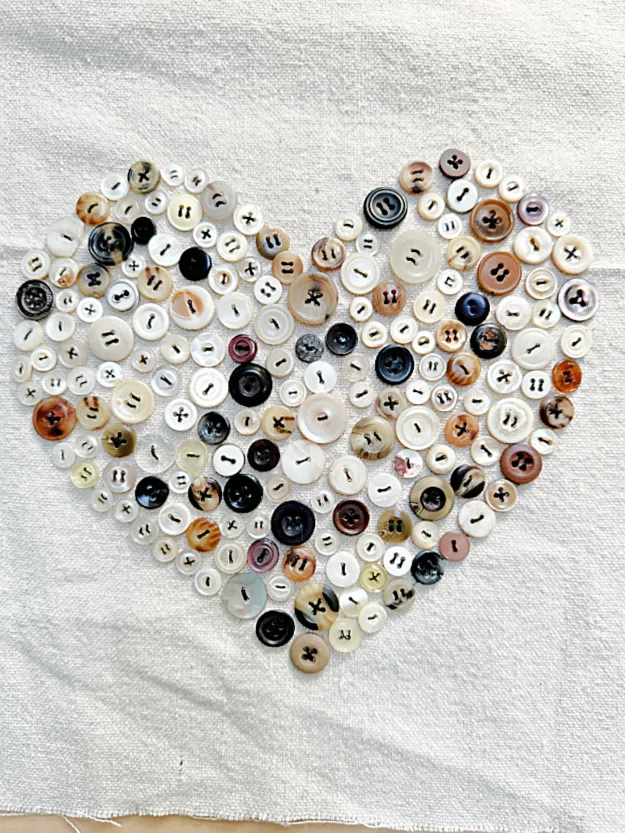
I traced the heart and began sewing on the button using black thread for contrast. Be sure to draw the heart lightly so your lines don't show around the buttons.
I had no idea 3 hours later how long it was going to take me to sew on all these buttons. I think it would have gone a lot faster if I had an embroidery hoop but I don't have one so I had to hold each button in place while I sewed. Note to self: Get an embroidery hoop!
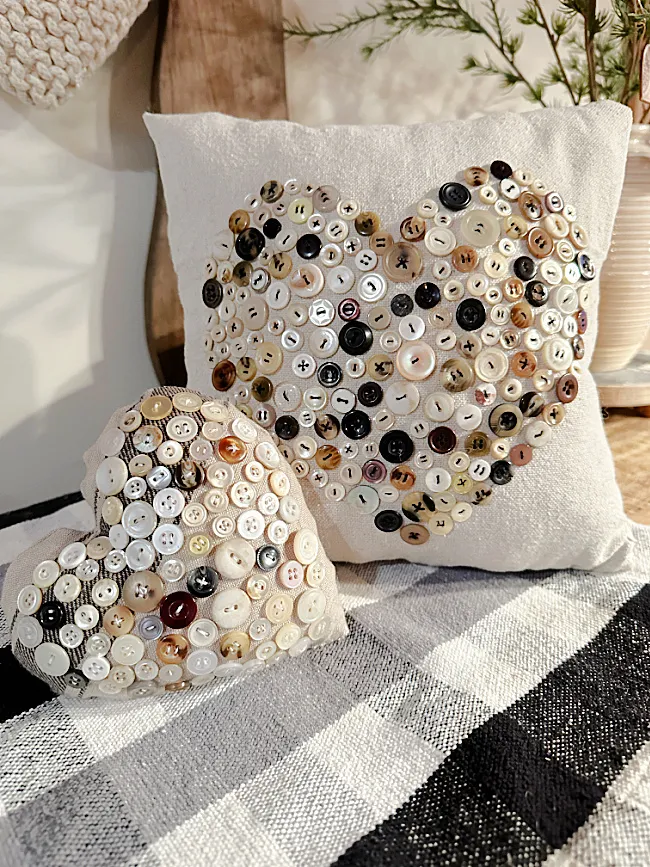
I tried to use a mixture of antique buttons and newer buttons while spacing out the colors as I went.
Some buttons got an x stitch in the center and others just a straight stitch for interest.
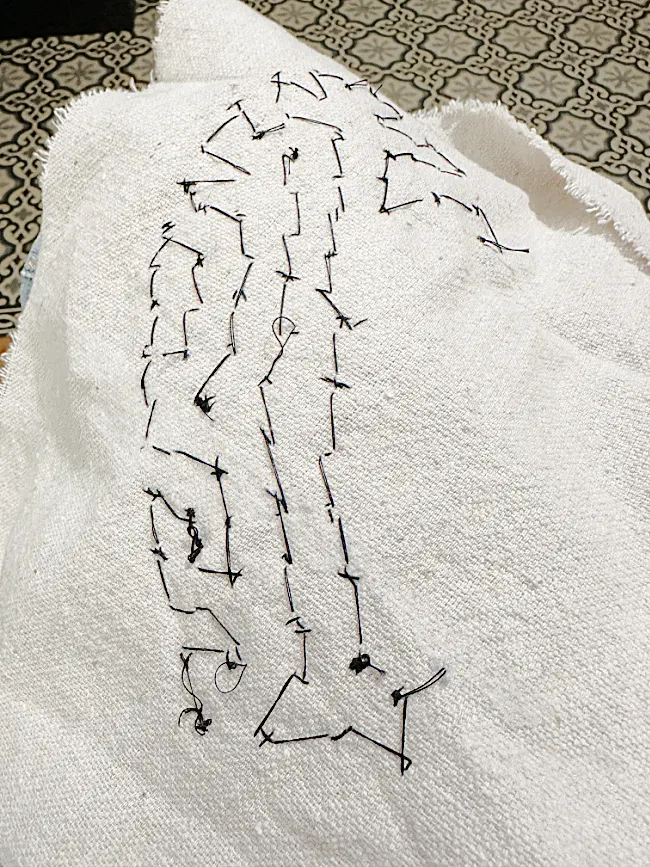
As you can see from the back of the fabric I kept the button sewing in nice neat rows.
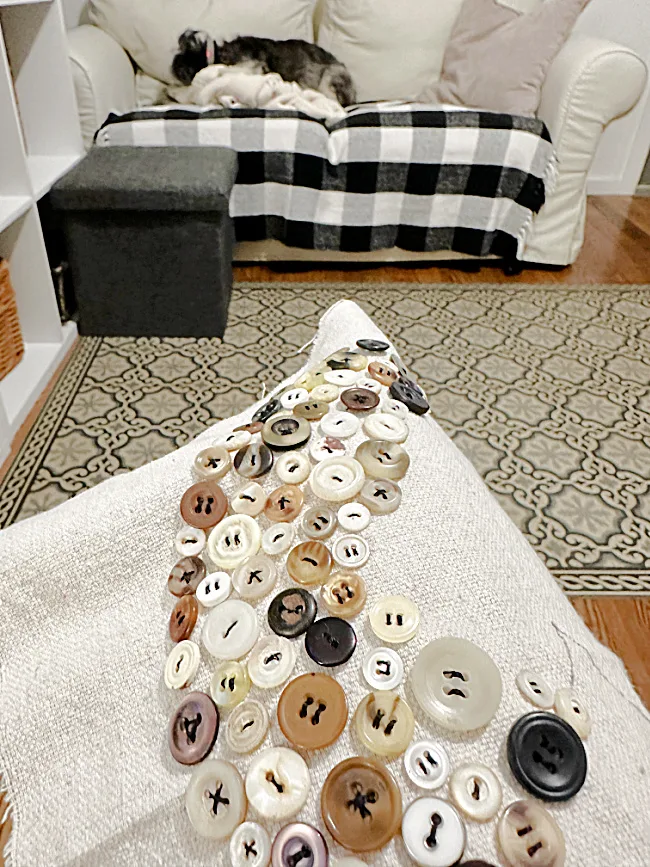
I sewed on button after button while listening to a continuous stream of Married at First Sight Australia shows. It kept me entertained while I stitched. I even put Sam to sleep and a few hours later I was ready for bed myself... tomorrow is another day!
The next morning I finished up the button sewing being careful to keep just enough space, but not too much between each button.
When I was finally finished I trimmed the fabric so my edges were even.
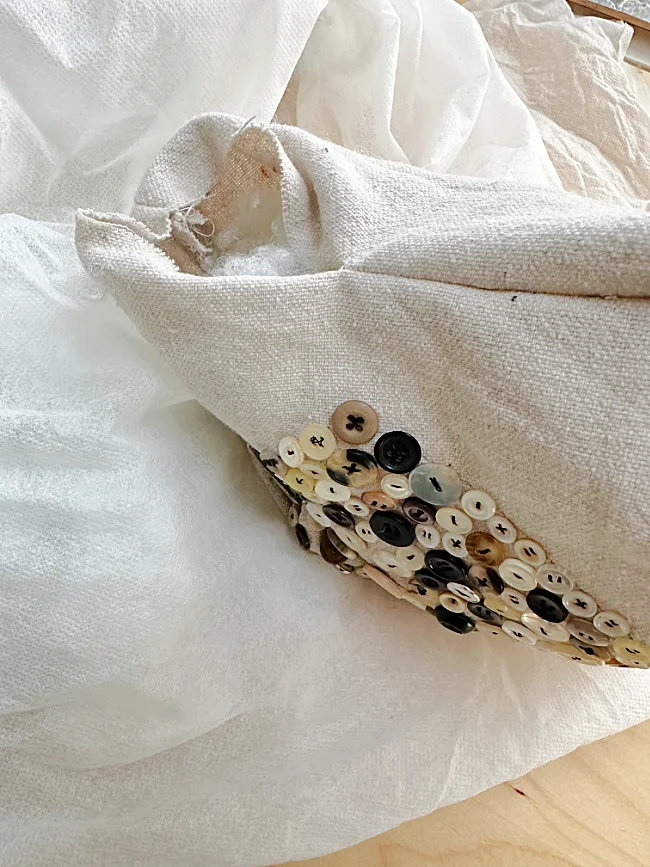
I folded the fabric with the buttons on the inside then pinned around three sides leaving an opening at the bottom for stuffing. That vintage pin cushion was made with a recycled sweater!
Next, I used my new small Singer Sewing machine to stitch around the edges of the pillow. I just sold my large sewing machine that was a pain to take out and put away and bought a smaller one that fits in a basket on my shelf. This sewing machine is all I need to do my crafty work. With reverse and zig zag stitches it is just perfect for what I need it for. I bought it at Michaels with a 30% coupon and rewards points!
After sewing around the pillow I trimmed off the corners and turned the pillow right side out.
I used stuffing from an old clean pillow to stuff the little pillow.
Finally, I hand stitched the last edge closed.
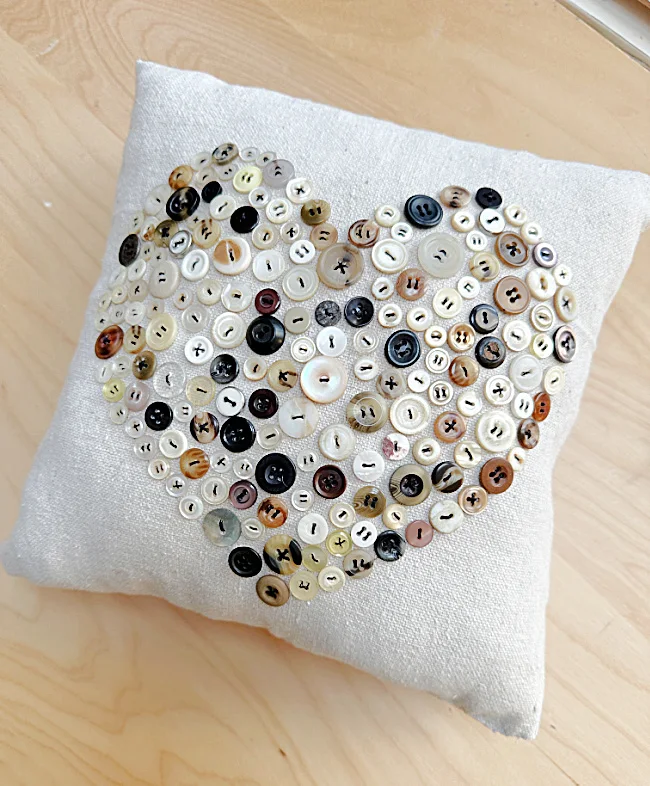
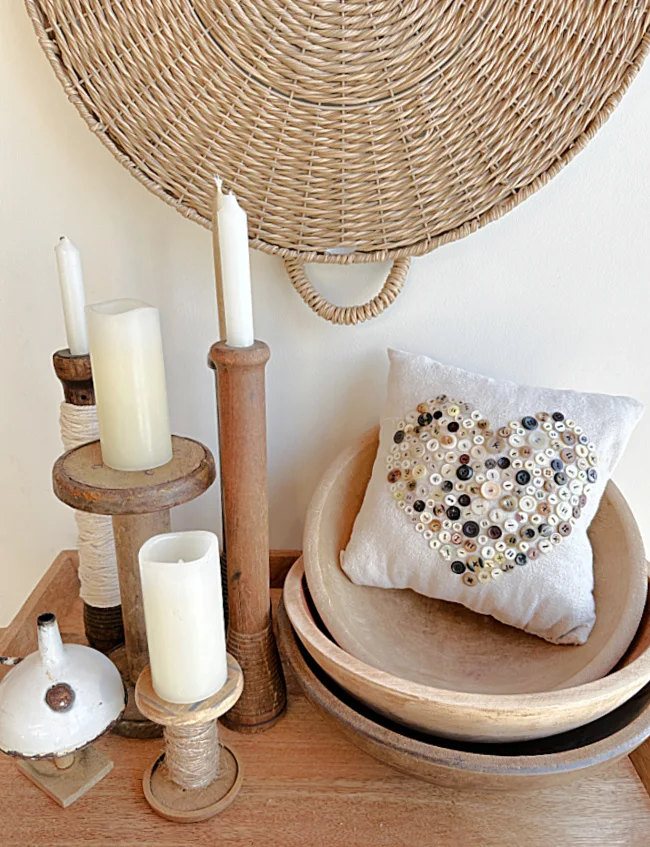
That's it! Well... that was a lot but I love it!
Please pin for later --->>
READ MORE: DIY PILLOW PROJECTS
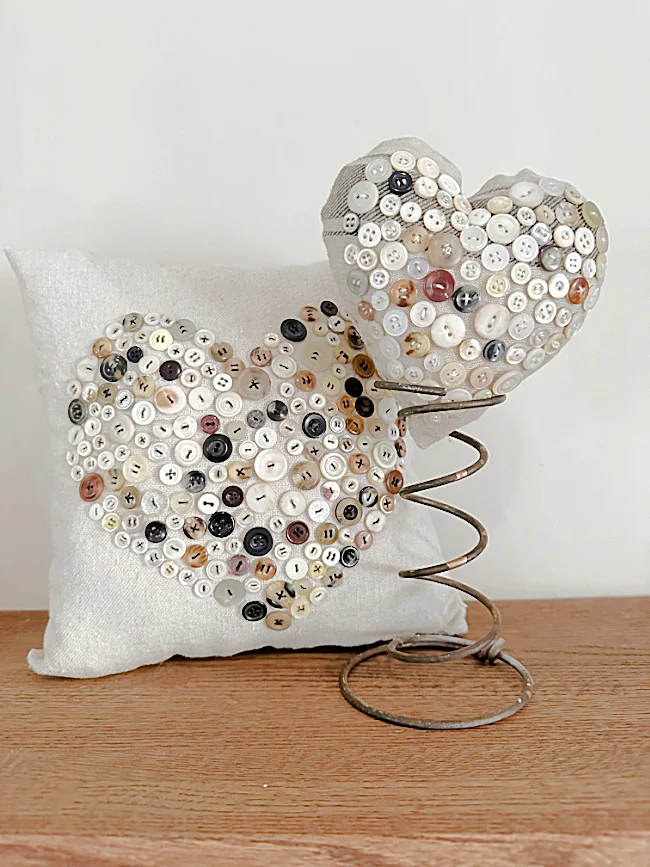
And then because I had so much fun sewing on buttons I made a smaller pillow with a heart shape! Just follow the same steps as above but draw a 1/2" border around it the button heart then cut out your heart about another 1/2" from the line you drew. Flip the right sides together and sew along the line you drew. Trim the curves then right side in the heart, stuff and sew closed.
I think the heart shaped button pillow may be my favorite!
These little cuties took me a lot of time stitching buttons but was totally worth the trouble!
I may just leave these out all year!
Thanks so much for visiting and before you go please take a minute to sign up for the Homeroad emails so my next DIY tutorial will go out straight to you!
See the cardboard heart garland here!

