Air Dried Clay Hearts
Good Morning friends!
Today's project is for Valentine's Day and they are the cutest hearts made with air dried clay. I've seen so many ideas using air dried clay on Pinterest that I couldn't wait to give it a try!
I've used other air dried clay in the past with pretty good luck and since I'm all about trying new products, here goes!
The best part is that you can make this project in any shape and for any occasion!
Take a look...
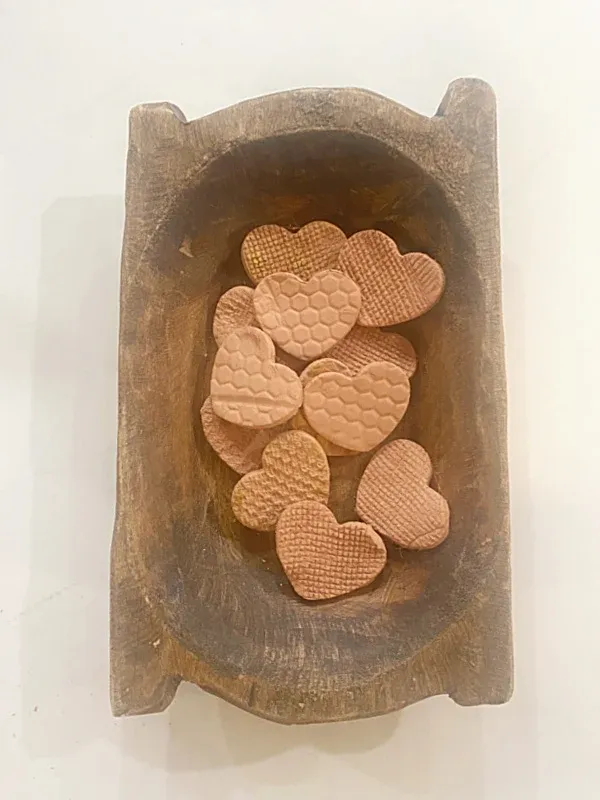
In the past I've used inexpensive air dried clay from the dollar store to make tiny textured heart bowl fillers and I had pretty good luck with my project:
As you're reading through this post please pay attention to the bold blue links that will take you to more information and the products I used for this project. Also the READ MORE sections will take you to related Homeroad projects.
Today I'm trying very much the same techniques but I'm using a better air dry clay called DAS modeling clay. It comes in a pretty large package that I'll be able to use many times. It also comes in a terra cotta color that can be used for so many nature inspired projects!
This is quite an easy project, just like you did back in school.
Just grab off a chunk of the clay, this one is easy to work with and didn't need too much manipulation to make it soft.
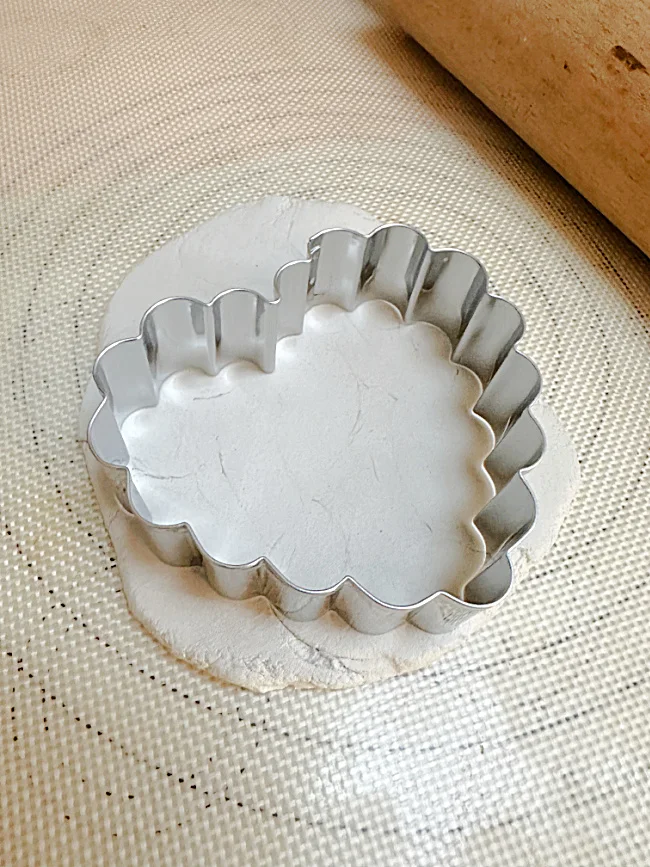
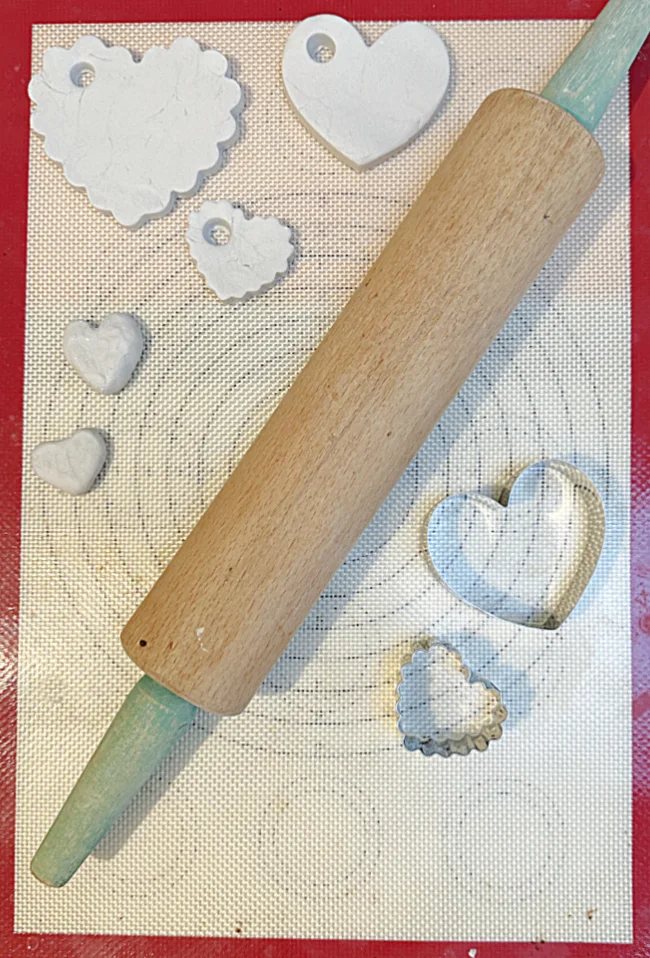
I used a rolling pin and rolled out a small piece of clay then used heart cookie cutters to cut heart shapes.
I think the hearts with the scalloped edges are my favorites! 💜
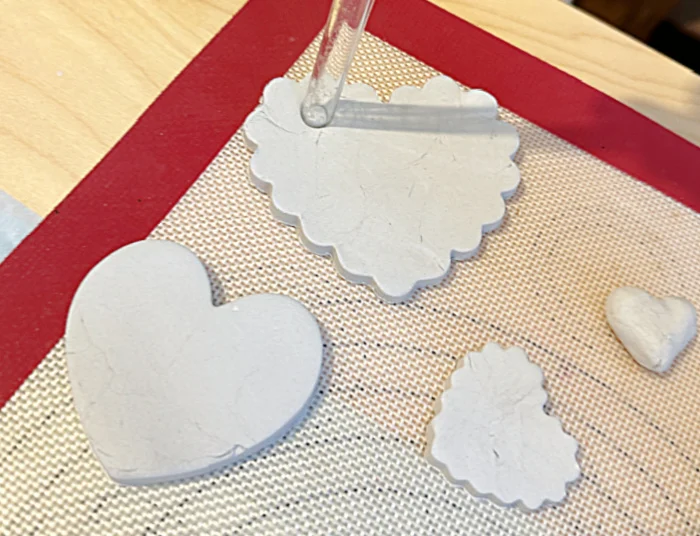
I made a hole for hanging on one side of the heart shape with a straw.
Next, I used whatever I could find to give my hearts some texture.
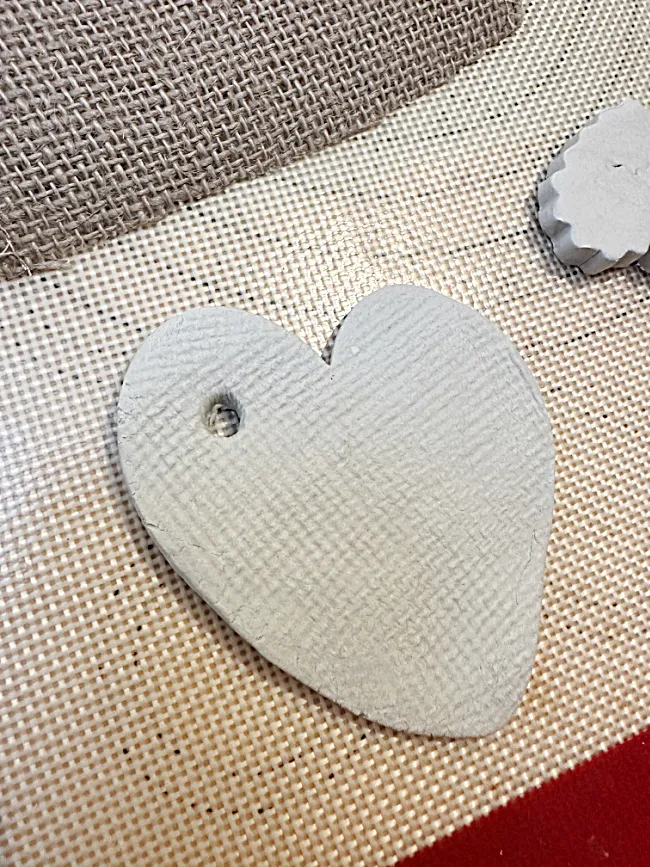
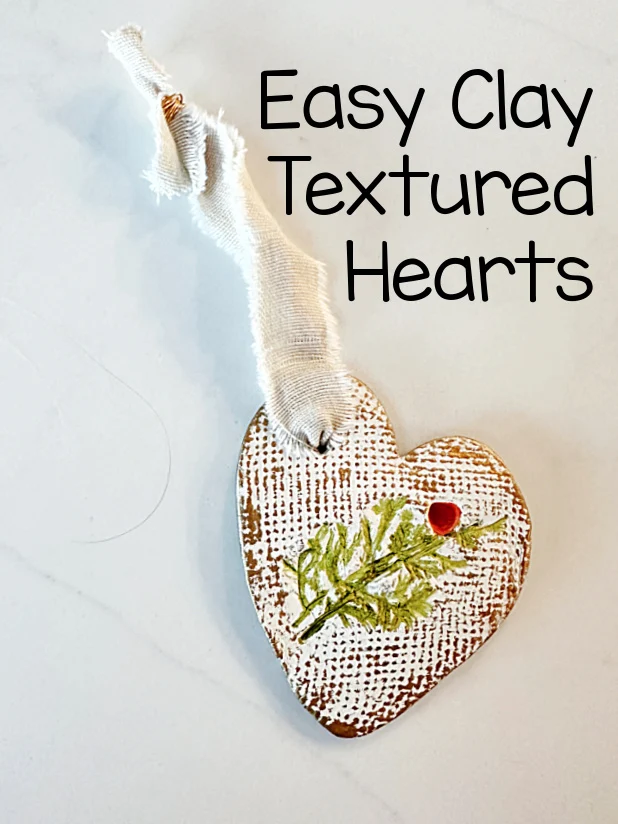
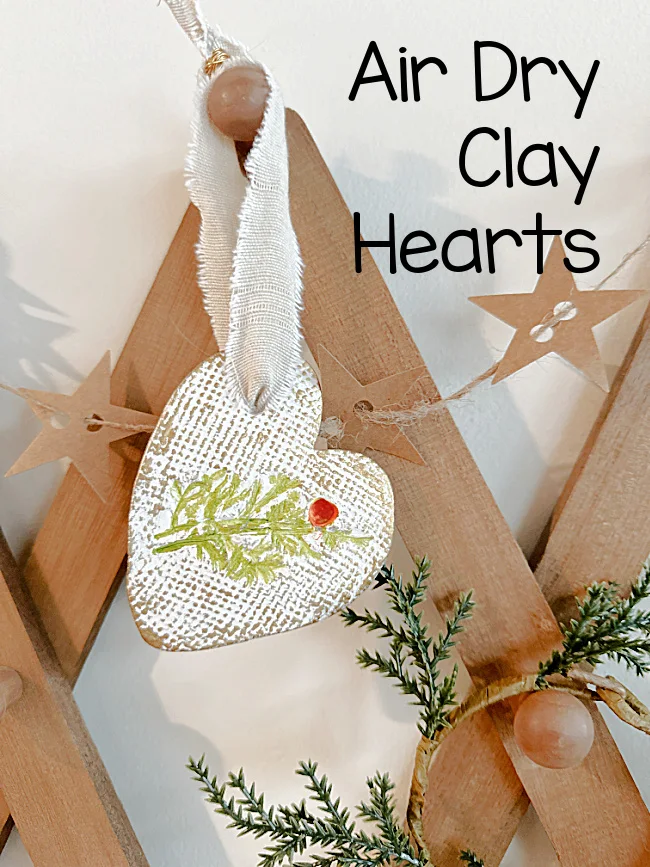
First, a piece of burlap that I just pressed down into the clay heart with a roller.
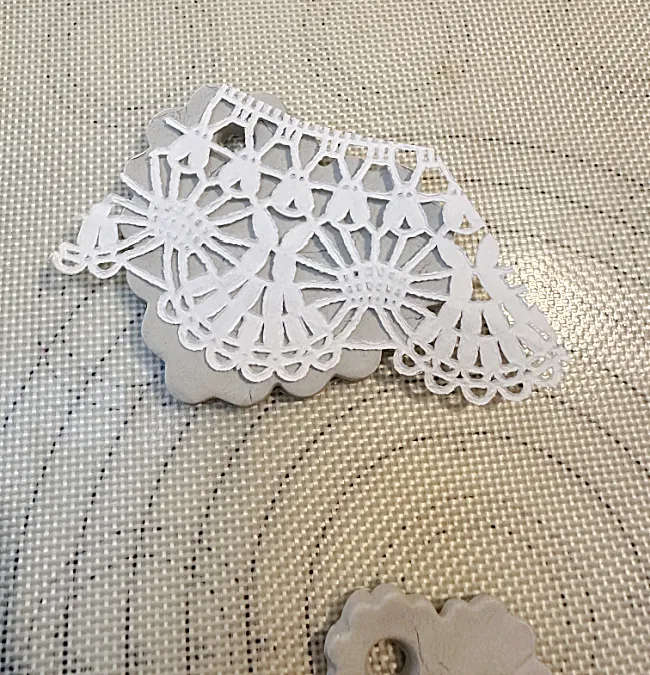
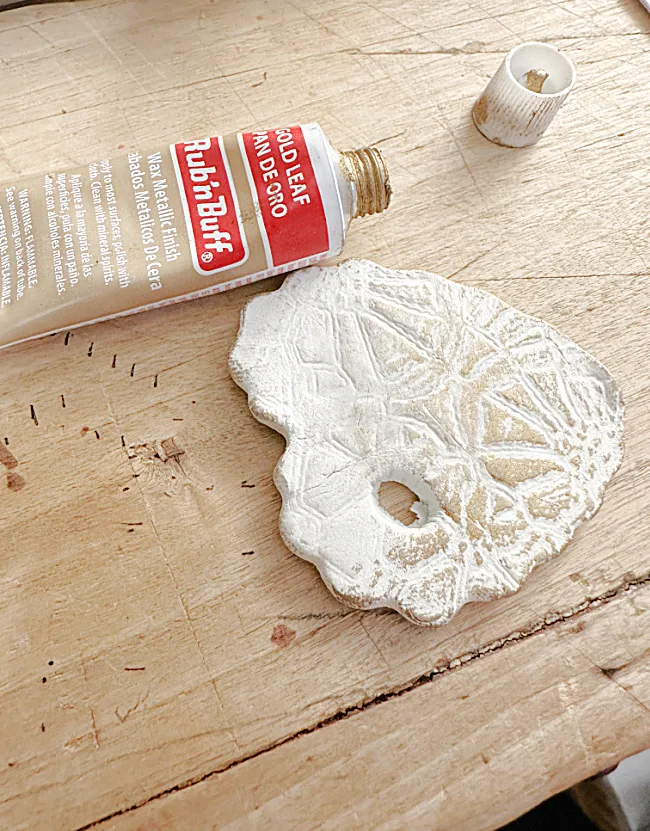
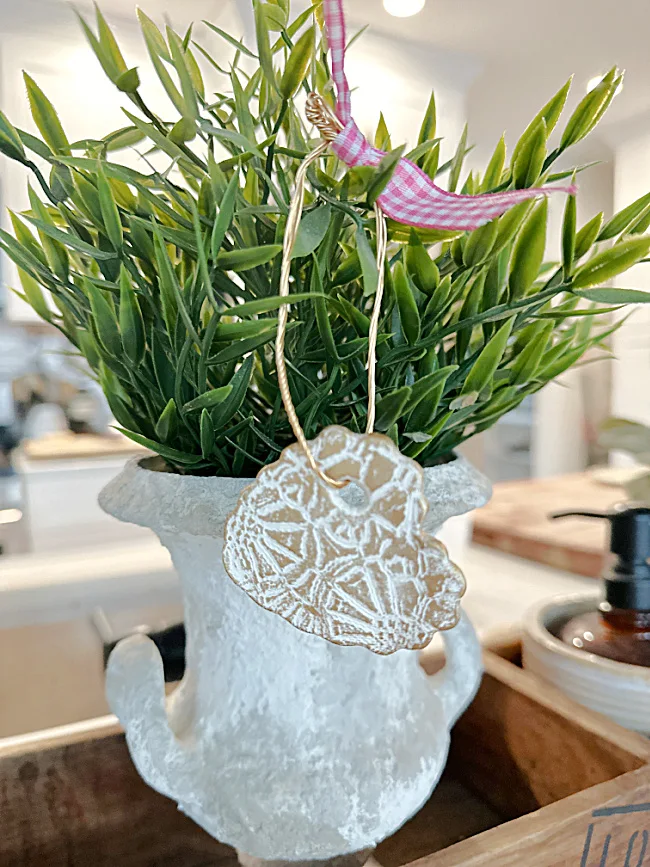
Secondly, a piece of paper doily and I did the same thing.
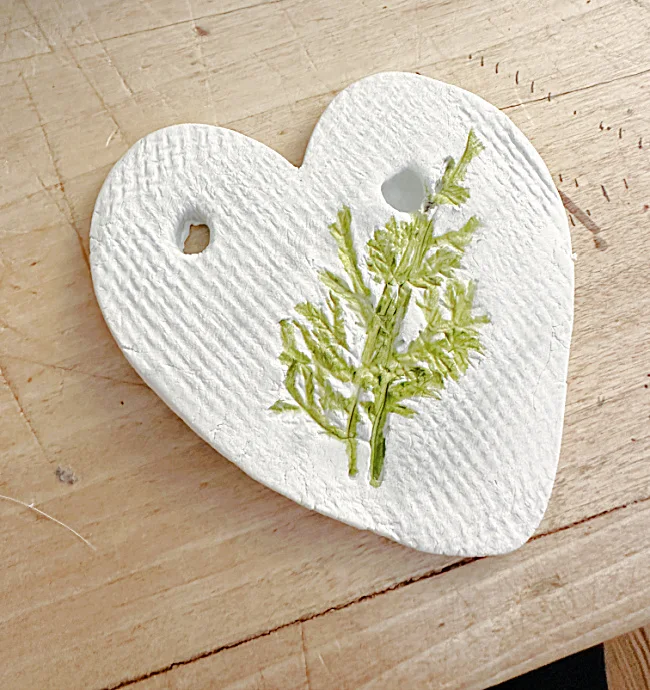
On the third one I used a piece of plastic greenery to press into the clay heart.
Use whatever you can find to add beautiful texture to your hearts because the next step will bring out all that beautiful texture!
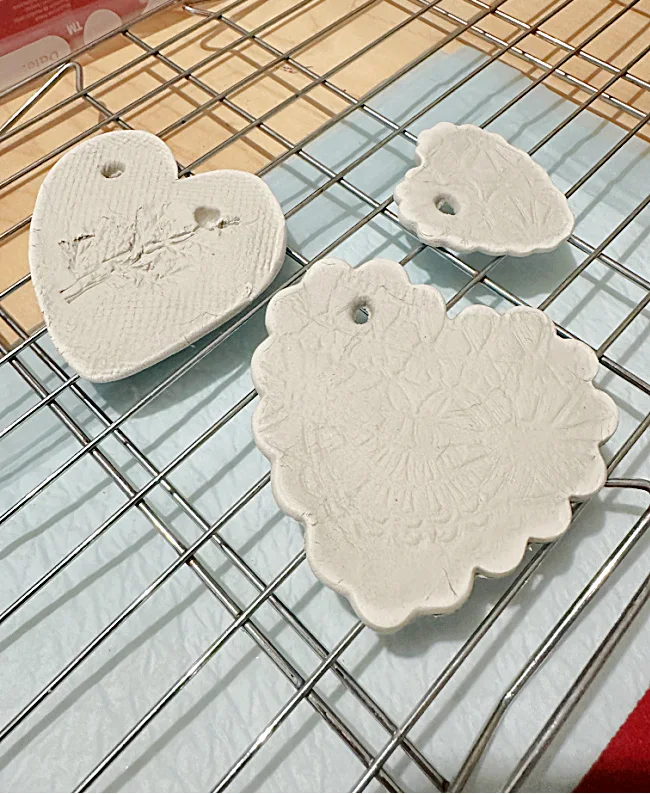
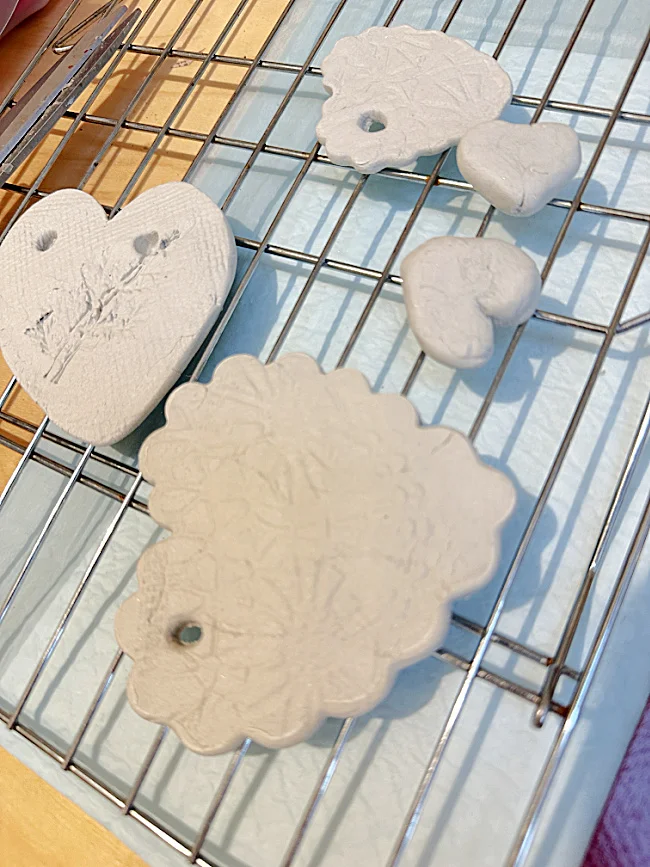
I set the hearts out to dry and as you can see the clay begins to turn bright white when it drys.
I let them dry overnight.
In the morning when the hearts were completely dry and white, I used a tiny bit of gold leaf Rub and Buff to lightly rub over the textured surface and around the edges. Don't use too much or you will fill in the texture!
For the heart that I pressed in the greenery, I used watercolor paint and a thin brush to paint the texture left by the greenery branch.
Lastly, I flipped over the hearts and gave them a coat of gold spray paint on the backs to make the back look pretty too! .
That's it!
Please pin for later --->>
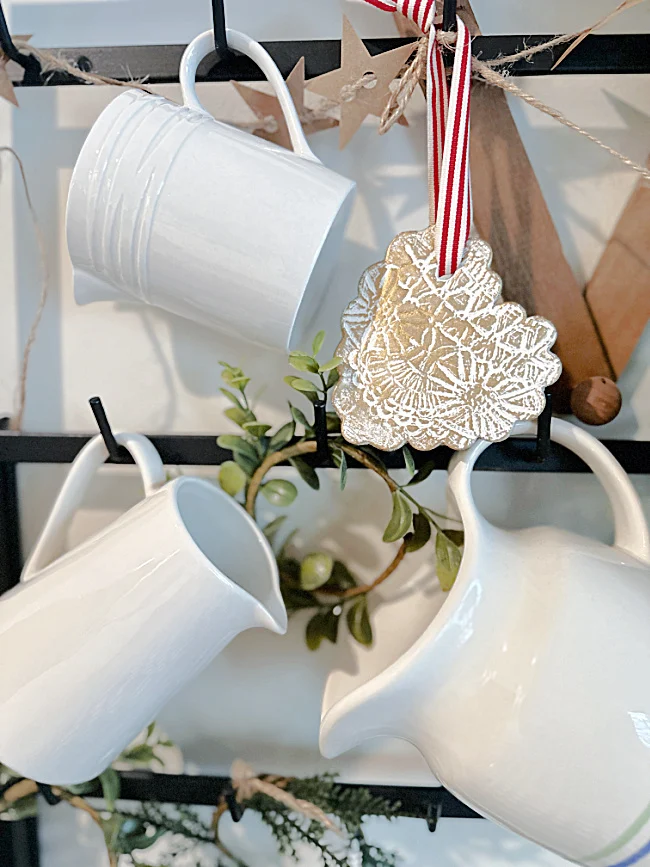
Hang ribbon, piece of lace or gold wire through the hearts and they're ready to decorate a gift or to just hang around the house.
READ MORE: VALENTINE'S DAY PROJECTS
They make the cutest, and easiest, Valentine's Day decorations!
Also remember, use other cookie cutters or even just a glass to create other shapes and designs!
Read all about the cement look I added to this ceramic urn!
Thanks so much for visiting and before you go please take a minute to sign up for the Homeroad emails so my next DIY tutorial will go out straight to you!


