Easy Boho Basket Makeover
Do you find baskets at the thrift store? Do you have a house full of baskets and some in need of a makeover?
Today I'll show you how to make the easiest makeover on an old basket.
I had a basket in need of some TLC and found a way to do it in minutes!
Take a look...
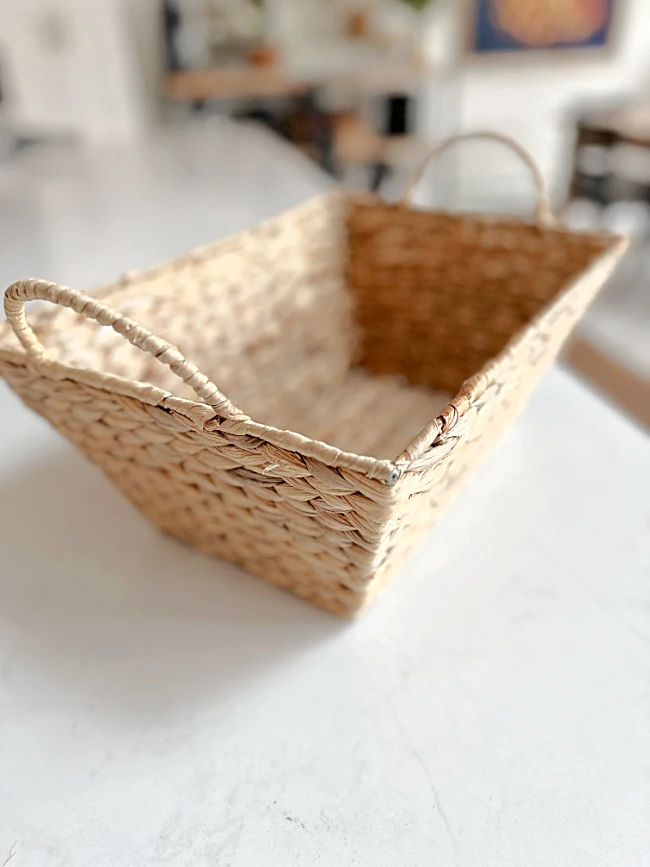
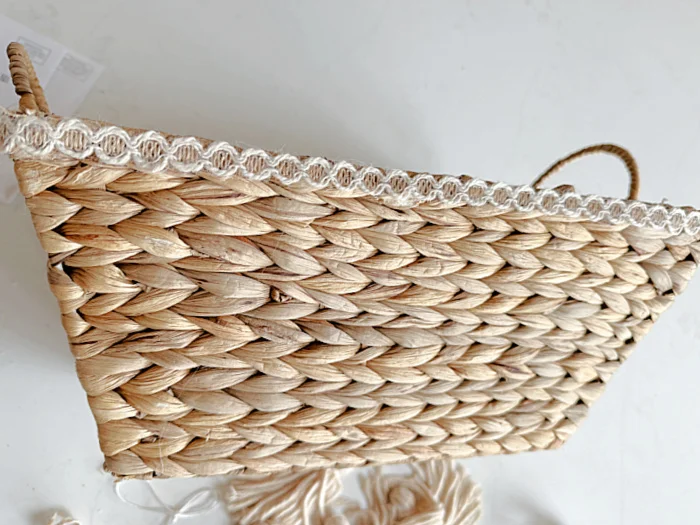
Here's my basket that was in need of a makeover. The edges were damaged and the sea grass looked a little dented.
As you're reading through this post please pay attention to the bold blue links that will take you to more information and the products I used for this project. Also the READ MORE sections will take you to related Homeroad projects.
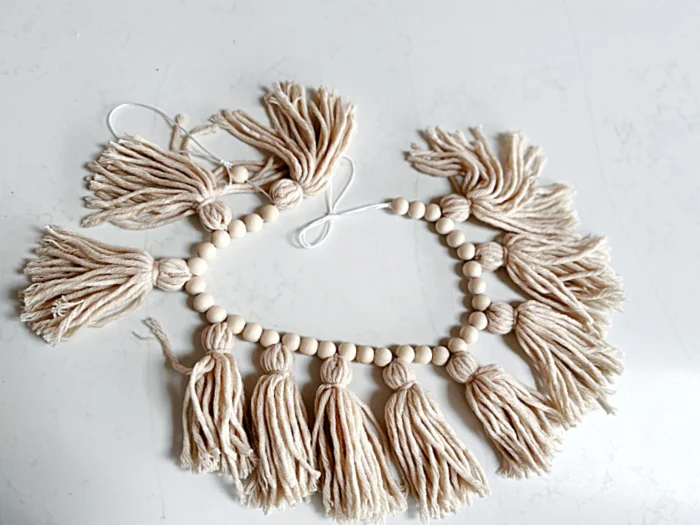
I had this old beaded tassel garland. I have no idea where it came from, just one of those things that shows up at your house and you think you'll use it for something someday.
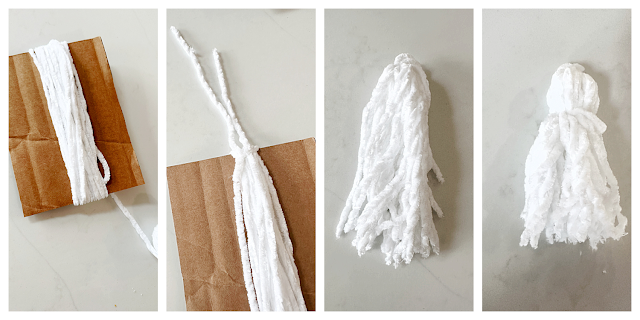
No tassel garland? No worries, I've got you... keep reading and I'll show you how to make tassels yourself.
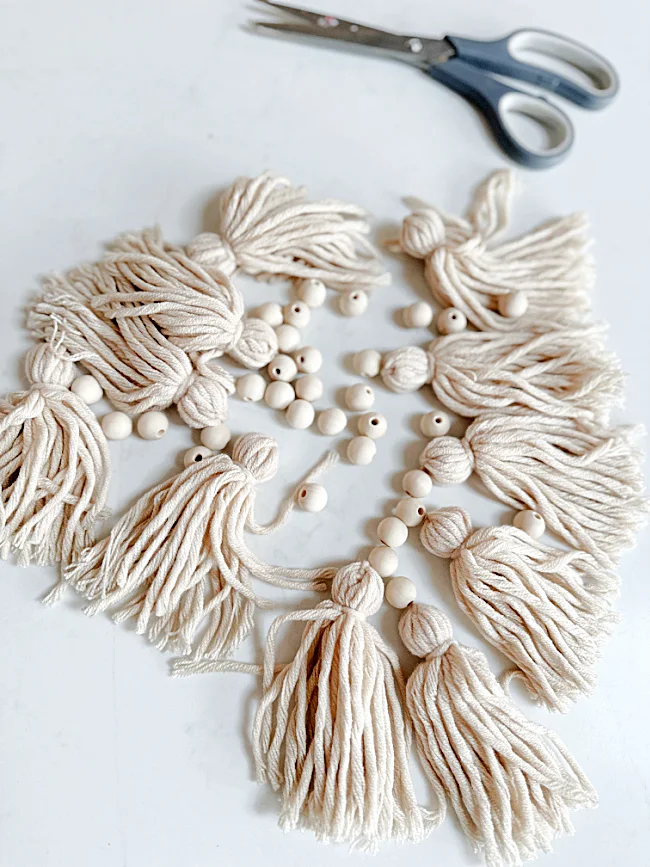
I cut apart the garland and separated the yarn tassels from the wooden beads.
I gathered all the wooden beads in a jar, you know I'll be using them at another time.
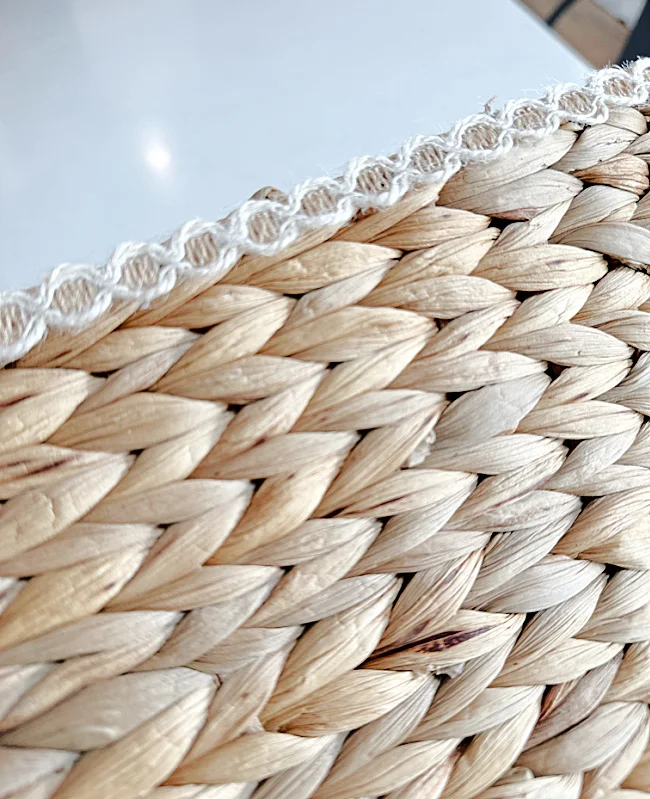
And then came the tassels. I had an idea to attach them to the basket but that wouldn't solve the problem of the damaged edges on the basket. I grabbed some jute ribbon I had gotten at Dollar Tree at one time and hot glued it all the way around the top edge of the basket.
It was better already!
Next came the tassels.
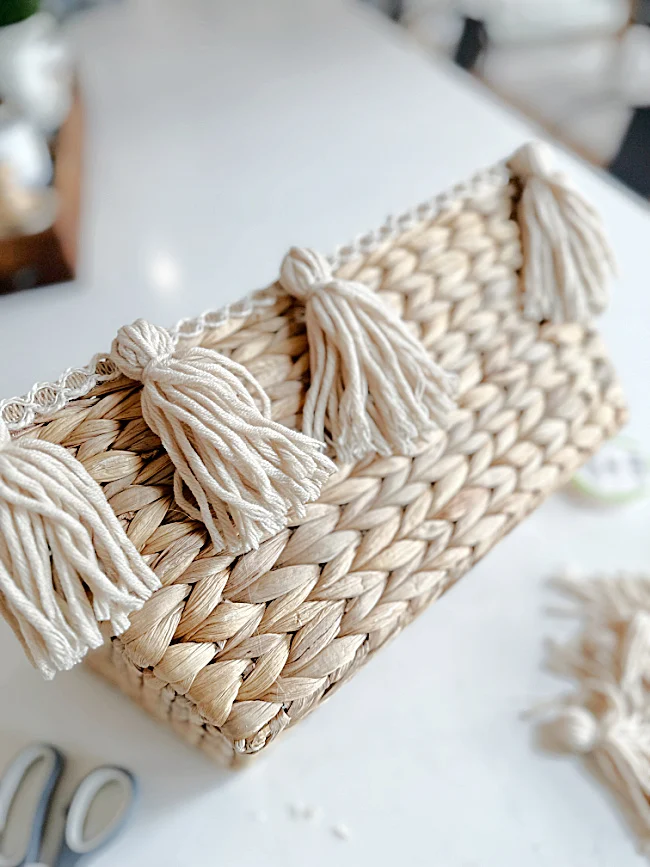
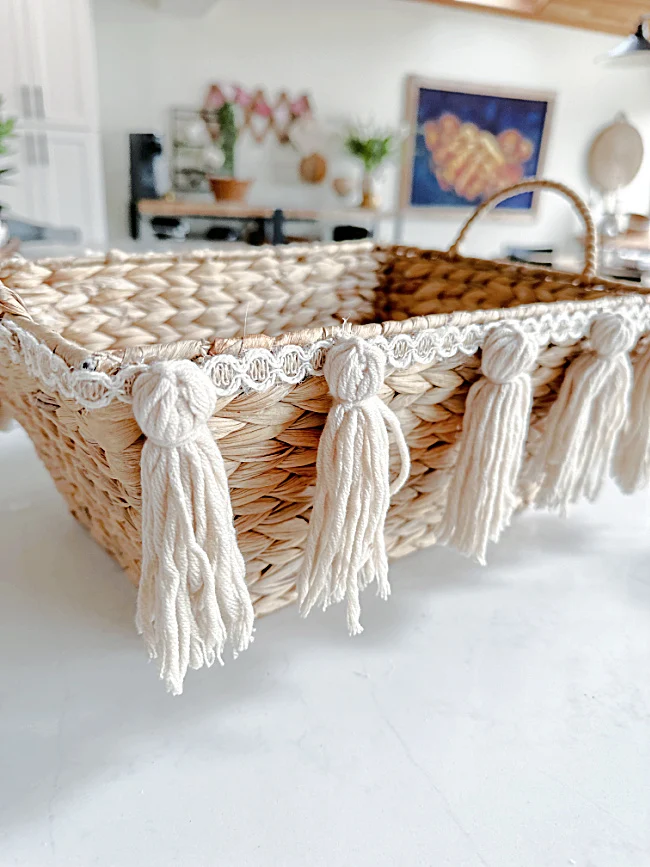
I glued one tassel on each edge of the basket then one in the center, then one in between both of them.
This way my tassels were all the same distance apart.
I did the same thing on the other side, there was no need to do the sides because there were handles on this basket.
And that my friends is it!
Please pin for later --->>
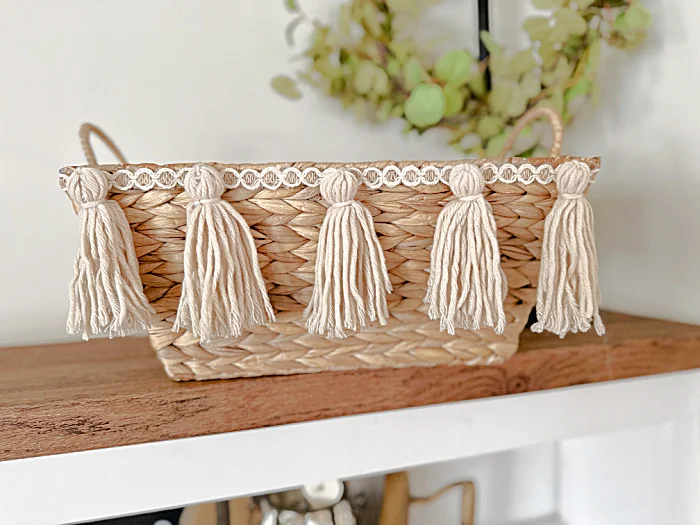
My basket now had a new look!
And I promised I'd show you how to DIY your own yarn tassels... Cut a piece of cardboard to the size of the tassel you want. These are about 5" long. I wrapped the yarn around the cardboard about 20 times then tied the strands together at the top, Next, slide the yarn off the cardboard and cut the bottom yarn strands straight across. Use another piece of yarn to tie a tight knot about an inch down from the top and you're done!
This updated basket looks great with the other baskets in the shelves under my TV.
READ MORE: THRIFT STORE MAKEOVERS
Thanks so much for visiting and before you go please take a minute to sign up for the Homeroad emails so my next DIY tutorial will go out straight to you!


