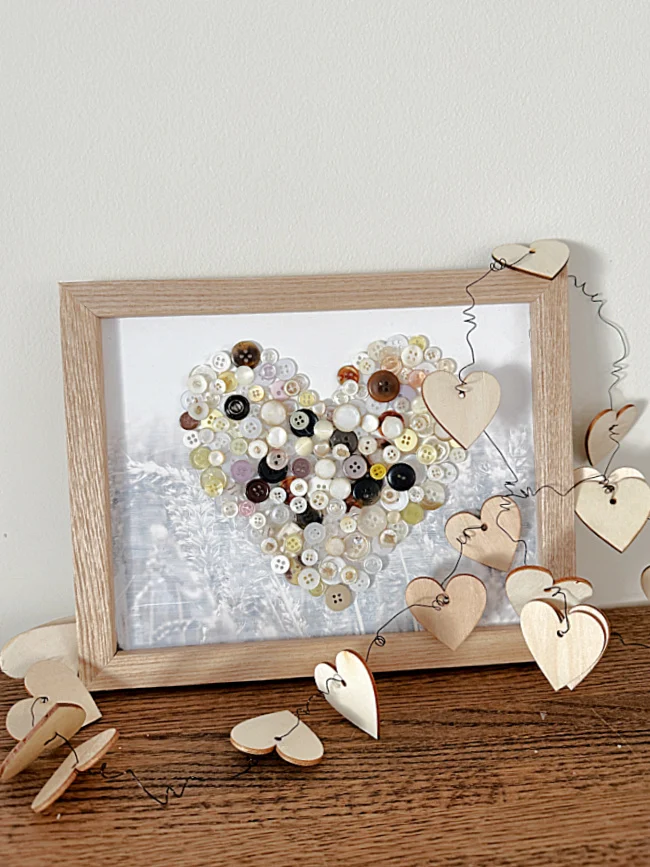
Framed Vintage Button Heart
Today I'm creating a quick and easy heart project using a recycled frame and a whole bunch of vintage buttons.
You may have seen the vintage button pillows I made this week. That project gave me another great idea and that's where we are today!
All you need for this project is an old framed piece of art and buttons. The vintage and antique buttons are the best but you can make this project with any buttons!
Take a look...
Buttons! I had a whole bunch of vintage and antique buttons from a collection given to me when my great grandfather passed many years ago. A few days ago I made a couple of small pillows with these buttons.
I've been making things with these buttons for years now. Over the years I've also collected my own stash of buttons from old clothing and random old coats. If you don't have a button collection of your own, Amazon sells some very cool buttons!
As you're reading through this post please pay attention to the bold blue links that will take you to more information and the products I used for this project. Also the READ MORE sections will take you to related Homeroad projects.
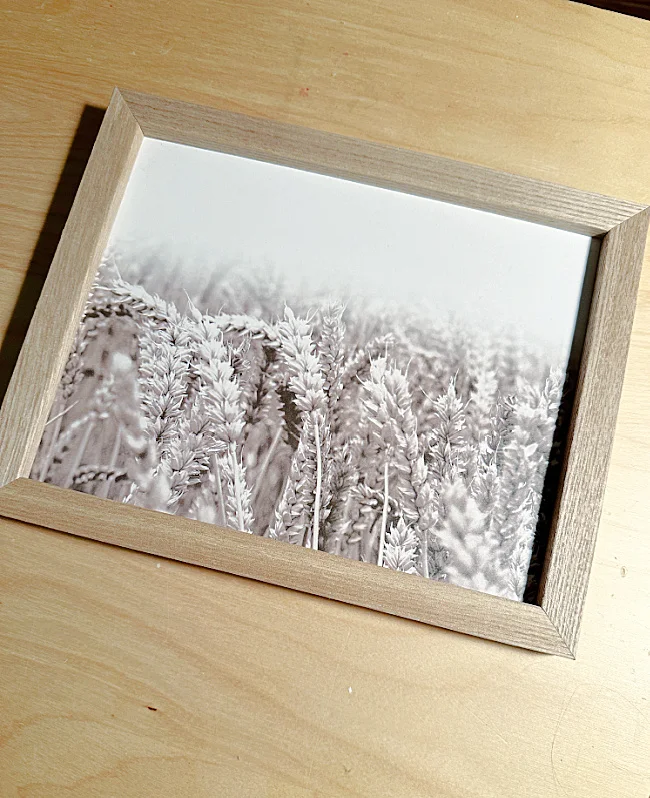
I began this project with this framed art. It came from the thrift store and is nothing special but I liked the neutral background.
I made a white wash and painted over the picture with just one coat. This gave me a lighter version of the original picture with an ombre effect.
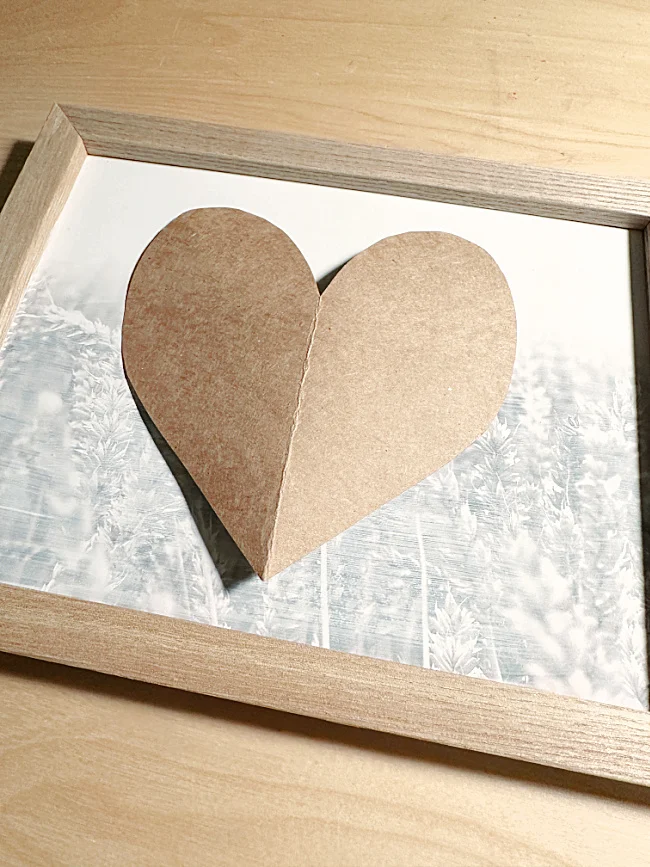
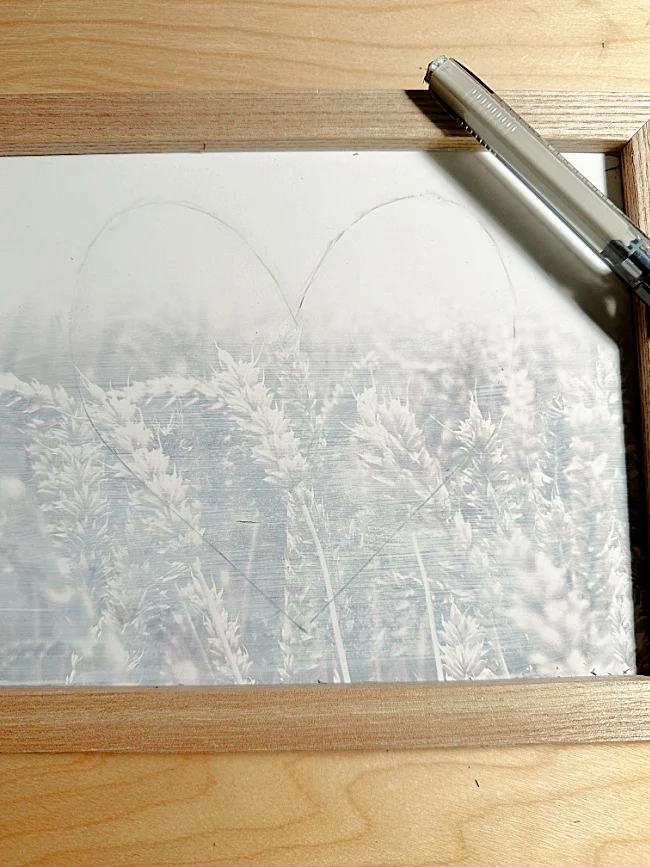
Next, I cut a heart from card stock and traced around the heart with a pencil.
You will want to make a very light line or erase your pencil line so it is just barely seen.
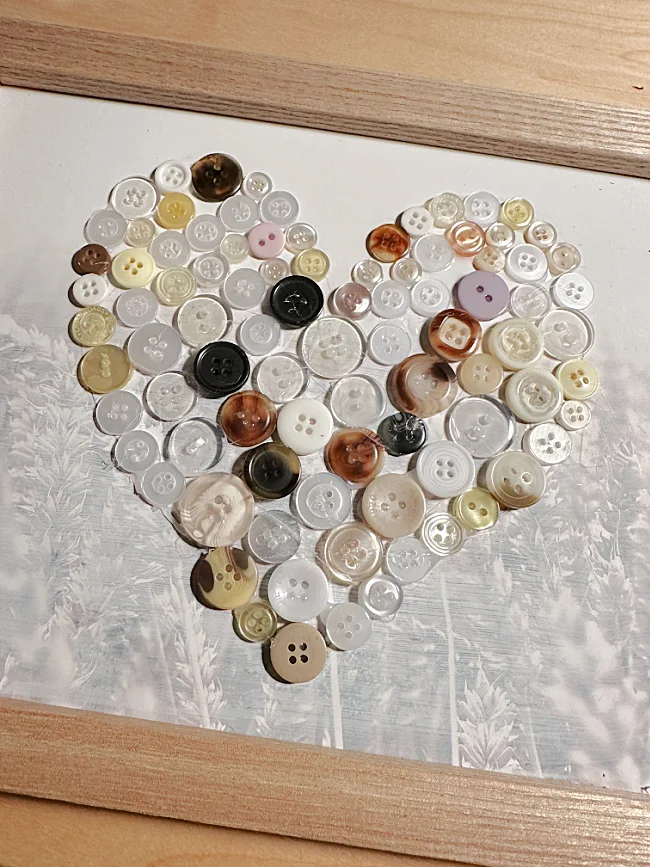
I started gluing buttons around the edge and into the middle of the heart. I used my newer buttons on the bottom layer.
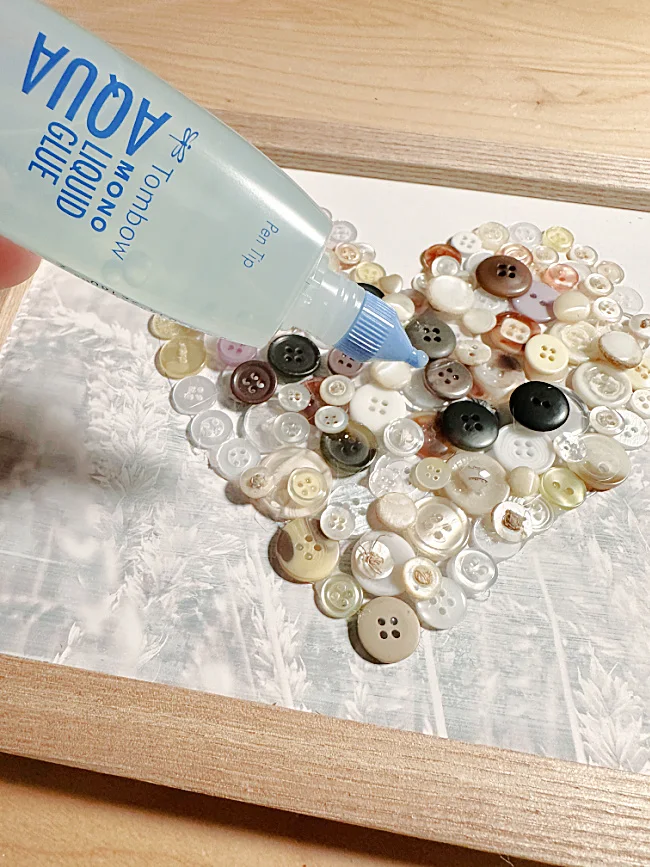
I started out using hot glue but the glue strings were an awful problem so I switched mid project to another glue called Aqua Liquid Glue which holds very well. You just have to give it drying time at the end.
The liquid glue worked great and it was easy to move the buttons around before they dried.
I kept filling in the buttons putting them as close together as I could, kind of like a puzzle.
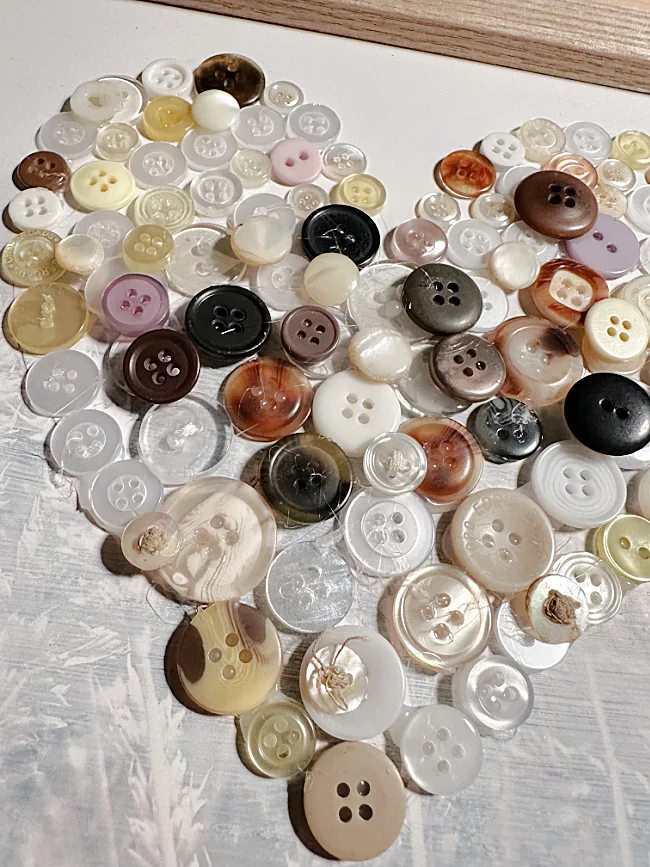
Once I finished the first layer, I used the more antique buttons from my collection as a random second layer. I wanted the older buttons to really show. Some even had the string still in the centers!
It looks a little messy now but you can get rid of the hot glue strings with a heat gun or a blow dryer. The strings make it frustrating when you're working!
Once I thought I had enough buttons and I liked the look, I set it aside to dry for a few hours.
That's it!
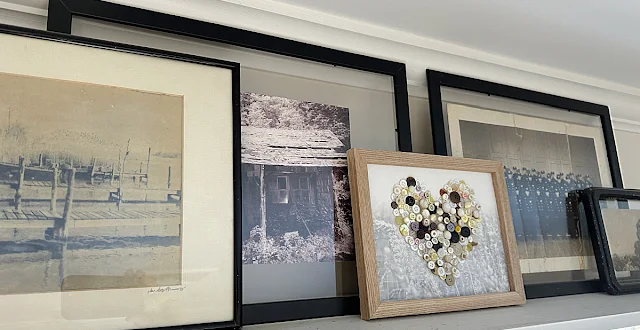
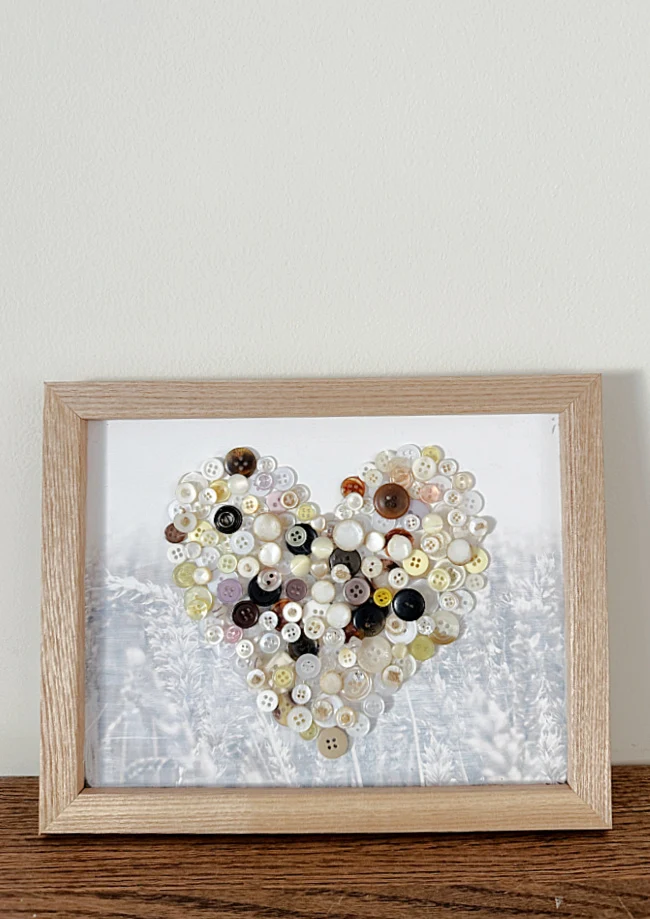
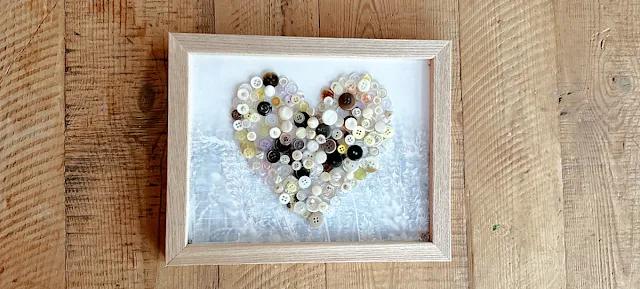
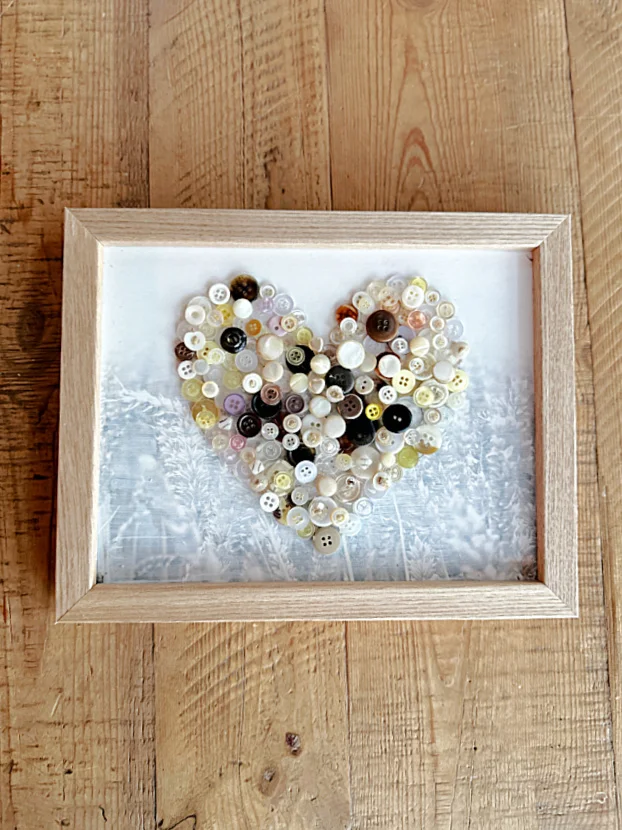
My button heart had an ombre effect that I loved and added neutral interest to the background of the vintage buttons.
This was an easy project that took only an hour or so.
Please pin for later --->>
It can be displayed on a wall or with other neutral Valentine's Day decorations.
READ MORE: VALENTINE'S DAY PROJECTS
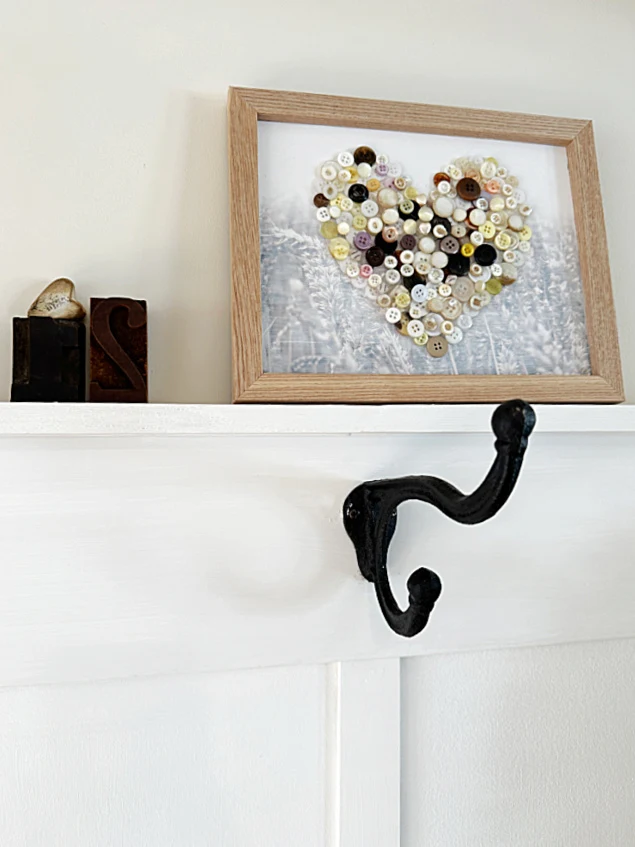
I like it best on the shelf above my window that has all kinds of other neutral vintage photos.
I love the neutral look of holiday decor!
Thanks so much for visiting and and before you go please take a minute to sign up for the Homeroad emails so my next DIY tutorial will go straight to you!

