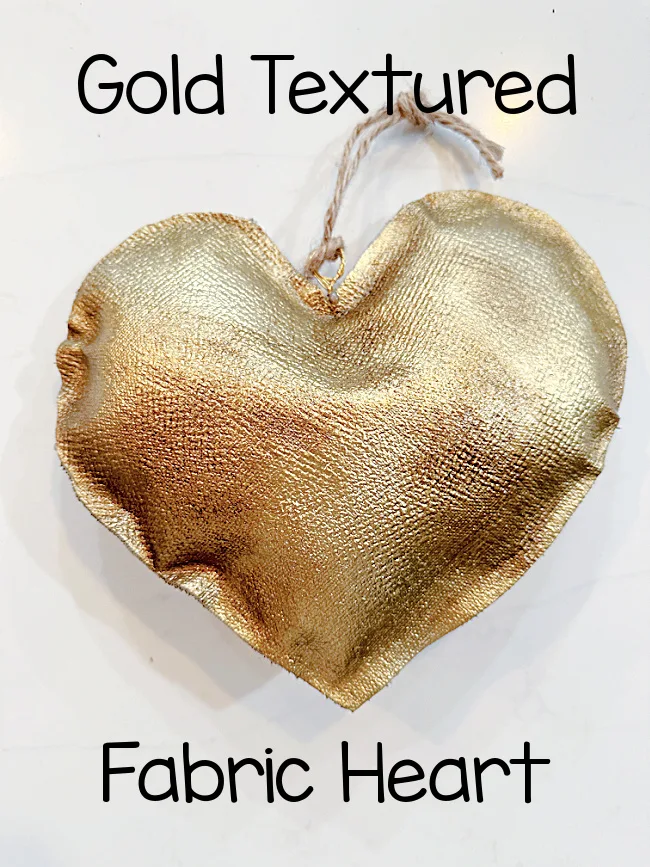
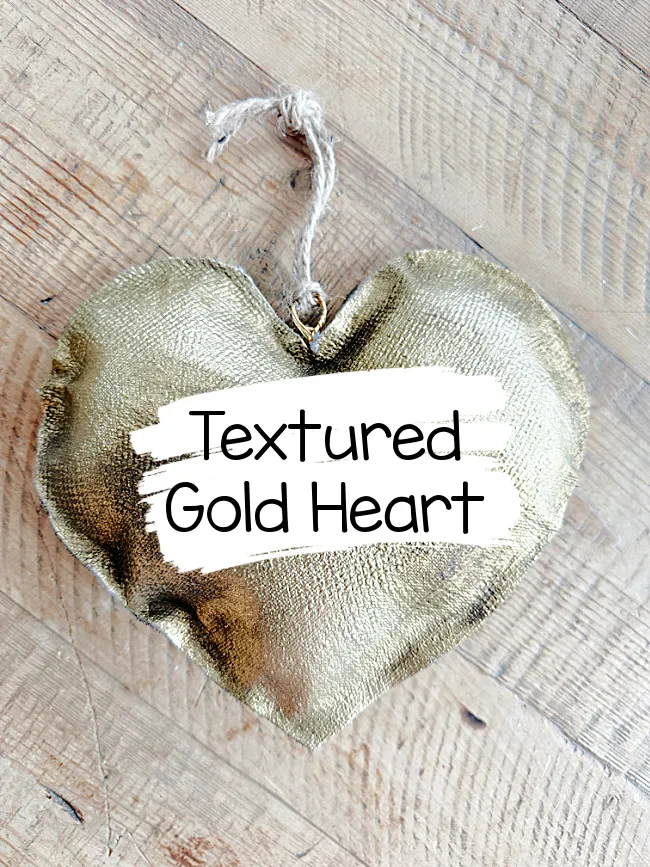
Textured Gold Fabric Heart
Happy Valentine's Day!
I was totally inspired by an Amazon find today.
Only I'm cheap. Well, cheap and I just love to create things myself. Get the look for less.
And I did, I got a similar look using things I had around the house and aside from the spray paint, it was free!
Take a look...
The look I was going for was this adorable set of stuffed looking metal hearts on Amazon.
As you're reading through this post please pay attention to the bold blue links that will take you to more information and the products I used for this project. Also the READ MORE sections will take you to related Homeroad projects.
Now the price was not bad for 3 hearts but I'm giving it a free try none the less.
How to texture Mod Podge:
I began with drop cloth fabric. The drop cloth fabric I'm using today has a plastic backing but I really don't think it matters what fabric you use.
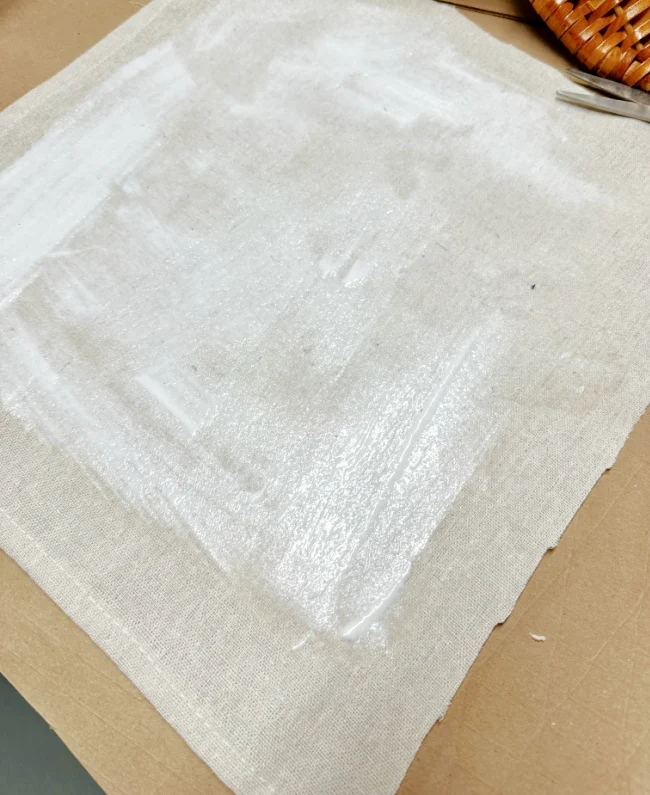
I coated the fabric with Mod Podge. My Mod Podge was very thick because I never seem to get the caps on right so if you have thicker Mod Podge you're ahead of the game. If not, just use more coats.
Once the fabric was coated with the Mod Podge I used a hair dryer to begin the drying process. I don't want it all the way dry though because I'm going to add texture.
Once the Mod Podge was dry but a little puffy and soft I used a piece of burlap and pressed it into the Mod Podge.
I used my hands to press the burlap down firmly.
The burlap should lift right up from the Mod Podge and leave a burlap design behind. The burlap should not stick to the Mod Podge, if it does then dry it more.
Once I had the texture I wanted I dried it some more.
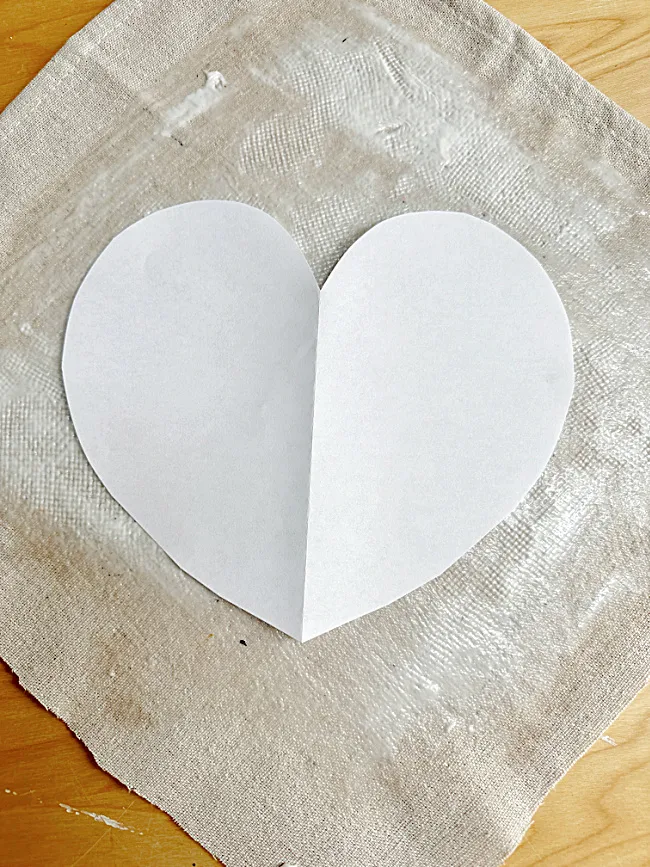
When the fabric was dry I made a tracer and cut out a heart from the textured fabric.
I also cut out a heart from another piece of the drop cloth fabric without Mod Podge.
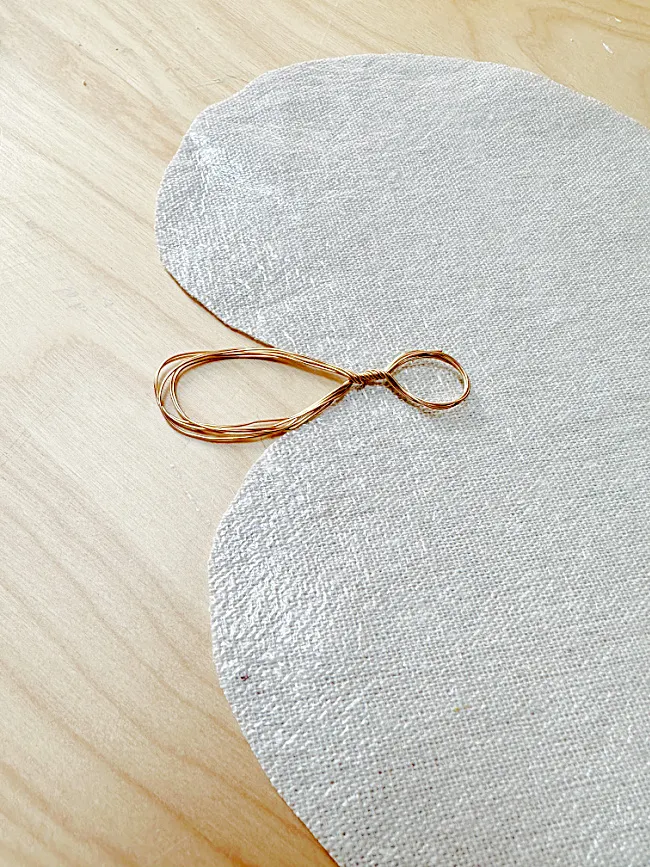
I made a loop from gold wire and hot glued it to the backing heart for a hanger.
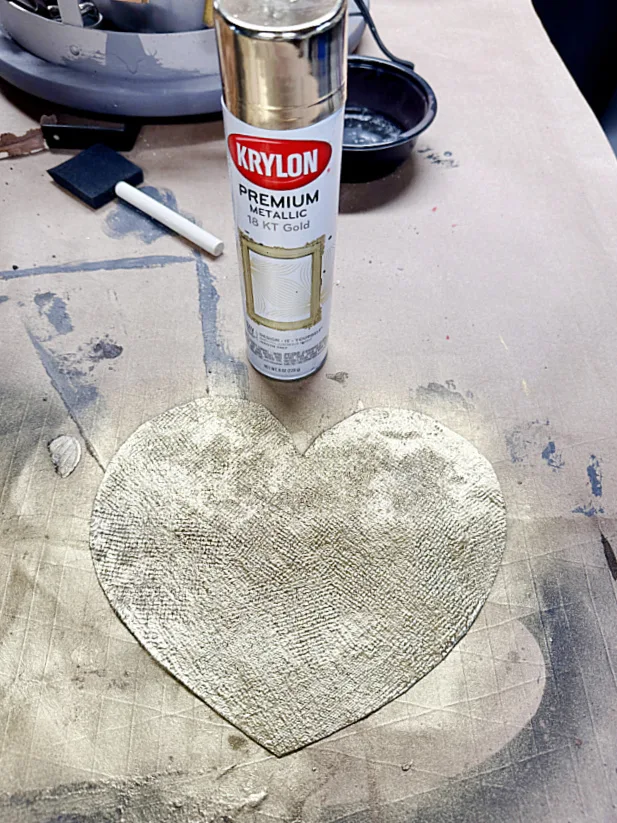
Next, I used my favorite gold spray paint and spray painted the fabric gold. I only did the textured heart but you could do both sides.
Once the paint is dry, the next step is to glue the 2 hearts together. I went around the heart with hot glue then stuffed the heart with batting. I glued the stuffed heart closed and trimmed the edges with a scissor.
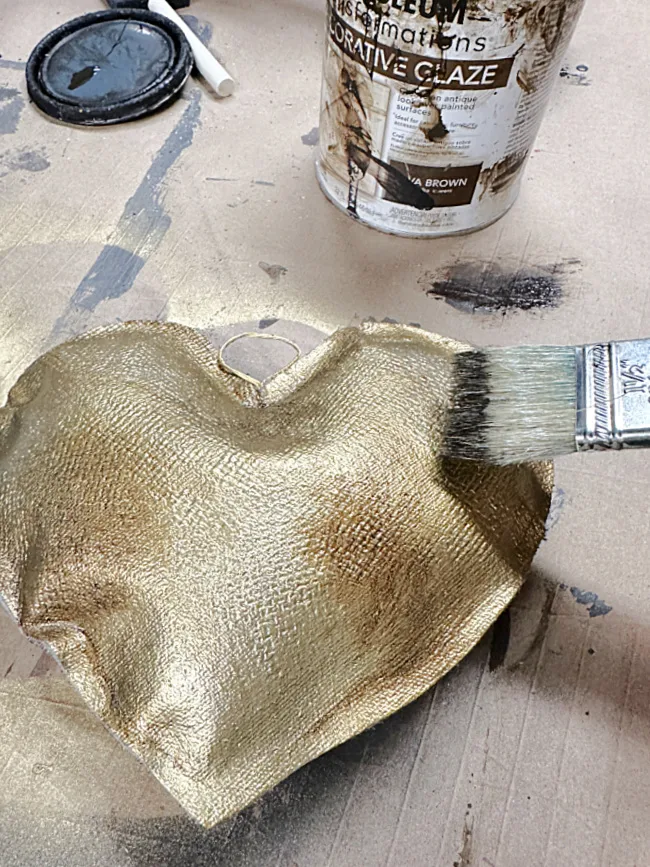
Lastly, to give the gold paint some dimension. I'm using an antiquing glaze by Rustoleum that I use for a ton of projects. I rubbed the glaze into the texture in random places and let it dry.
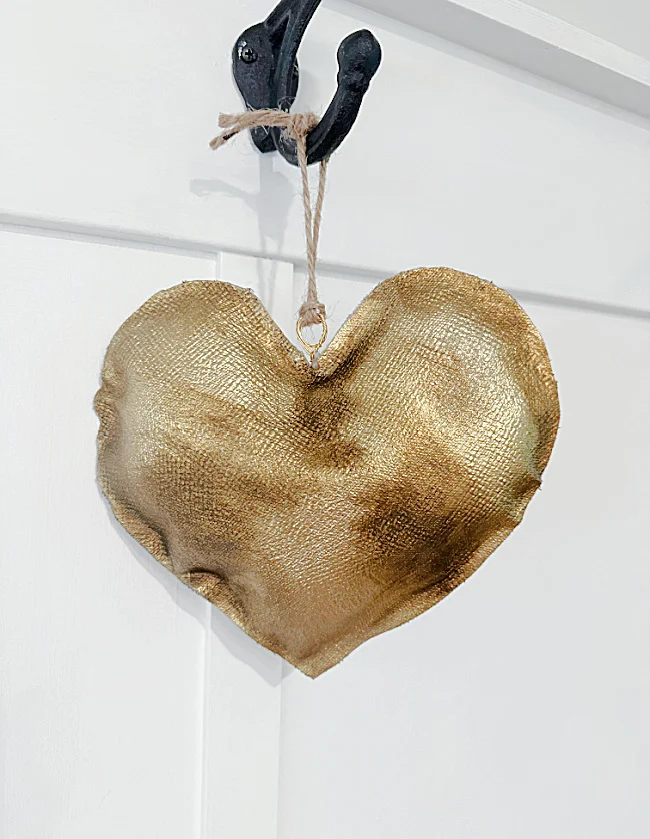
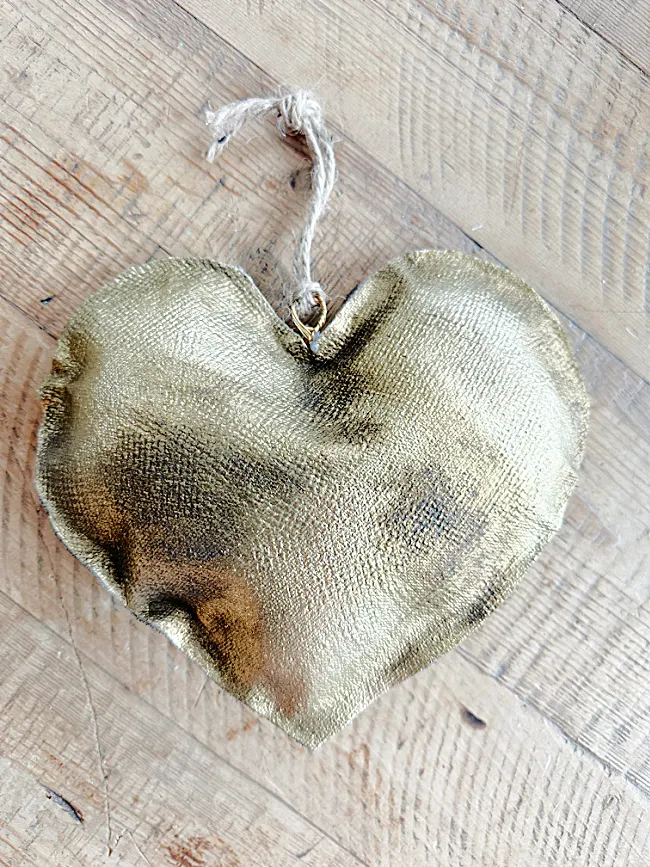
The antiquing glaze gave the heart the same look as the inspiration pieces.
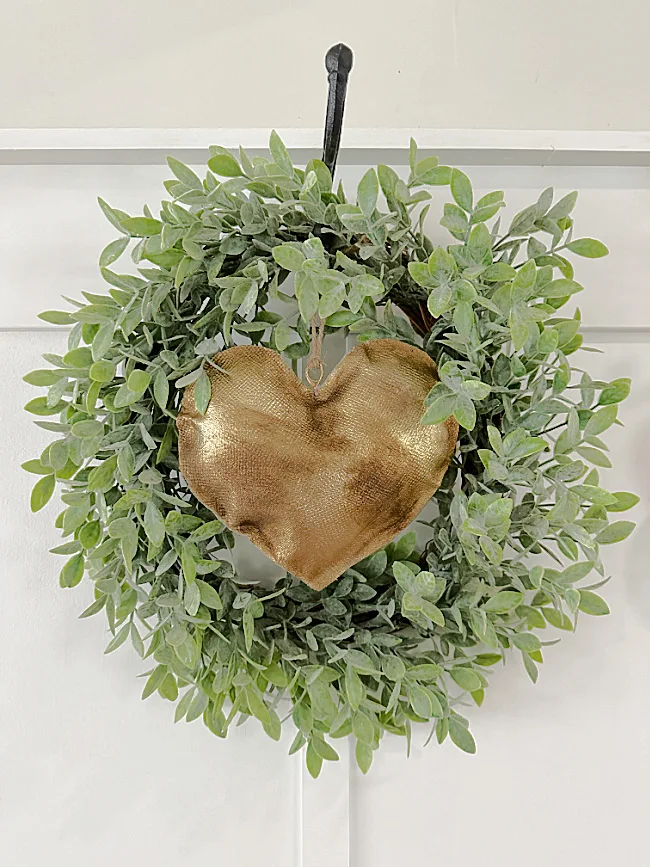
I tied a piece of jute through the gold wire and hung the heart on a hook on my new board and batten wall.
I got pretty much the sane look for less for sure.
I'll be hanging this beauty up for Valentine's Day but it can also stay up all year long because it is just that cute!
Please pin for later --->>
READ MORE: HOME DECOR PROJECTS
I hope you like my look for less project today and you'll come back to see more. Please sign up for the Homeroad emails so my next DIY tutorial will go out straight to you!


