Torn Cardboard Bunny Banner
Good Morning! Are you ready for Spring? I know I sure am!
Recently I made a torn heart banner for Valentine's Day and it was a hit!
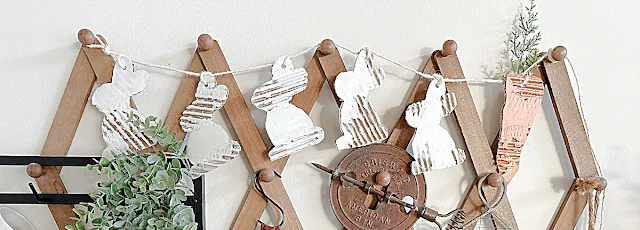
Today I'm making a torn cardboard bunny banner for Spring and Easter. Go grab an Amazon box and follow along!
Take a look...
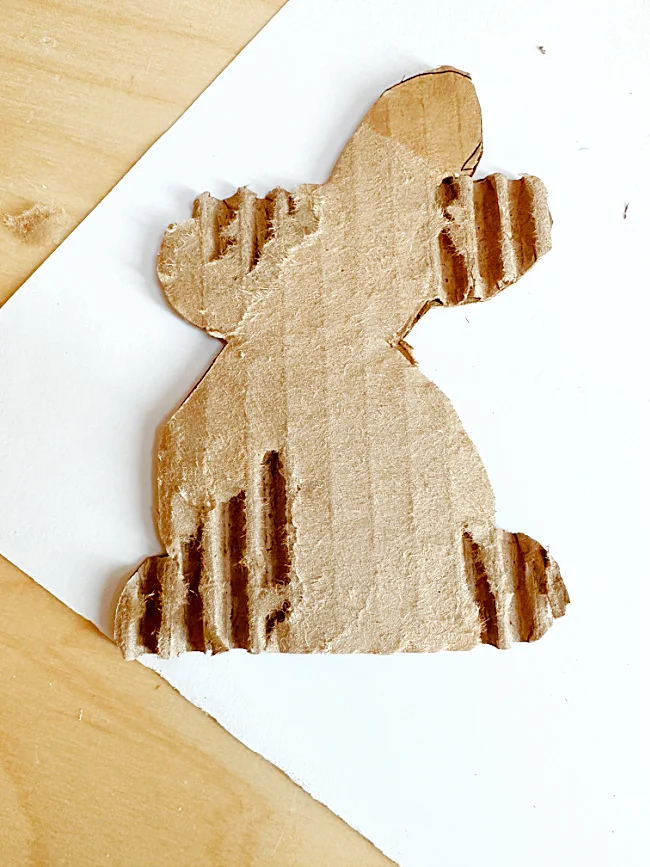
Like I said, I began with a cardboard Amazon box. I'm using just the flaps for this project.
I printed out a picture of a bunny from the internet and traced it onto the cardboard.
As you're reading through this post please pay attention to the bold blue links that will take you to more information and the products I used for this project. Also the READ MORE sections will take you to related Homeroad projects.
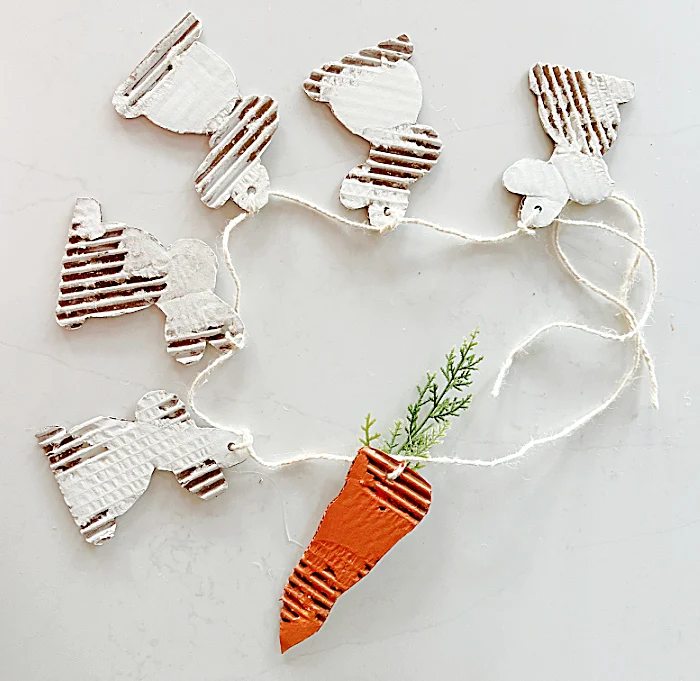
I traced the bunnies in all different directions so that the corrugated cardboard would go in different directions on the banner.
Once the bunnies were cut, I used a fork to strip off some of the top layer of cardboard to reveal the corrugated parts.
Don't pull off too much and you will want each bunny to look different.
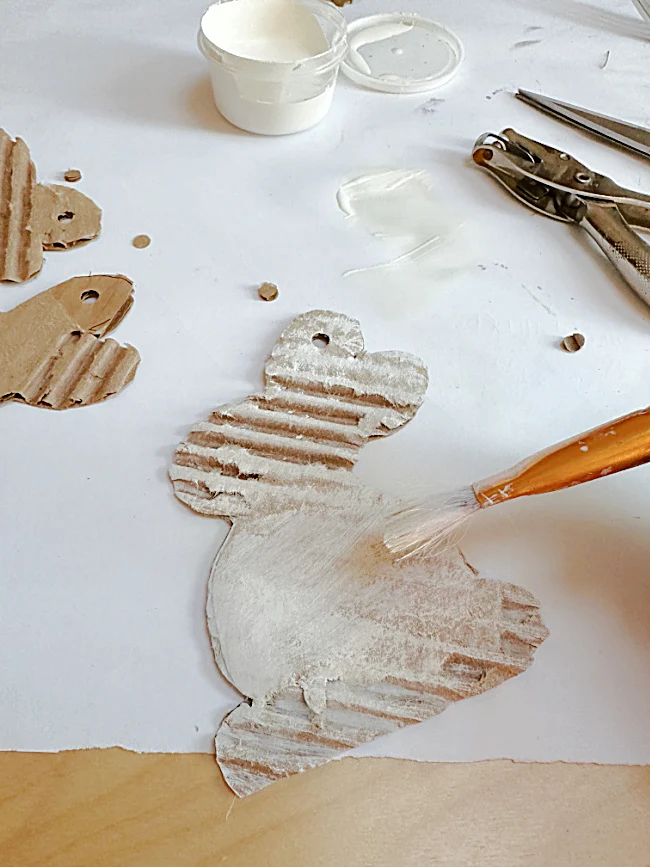
Next, I punched a hole into the top of each bunny for stringing.
I used a fairly dry brush and brushed each bunny with white craft paint. When it dried I went back over them with a second coat. Make sure you go over the top of the corrugated parts with the brush and not into all the valleys.
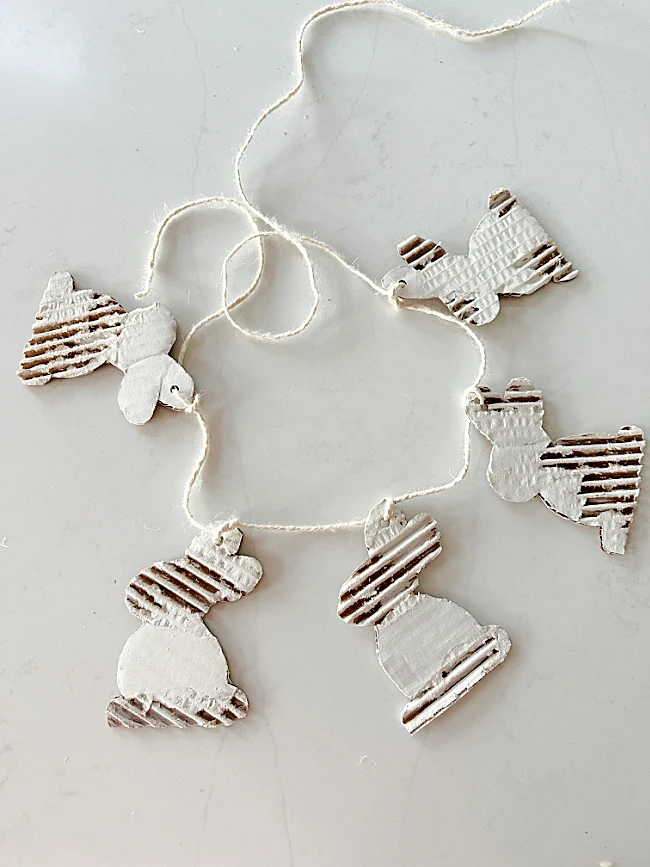
Once the bunnies were dry I used a piece of white jute to string the bunnies onto the twine.
Now you can leave your bunny banner just like this or you can add a carrot!
For the carrot I followed the same process but painted it with orange craft paint and added a piece of faux greenery to the top with hot glue.
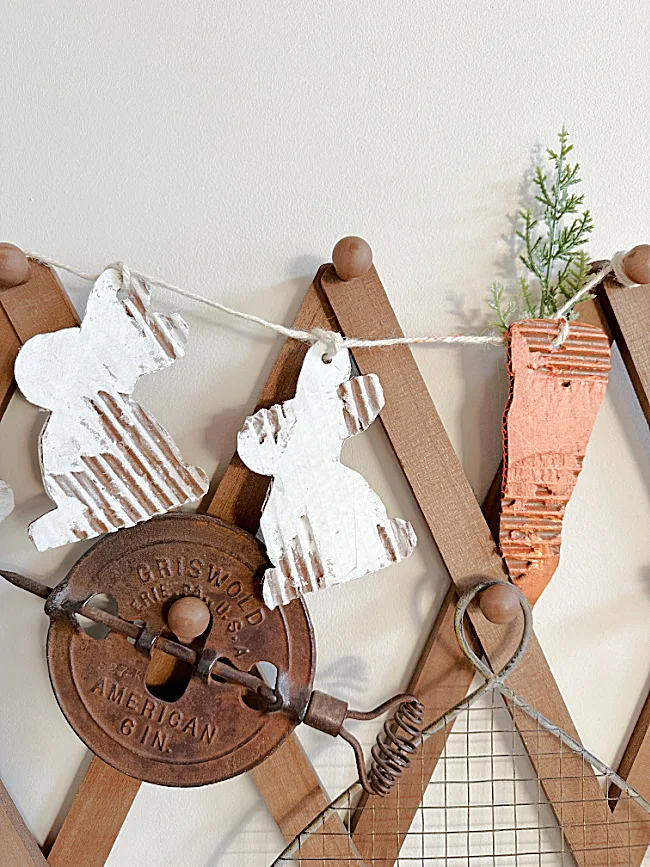
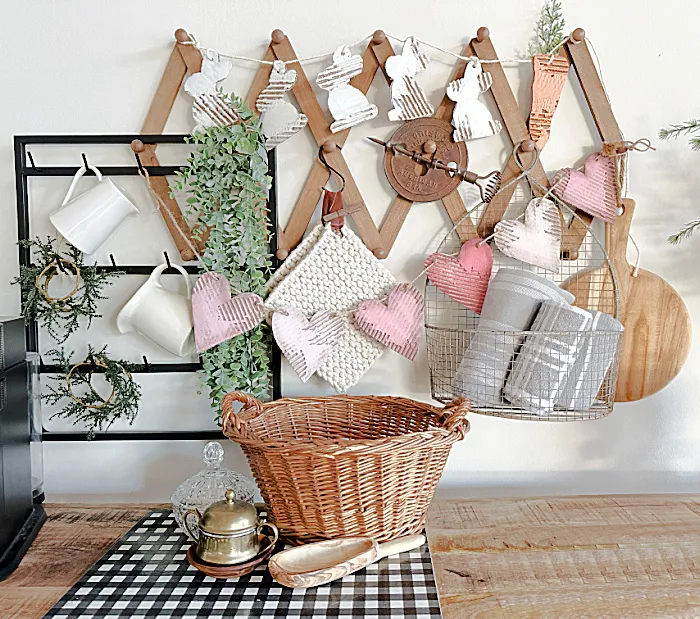
My bunny banner was ready to replace the heart banner on the peg shelf in my kitchen!
Please pin for later --->>
This is such an easy project that recycles and doesn't cost anything to make!
Thanks so much for visiting and before you go please take a minute to sign up for the Homeroad emails so my next DIY tutorial will go out straight to you!

