Board and Batten for a Narrow Hallway
I'm finally getting around to another easy home improvement project I've thought about for a long time.
We've lived in this house for 29 years this year. We live in the same town we grew up in. Our children, and their children go to the same schools we did.
We love out house and we are constantly looking for large and small projects to update it.
Today I'm working on an easy update.
Take a look...
This narrow hallway is upstairs in our house. At the end of the hallway is my adult daughter's room and to the right is the guest room. Directly to the left is my husband's office. It is hard to get a good photo because the hall is narrow and there is no lighting other than overhead lights. The floors are the original hard wood in this area and have been sanded and refinished.
I've posted a couple of projects from this area in the past. Ten years ago I sponsored a post for ceiling lights from Build.com which we still use and still love. That's when we painted the hallway, that project went way back!

Another time I painted the railings all the way up the stairs and across this hallway. Painting the railings and spindles black made such a huge difference! That was right before the giant kitchen renovation!
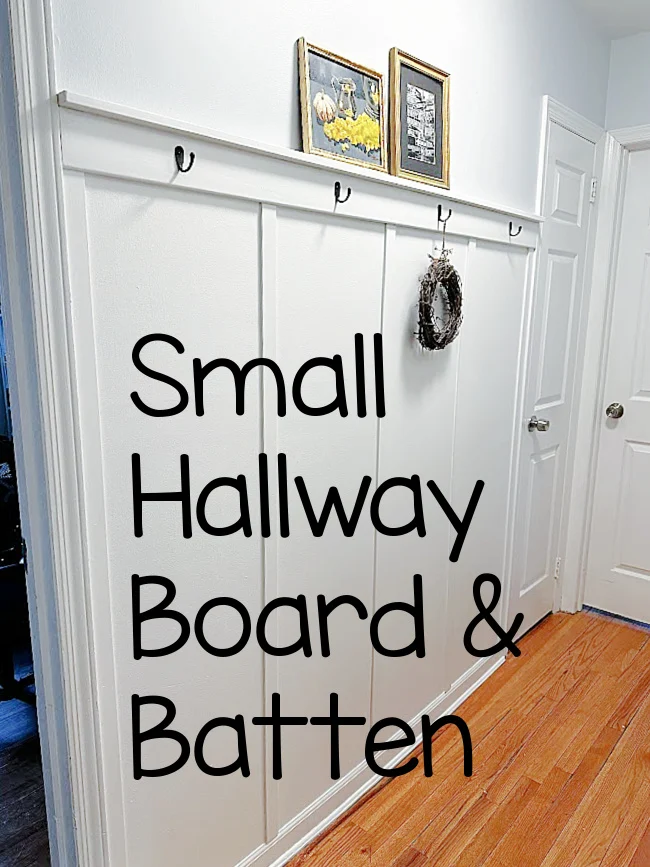
Today I am going to put up a quick board and batten with hooks on the long wall in this narrow hallway.
I began by sanding down and repairing all the holes and dents in this wall. We move furniture a lot around here. It seems like someone is always moving in or out and it takes a toll on the walls in this narrow area.
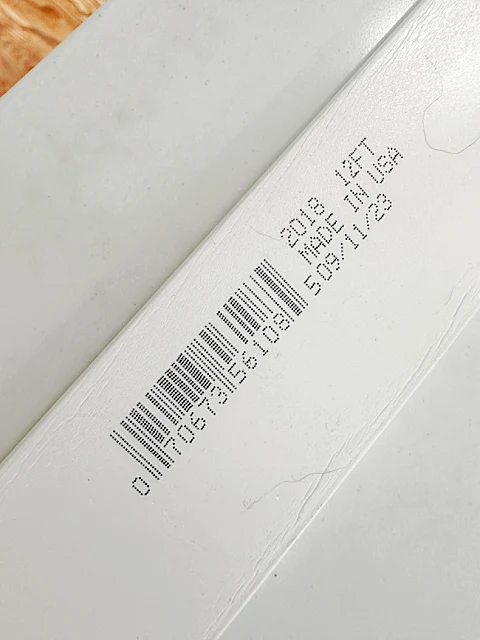
I purchased PVC strips from Home Depot. I bought them in 12' lengths so I could cut strips to the length I needed for my wall. This is the barcode from the strips I bought:
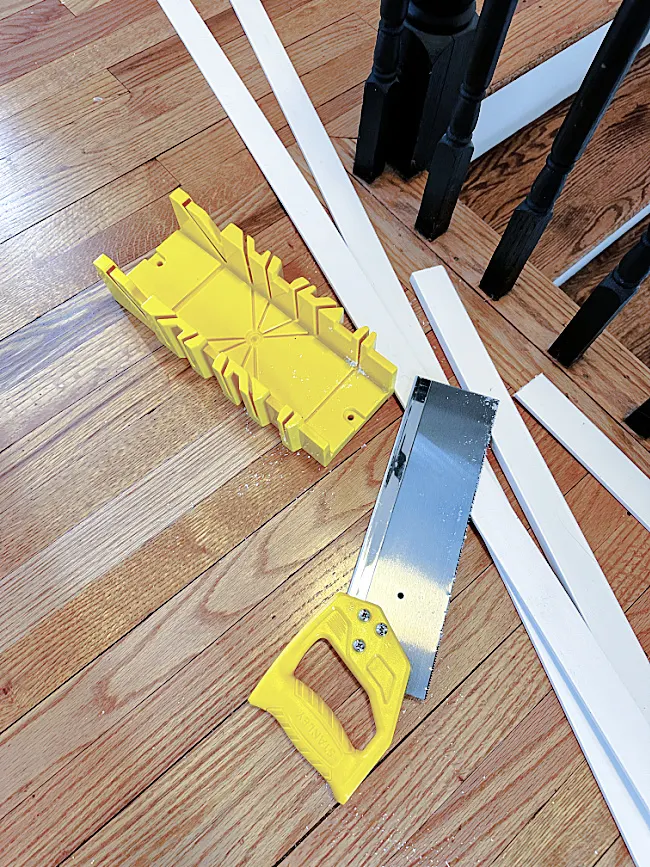
I measured the strips to 5' long and cut them with a miter box and saw. I wanted the shelf and hooks I was planning to be high enough that they wouldn't get in the way.
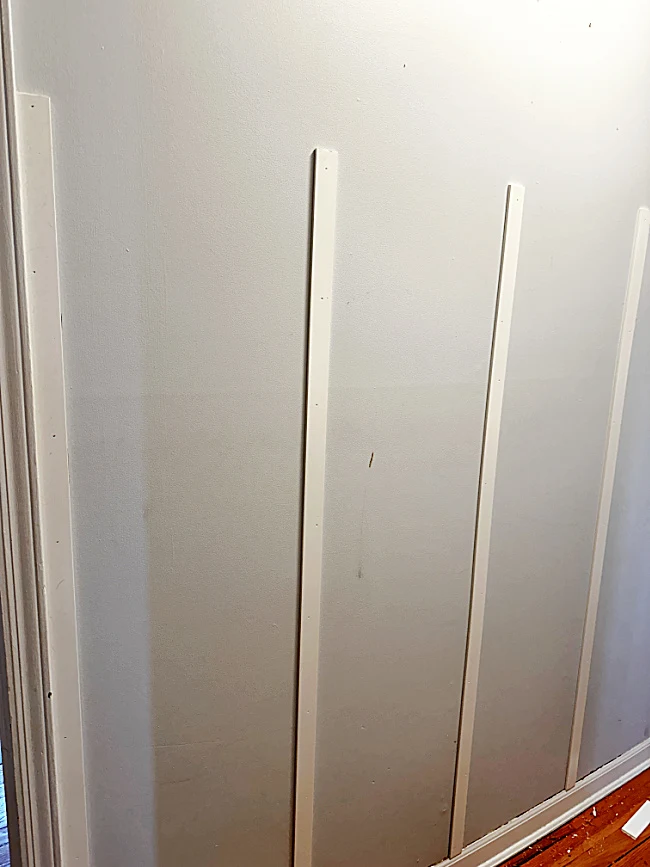
I started by putting up the first 2 strips on both ends of the wall. There are doors and moulding there so it was easy just to nail them up with the brad nailer. If you want to, you can add adhesive to the back of each strip first. Seeing how things change around here so often, I didn't want to commit to the adhesive this time.
Once the 2 end strips were up I found the center of the wall and added another strip. I used a level to make sure the center pieces were straight. This is a vintage level that used to be owned by my father in law.
Next, I found the center of both sides and added a strip in the center of each. Now I had 5 strips of moulding up on the wall.
Another thing I bought while I was at Home Depot was a length of primed 1"x 4". I chose a fiberboard but you can get wood but you'll pay more. I attached the 1"x 4" above the PVC moulding and nailed it to the wall.
On top of the 1" x 4" moulding I added another piece of primed fiberboard that measures 1" x 3", This is my shelf. I nailed it with the brad nailer right to the top of the 1"x 4".
I used spackle to fill in all the holes from the nails then sanded them smooth and used a damp rag to remove the dust before painting.
I added painters tape above the shelf and along the floor to get ready to paint.
I was being brave and didn't use a drop cloth this time. I tried to be very neat and wiped up any paint that dripped right away!
Now that all of my pieces were up, I was ready to paint.
I'm using a semigloss white trim paint. I started by using a brush and going around all the edges with 2 coats.
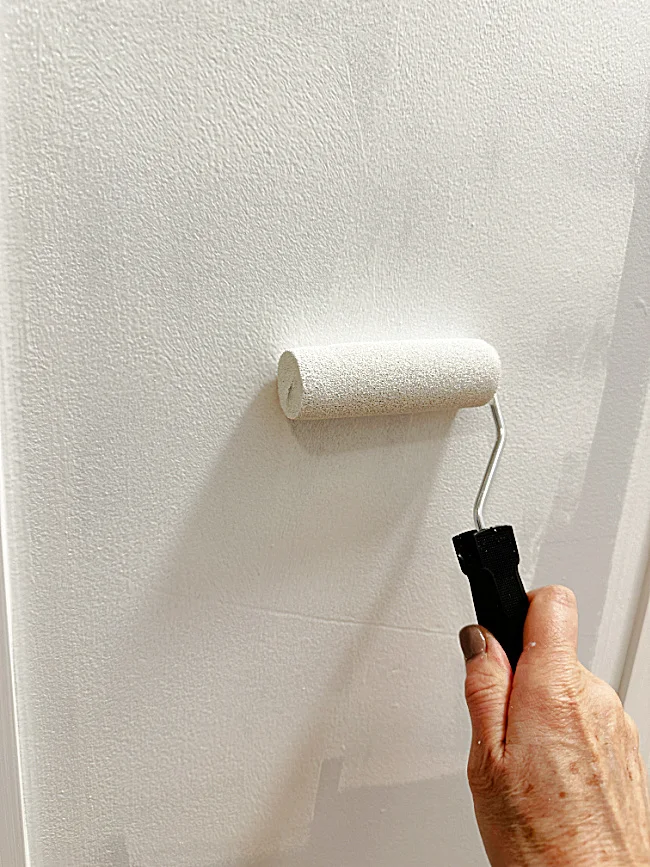
Next, I used a foam roller from the Dollar Tree. It comes with gloves, a foam roller, the roller dish, and 2 foam brushes that I will use another time.
The foam roller is the perfect size to use on this small wall.
This is the first coat of white paint.
When the first coat dried, I gave the wall a second coat of white paint, it was coming along nicely.
In between coats, during drying time, I used a damp rag to lay over the brush and roller to keep it moist.
I went back and finished up the wall with a third coat. I think that if you used a roller with a thicker nap, you wouldn't need 3 coats but the foam roller gives a thinner coverage.
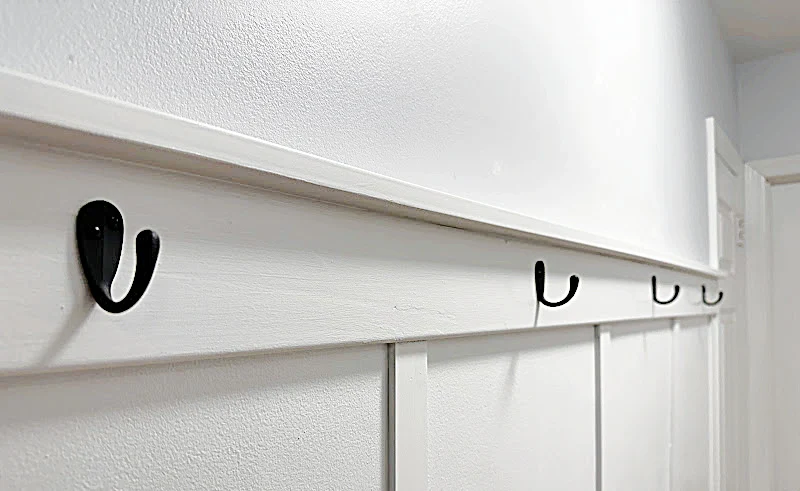
Lastly, I wanted to add hooks but seeing how it is such a busy and narrow hallway I didn't want to use pegs or hooks that would stick out too far. I chose these small robe hooks from Home Depot that came in a pack of 5 hooks with the screws. Here is an Amazon source for similar robe hooks.
Check out my kitchen board and batten project where I used giant hooks!
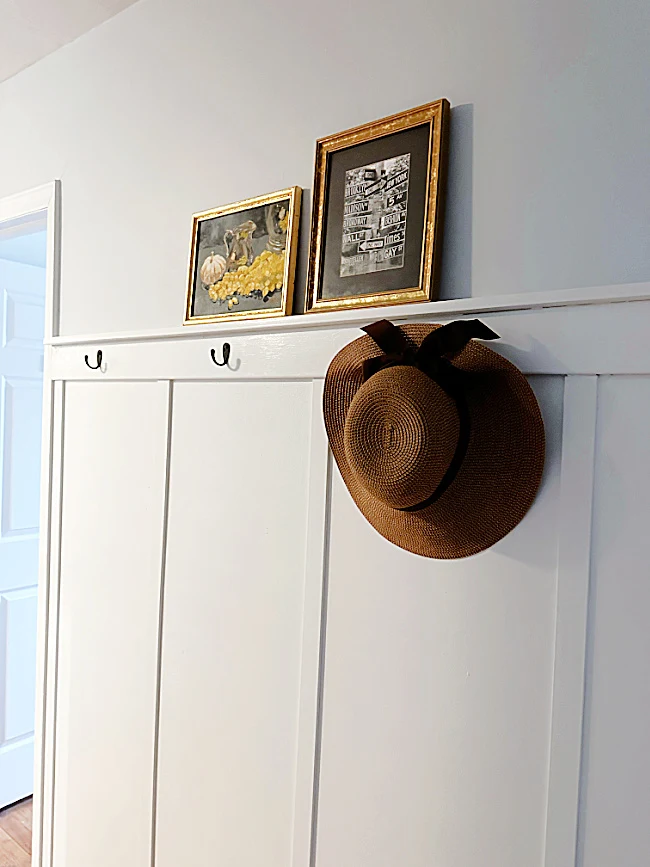
These hooks are the perfect size in this hallway to hang a few decorations.
READ MORE: EASY BOARD AND BATTEN UPDATES
On the top shelf I have a couple of my favorite pictures in gold frames. The still life painting was done by my very talented daughter Kasey.
Please pin for later --->>
I think this simple update that can be done in a day, made all the difference in this boring hallway!
Sometimes the simplest things take the longest to get around to doing! I'm already looking around to see what I can tackle next!








.jpg)


