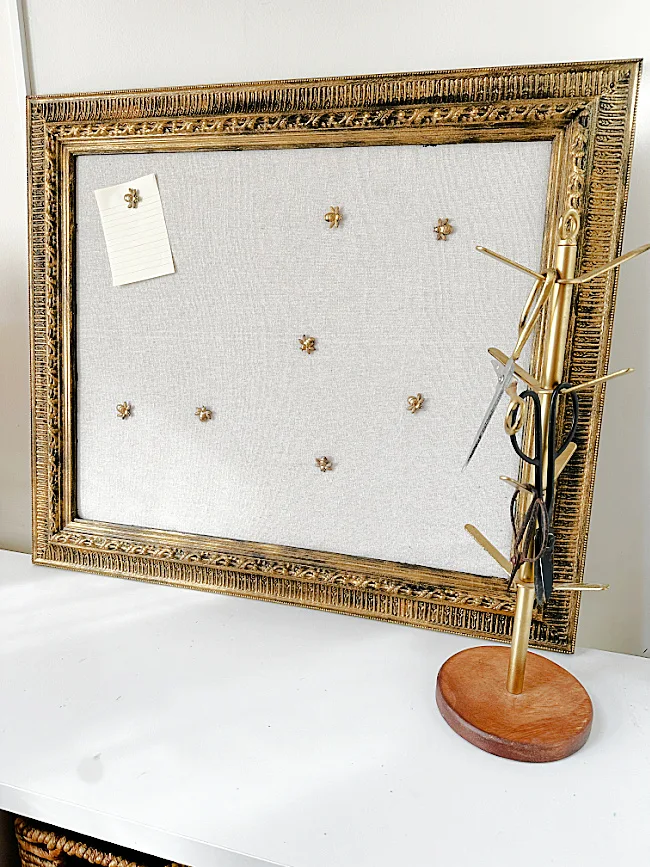
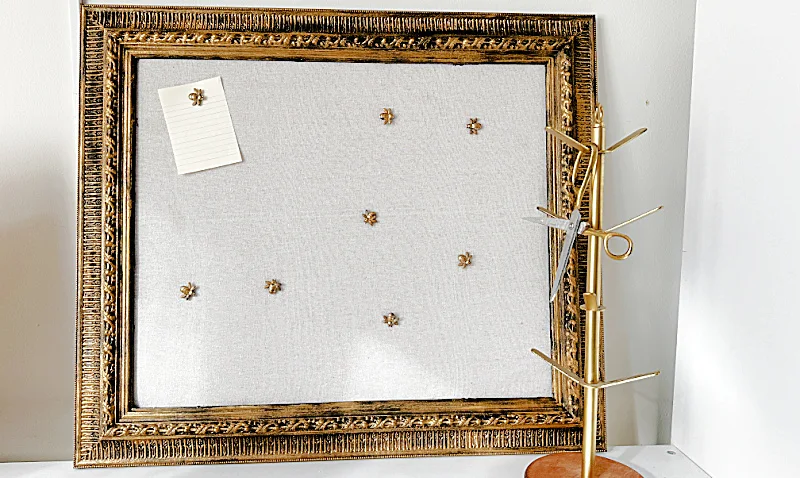
Gold Framed Office Bulletin Board
My inspiration came today from a high end catalog that was sent to my house... and why would I order from a high end catalog when I can get the look for less!?
I began this project by repurposing an old framed bulletin board I had in the basement.
At one point I painted everything I could find a chalky white but my tastes have changed and I'm very into the vintage gold and brass look lately.
See what I did...
This old frame hung in the basement stairway and was used for random calendars and notes that nobody looked at. It was in pretty bad shape and I'm actually not sure why it was even there.
As you're reading through this post please pay attention to the bold blue links that will take you to more information and the products I used for this project. Also the READ MORE sections will take you to related Homeroad projects.
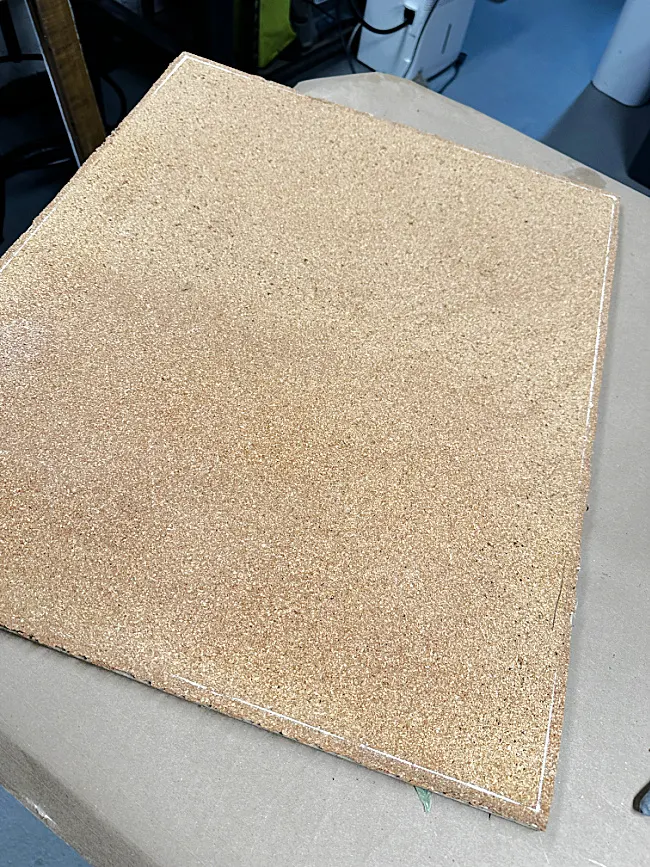
I took it down and removed the damaged cork board from the frame by removing the small nails from the back.
Next, using drop cloth fabric, I wrapped the old bulletin board with new fabric. You can use anything but I love the look of drop cloth material and it is neutral enough that I can still see what I pin on the board.
I wrapped the fabric around and stapled it on the back. You can also use duct tape at this point to better hold down the fabric.
I am definitely going to need to run an iron over this fabric!
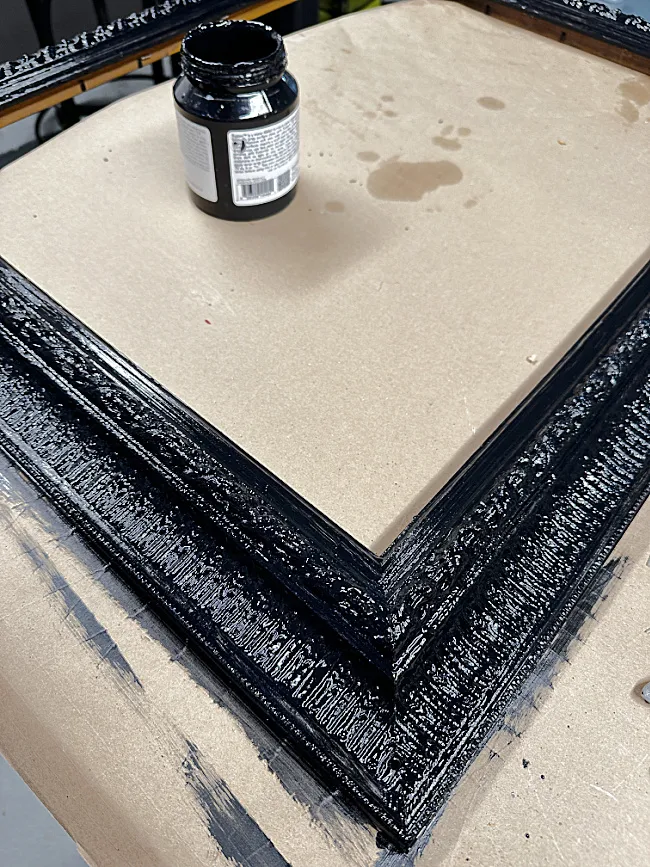
Next, I grabbed the frame and painted it black with Fusion Mineral Paint in Coal Black.
This was a very intricate frame so I needed to dab the paint into all the details.
One coat was enough because there is a step 2.
When the black paint was completely dry I popped the fabric wrapped bulletin board back into the frame.
I use a framing tool called a point driver, but lovingly called a "kerchunker" by an old friend, to just hold the bulletin board into the frame. I grabbed my Rub and Buff in Gold Leaf and as the commercial for the hot sauce says... "I put this s#%& on everything!"
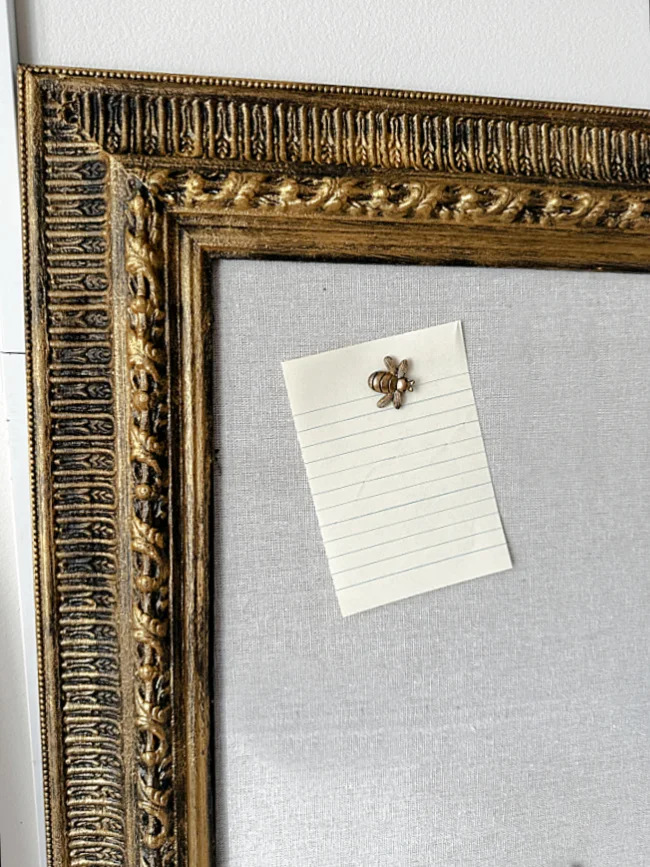
I used a stiff brush to go over the whole frame with the Rub and Buff. I concentrated the gold on the higher parts of the frames details and left the deeper parts black.
Seriously though, this Rub and Buff can be used to change the color of any frame, clock, ornament, or even a lamp like this one I found at the thrift store for my bedroom.
READ MORE: RUB AND BUFF PROJECTS
I am here to tell you that it works on most surfaces and looks amazing! I also use gold spray paint on items I want to match my office like this mug holder and scissors that used to be black.
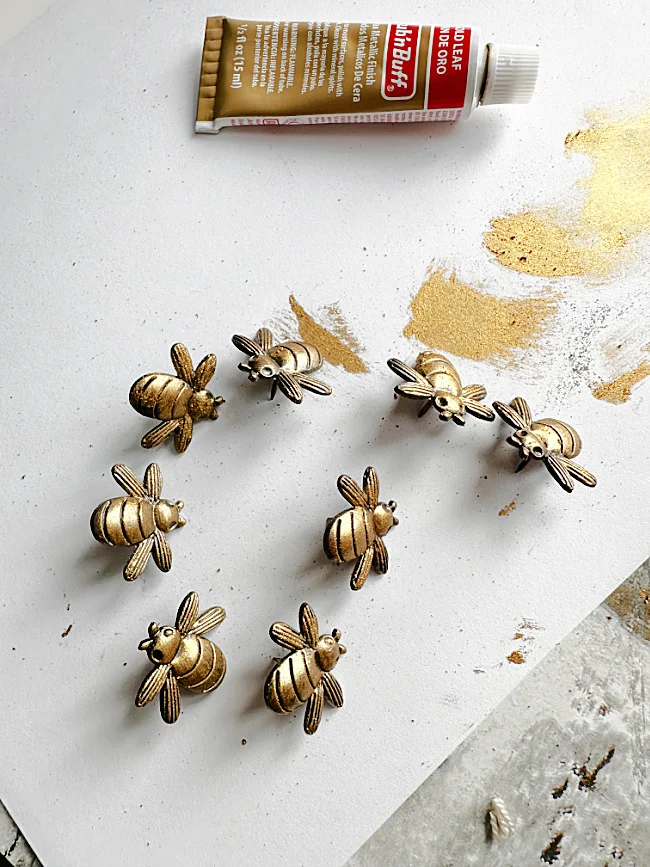
Lastly, I had some metal bee tacks like these that I had bought a while back and used the Rub and Buff once again to make the bees match the frame.
That's it!
This bulletin board is perfect for my home office now! But do you want to know something funny?! When I found this frame years ago, it was originally gold!
I think I need to frame that TV with a gold frame next! The mirror on the wall was a thrift store find from last week! I didn't have to do a thing to it, it was gorgeous!
Read here about how I fixed another gold thrifted frame with a lot of damage.
It can be hung on the wall, though I'm running out of wall space, or leaned against the wall like I did here. I used a command strip on the back of the frame so it wouldn't slide on the desk surface.
Please pin for later --->>
I hope you enjoyed this quick makeover and can see that you can re-do an old project to meet your current needs and tastes.
I love that you can dream something in the morning and have it done and in your space by the afternoon!
Thanks so much for visiting and before you go please take a second to sign up for the Homeroad emails so my next DIY tutorial will go out straight to you!


