How to Build a Nesting Box
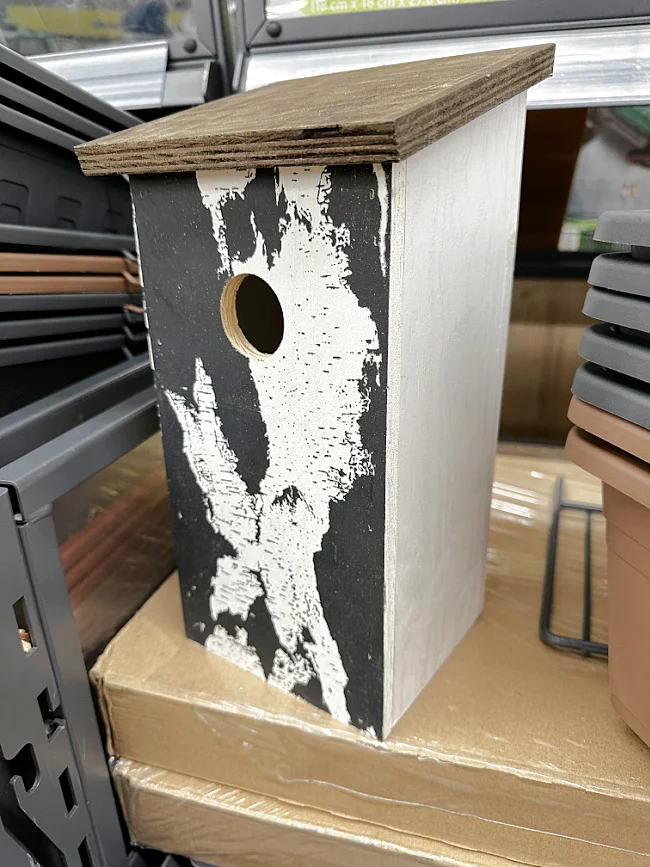
Recently I ran across a very cute birdhouse nesting box at my local grocery store.
I thought about buying it, it was a very good price but upon closer investigation it was made from a very cheap wood product that I didn't think was going to last very long.
I took a few photos and brought them home because I knew I had some cedar scraps in my workshop.
And here is how it went...
The birdhouse at the grocery store was very cute, painted with a white birch pattern on the front.
I figured out very quickly how it was made and headed home.
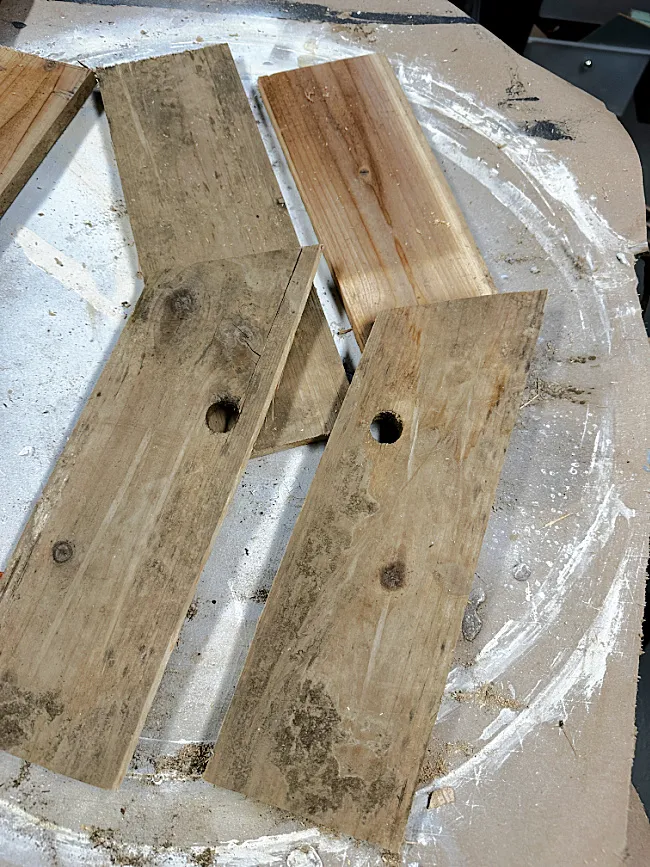
I had the perfect scraps of cedar that I saved from an old planter. Did you know that cedar is one of the preferred woods for making birdhouses?
After cleaning and sanding these very dirty scrap pieces, I cut the sides of the box with a slight diagonal at the top. The front of the box is about 1/2" shorter than the back of the box. The front of the box was cut to the height of the short cut and the back of the box to the top of the taller cut.
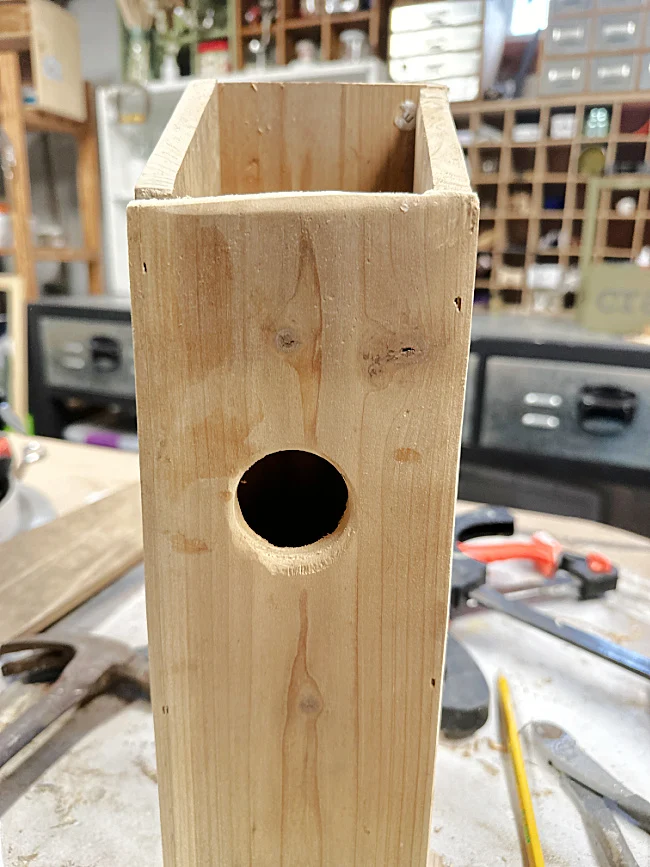
For the hole in the front of the birdhouse I used a drill and this Diablo drill bit. This bit worked great on the candle holder I made a while back too! It is the perfect size for tea light candles!
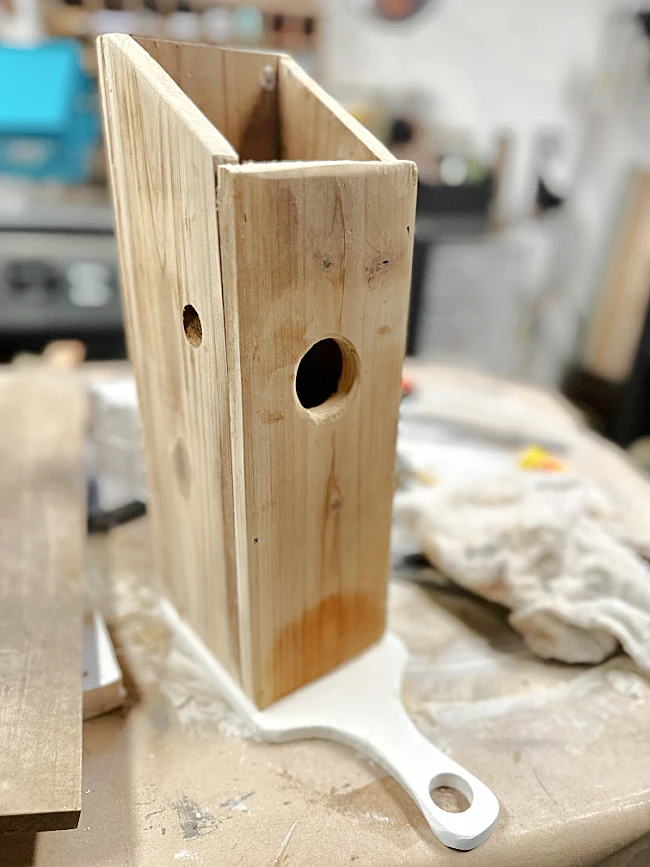
I used wood glue and the brad nailer to attach the sides to the front and back of the box.
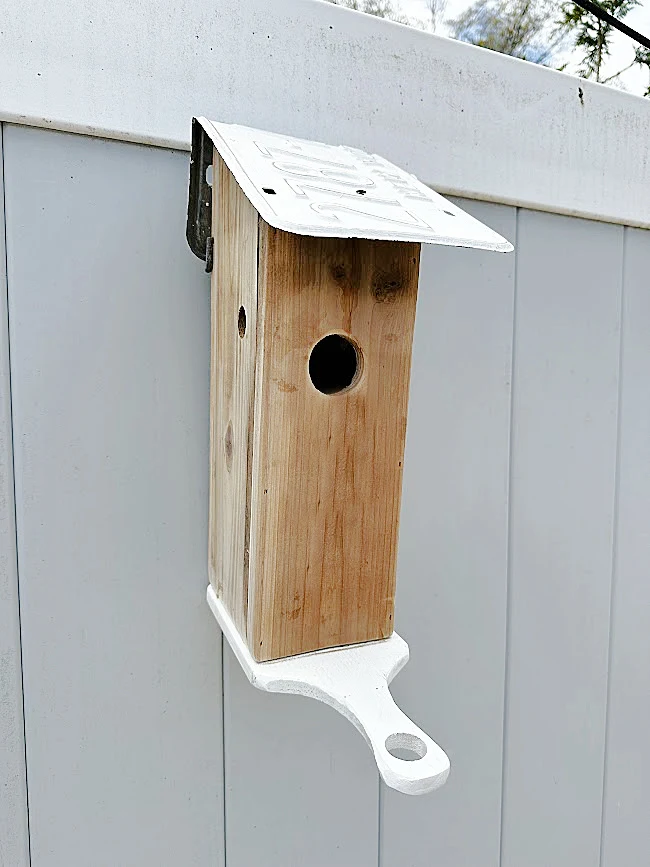
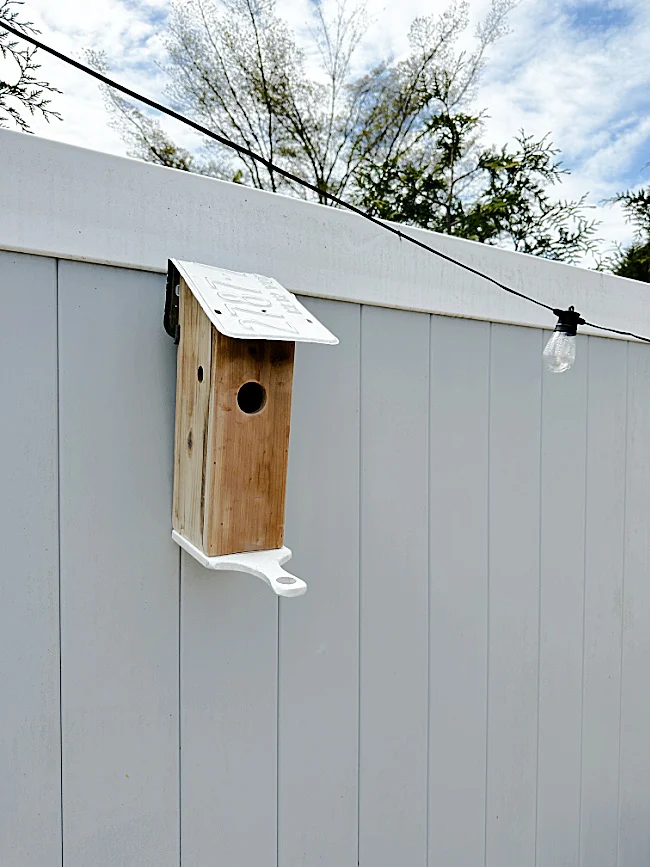
For the bottom of the birdhouse I used a small painted cutting board that was just the right size and added a little front deck for the birds. Don't worry about making your birdhouse perfect at the seams, the birdhouse needs drainage anyway to keep from filling with water.
Next up, creating a roof for the birdhouse.
I wanted something removable so the birdhouse could be cleaned out when necessary.
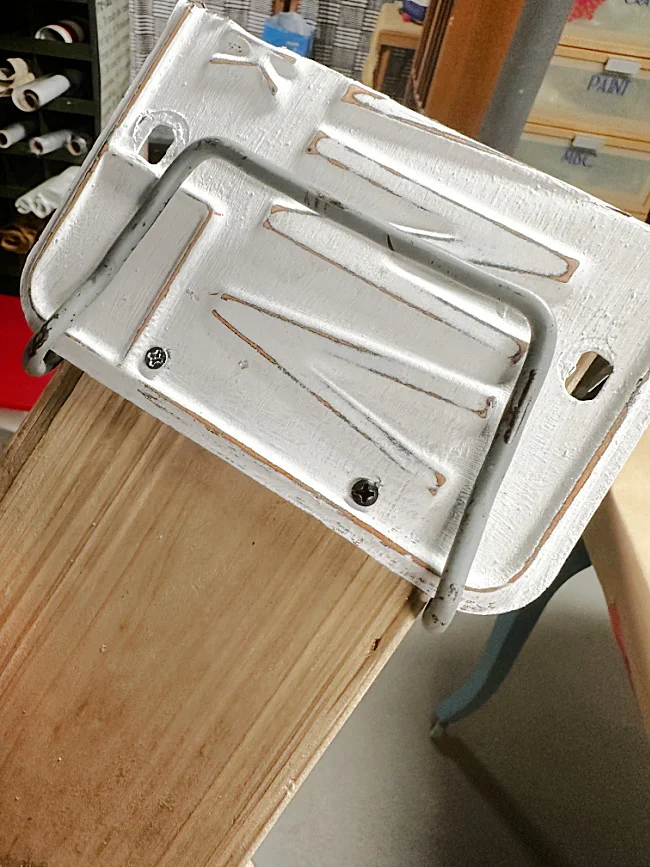
I bent an old painted license plate over and attached it with screws to the back of the birdhouse. Before anyone reminds me about a metal roof being hot, please know that this birdhouse will be hung in a shaded area.
I added a screw to the top of the birdhouse as well to hold it in place.
At this point I was going to add a perch under the hole but after a little research I found out that it is best not to add a perch because it will allow predators to get in.
You can certainly paint it at this point but I decided I liked the natural look and cedar ages beautifully.
And that was it!
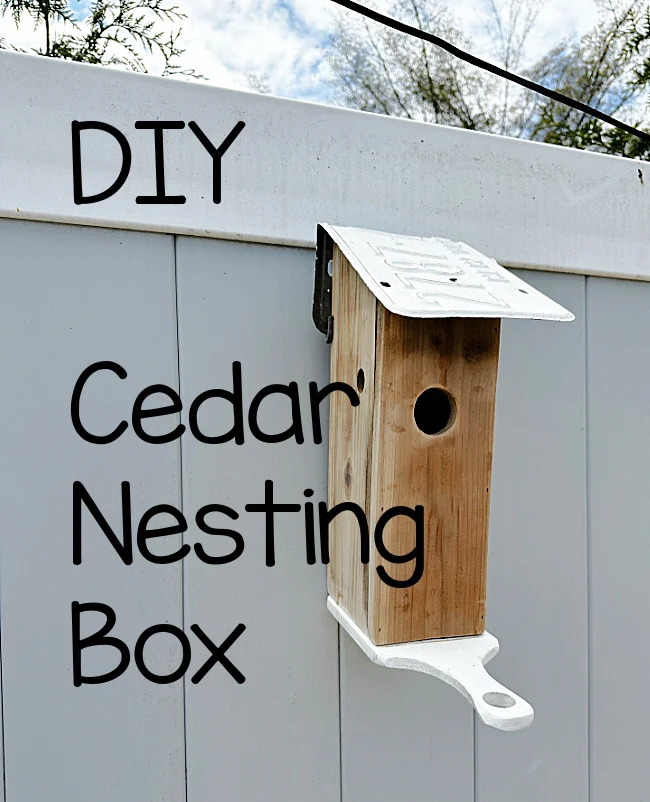
I had my own birdhouse nesting box in no time and didn't have to pay for it.
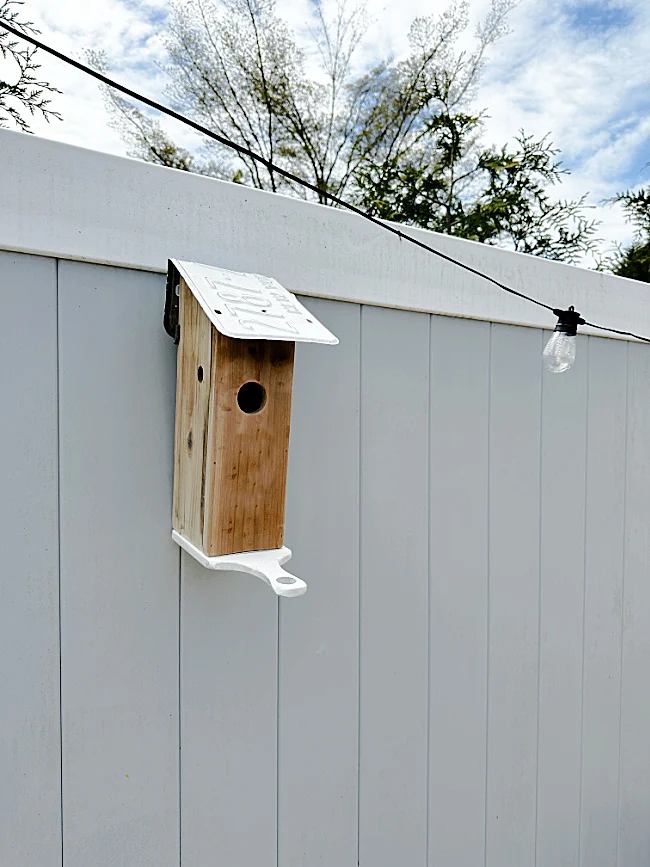
I added a handle to the back of the birdhouse to hang on a fence hanger.
I'm hanging it on the fence with these great hangers I purchased last year. These hangers allow you to hang on a fence or on vinyl siding.
Here is a post I wrote a few years ago about how to easily hang things on a vinyl fence.
Please pin for later --->>
There are many more hints and tips in this article for making your own birdhouse. This page tells you what size hole for which birds is best as well as tips for keeping predators away.
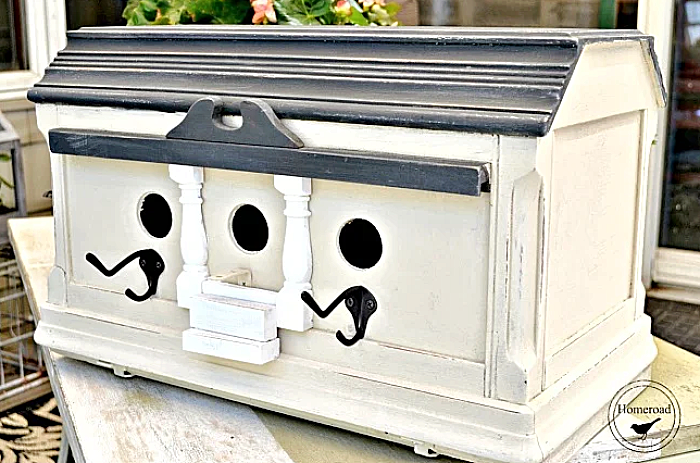
This condo birdhouse is another fun birdhouse I made years ago from a vintage sewing box.
Thanks so much for visiting and before you go please take a minute to sign up for the Homeroad emails so you'll get my weekly newsletter with my latest and greatest DIY projects.


