Repurposed Fire Pit
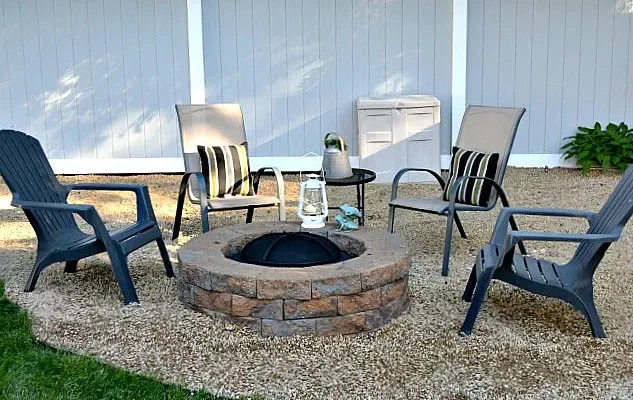
Last year I bought an inexpensive metal fire pit for our backyard. You see them all the time on Facebook Marketplace too.
Fast forward to this year, we purchased a new fire pit so I had the old rusty one to either sell or upcycle.
You guessed it... I'm upcycling it!
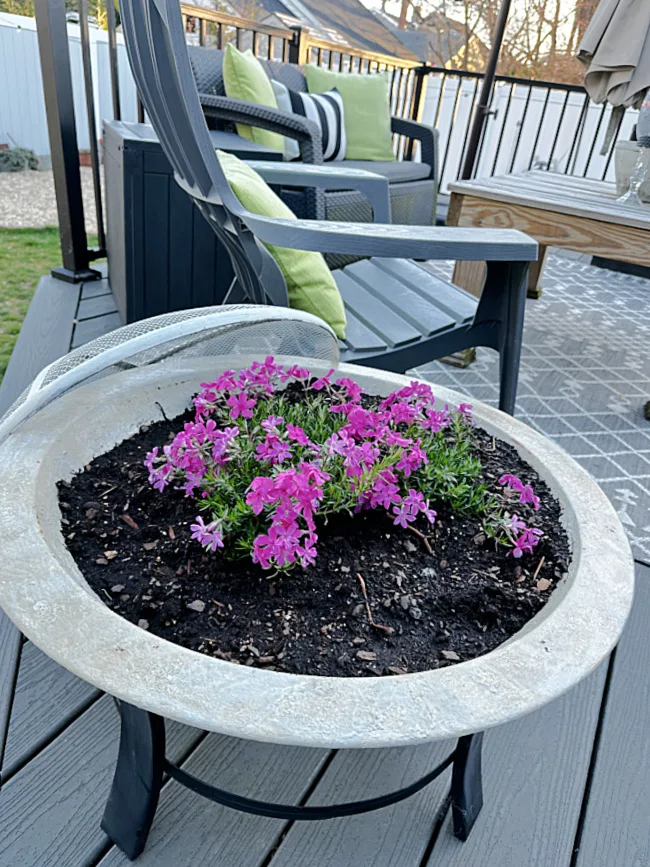
This old fire pit made the best backyard stand planter!!
Take a look...
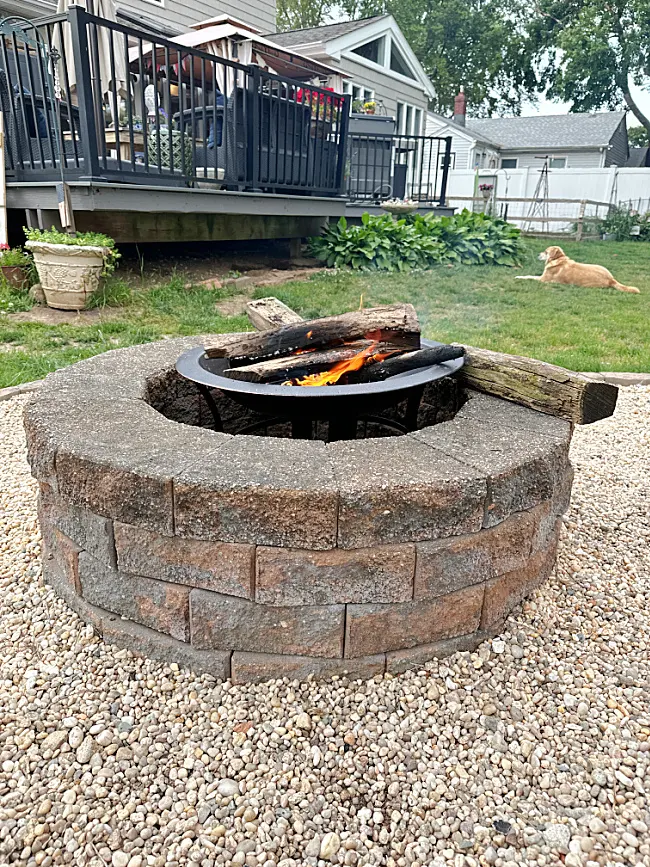
The story didn't begin there... years ago my husband and I made a brick fire pit in our backyard. We loved this project however the neighbor's growing trees overhanging our property was a fire hazard and we couldn't move the brick fire pit at this point.
As you're reading please visit the bold blue links for the products I used and related Homeroad projects. Also the READ MORE section will take you to a variety of related DIY projects!
And we did... once. We even tried the metal fire pit it in the other fire pit.
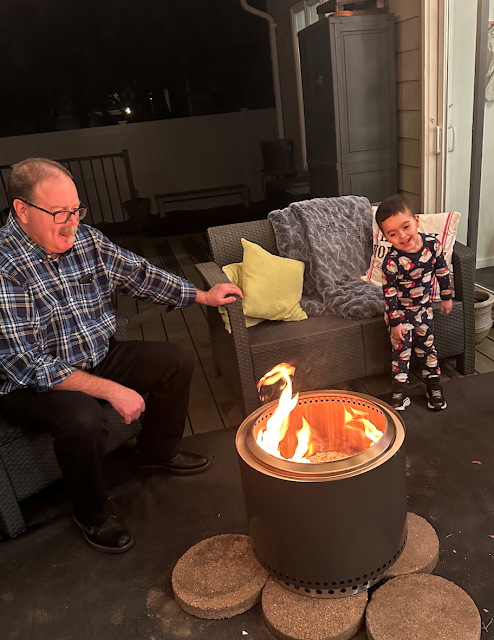
We decided that there was too much smoke with the metal fire pit so we bit the bullet and purchased a Solo Fire Pit. The Solo fire pits are wonderful! We use it on our deck and it makes no smoke at all!
So now what am I going to do with the rusty metal fire pit?
You got it... I'm upcycling it!
My thoughts were like the planters with stands I saw on Pinterest.
I began by spraying the inside of the fire pit bowl with a spray sealer so the rust wouldn't change the color of the paint I was going to use.
I painted the inside and the outside of the fire pit with Fusion Mineral Paint in the color Raw Silk.
And yes, that is my Michael Jackson Thriller album hanging on the wall 😂
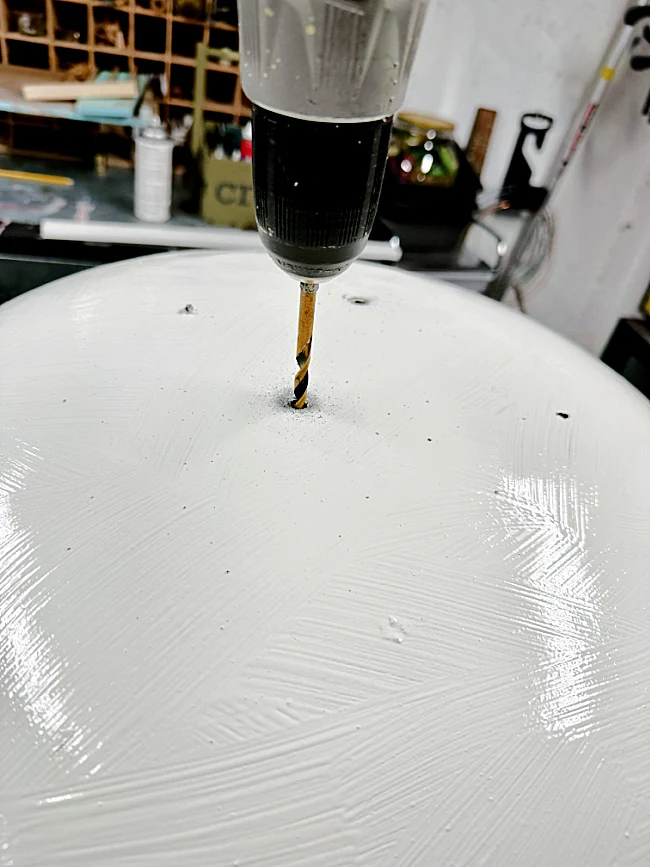
I drilled 3 holes into the bottom of the bowl for drainage then I placed the bowl back into the stand to make the painting easier. I'm going to leave the stand black.
Before the paint dried, I mixed up a bowl of a random white chalk paint with a touch of Coal Black to make a cement grey color then added about 3 tablespoons of baking soda to make the paint thick.
I've used this cement look technique on several projects in the past.
I dabbed the grey "cement" paint all over the rim of the fire pit bowl.
Because I'm planning on filling this bowl with soil, I'm not going to dab the thick paint in the center of the bowl.
I let the thick dry for several hours.
Next, I used Fusion Mineral Paint Antiquing Glaze to make the cement look authentically aged in some places.
READ MORE: CEMENT PAINT PROJECTS
Lastly, I gave the bowl a coat of Fusion Mineral Paint Tough Coat to protect the paint from the elements.
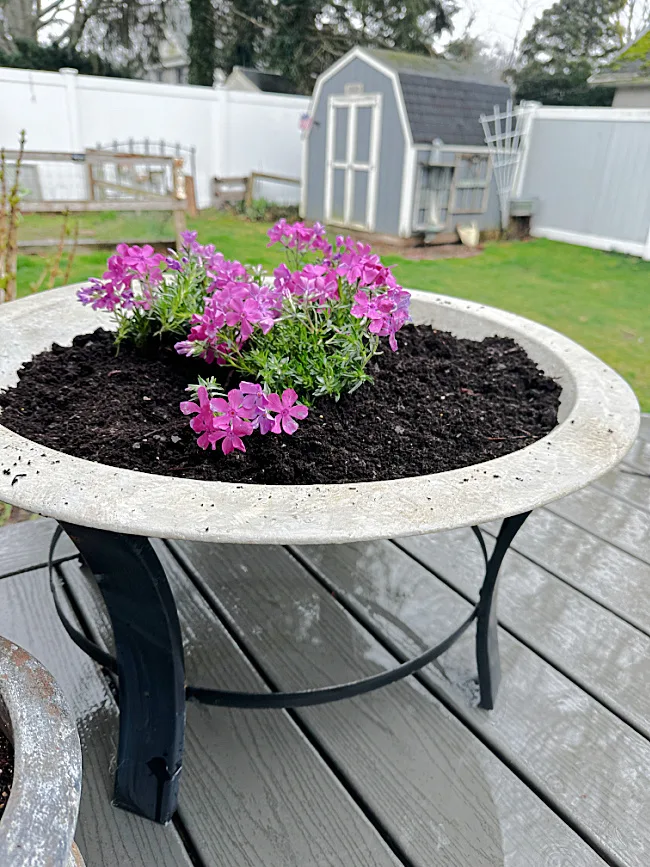
All that was left to do was to fill the bowl with soil and a few beautiful potted plants for Spring!
I headed to my local garden center and bought a few pints of creeping phlox, a perennial and a bag of soil.
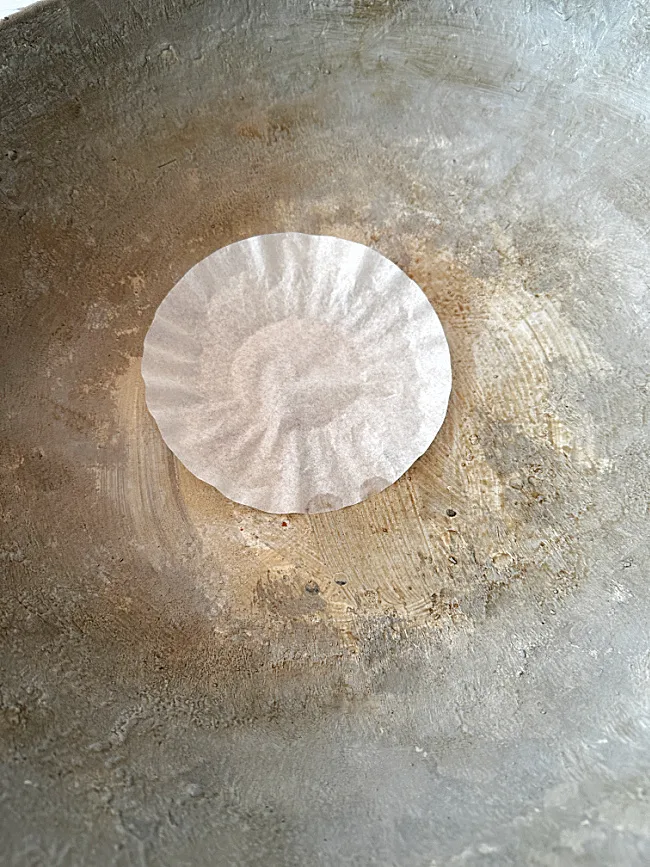
I put a coffee filter in the bottom of the bowl to prevent the soil from coming out of the holes.
I filled the fire pit planter with soil and made holes ready for flowers.
The creeping phlox was going to be perfect because it will fill the bowl and creep down the sides.
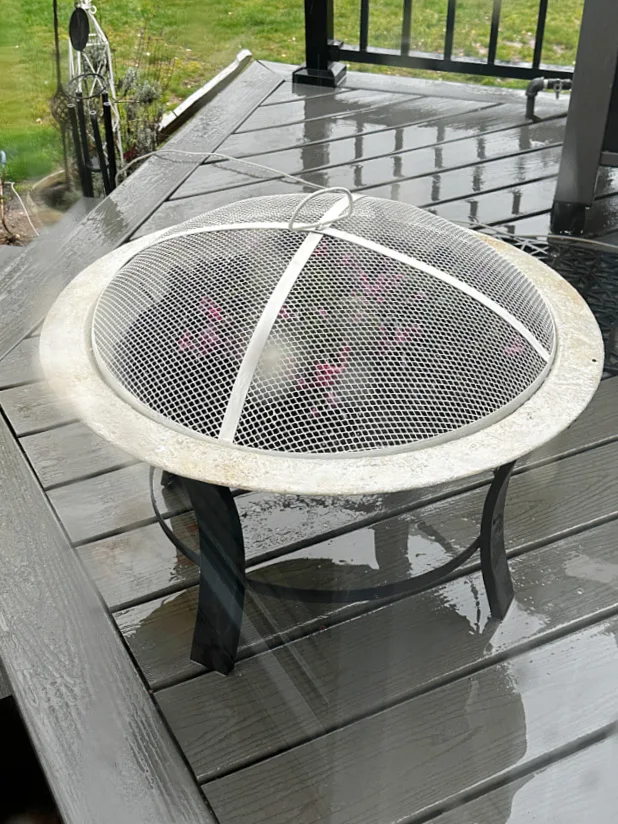
What did I do with the fire pit top you might ask? I painted it the same off white color as the fire pit.
And then came the rain... it rained hard for several days and almost flooded out my planter!
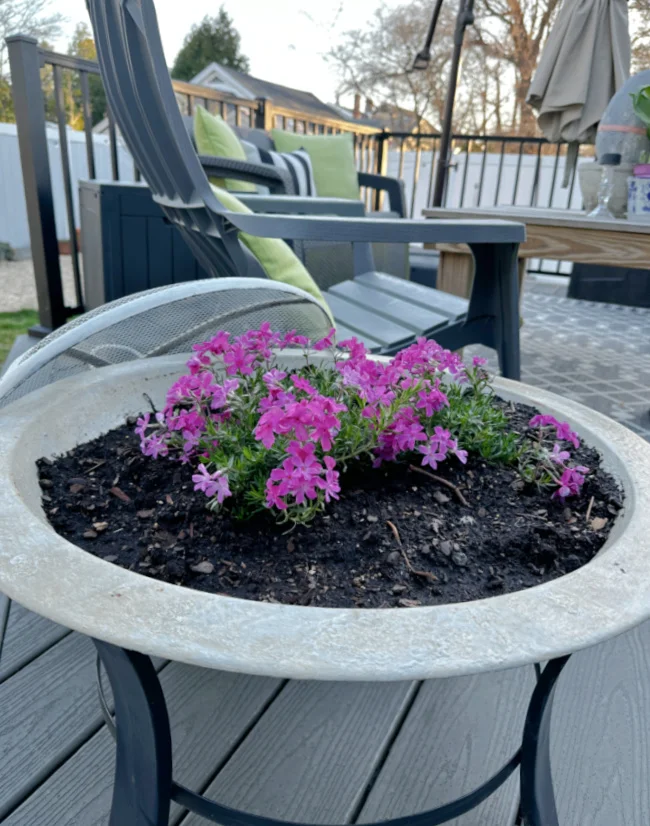
In the end, when the rain finally stopped, I had a beautiful planter from that old rusty fire pit!
Please pin for later --->>
And here it is a month later, beautiful and saved from the land fill!
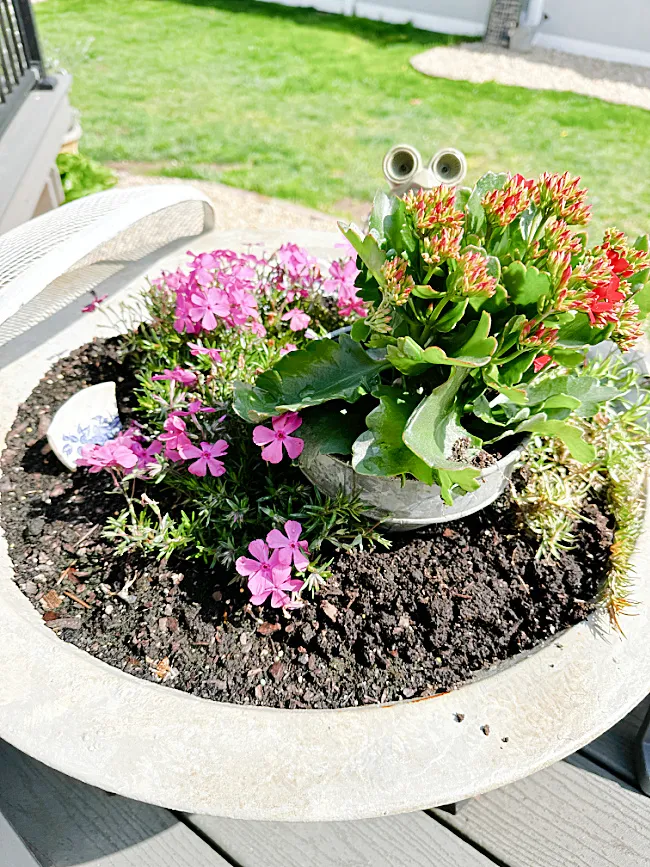
As the weeks passed I've added a funnel with another plant and some cute decorations. It's getting better day by day.
Thanks so much for visiting and before you go please make sure you are signed up for the Homeroad emails so you'll get all my latest posts and updates!
Stay tuned because I'll be turning the brick fire pit into a beautiful planter as well!
Here is a more recent pic of the fire pit.
I also added a vintage funnel with another plant in it, a frog solar light, and some broken dishes to the planter.


