DIY Birdhouse
If you've been around a while you may know that I love to build things.
Especially to build things from repurposed parts.
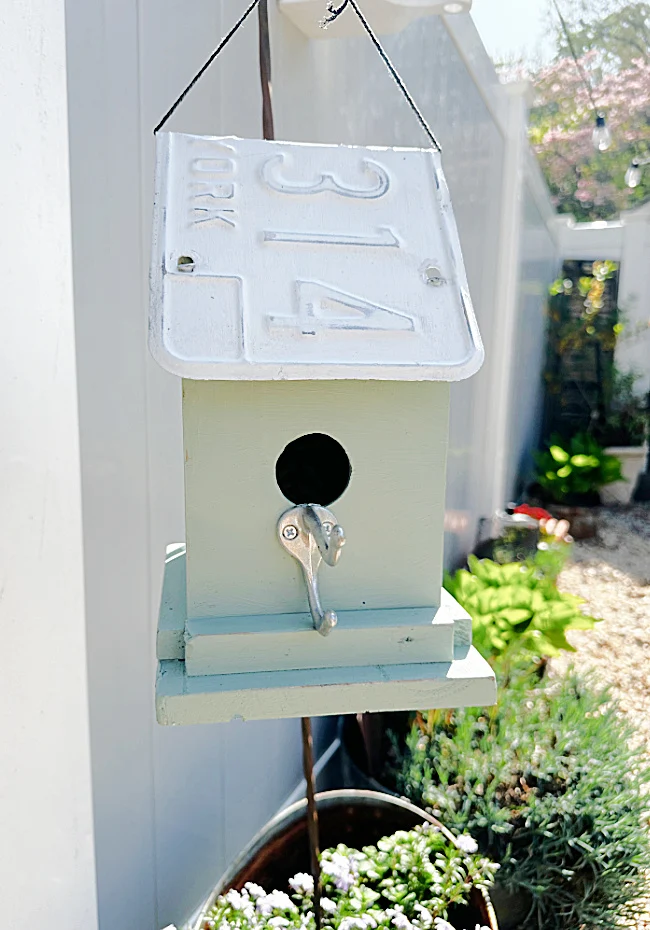
Today I'm making a birdhouse to replace one I had made a while back and I'm going to give it to my Mother for Mother's Day.
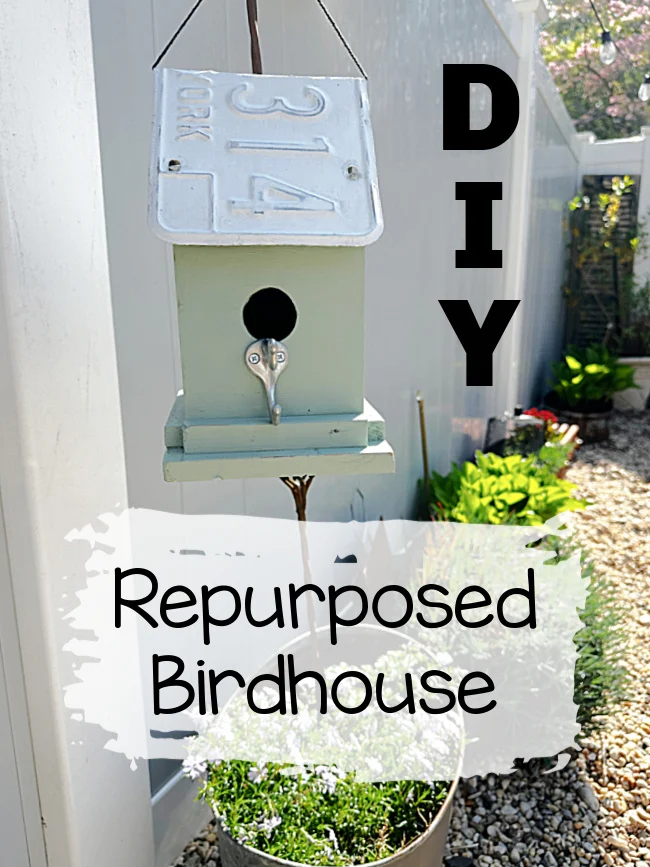
See how easy it was to repurpose an old wooden tissue box into an adorable birdhouse...
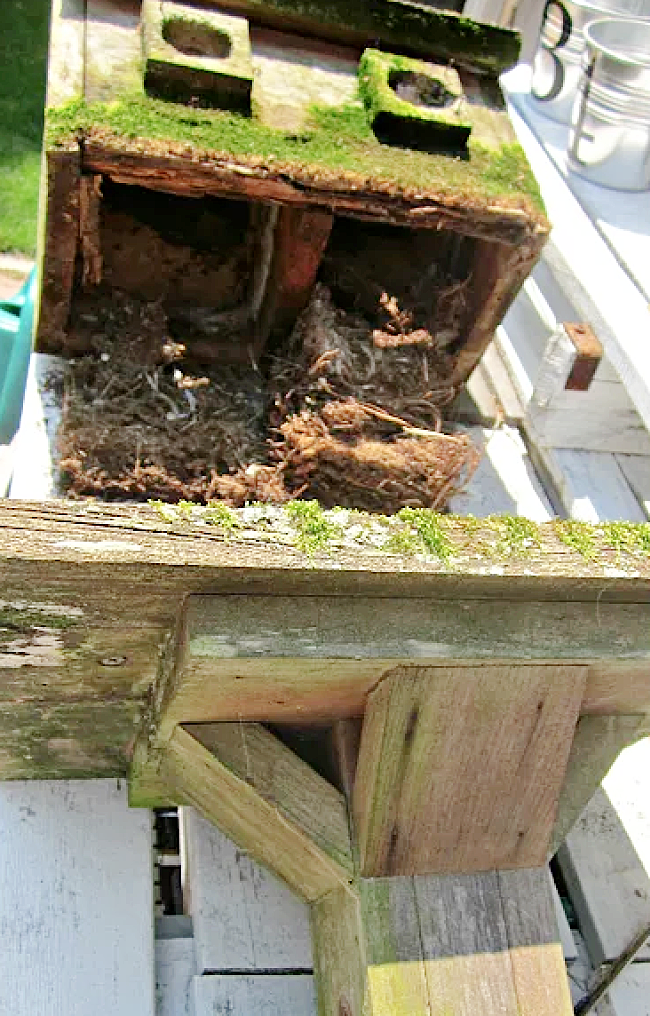
A bunch of years ago my mother had asked me to fix up an old birdhouse she had on a post in the center of her garden. As you can see it was well loved and had housed many birds!
As you're reading please visit the bold blue links for the products I used and for more Homeroad information. Also the READ MORE sections will give you even more related Homeroad DIY projects!
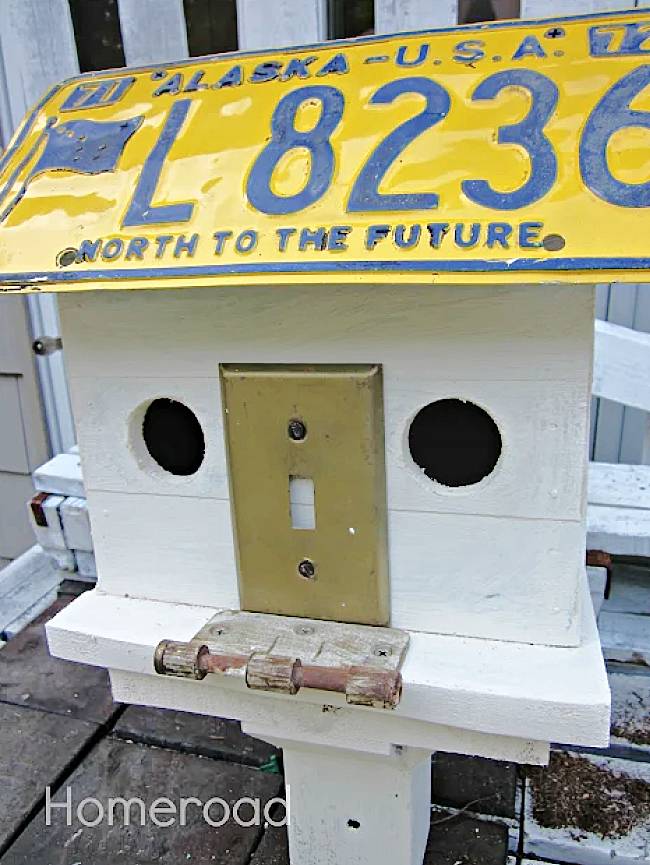
So at the time I had made her a beautiful new birdhouse with 2 holes and a license plate roof.
Fast forward to yesterday when my 88 year old mother asked me to replace the replacement... I knew my birdhouse had held up well but I hadn't realized until I looked back at the post I wrote that it had been 12 years since I had made the last one. It was time!
I thought a new birdhouse would make the perfect Mother's Day gift. I'll make her a brand new birdhouse with a vintage license plate from one of my Dad's old cars.
This time I'm starting with a thrifted wooden tissue box as the box for my birdhouse. The tissue box is made from thin wood so I am going to reinforce it with a cedar base and a top to close up the tissue hole.
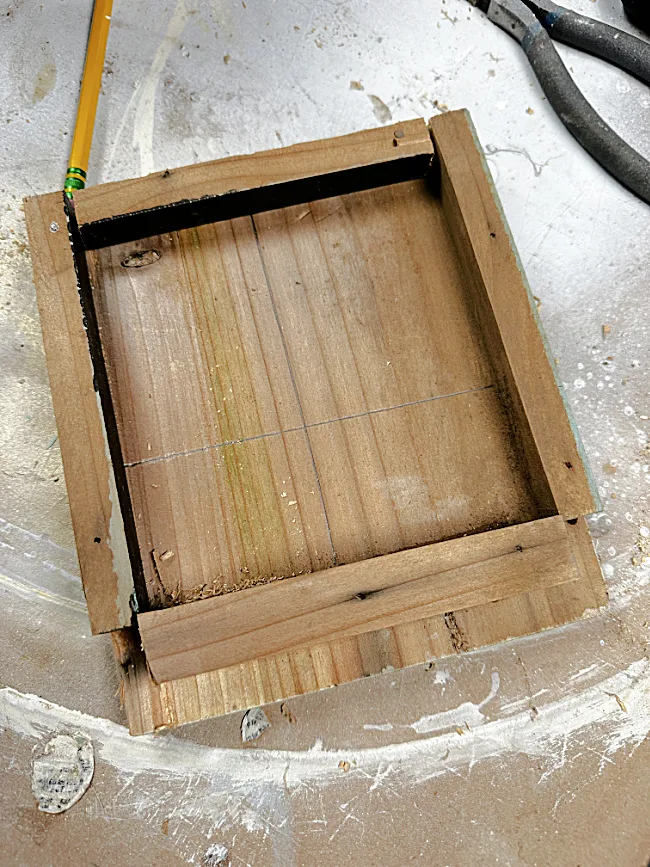
The first thing I did was to measure around the tissue box on a piece of scrap cedar to give it a ledge to attach to a post. Cedar is actually the preferred wood for birdhouses and nesting boxes.
I built the base then nailed and glued thin wooden scraps around each side creating a spot for the tissue box to rest.
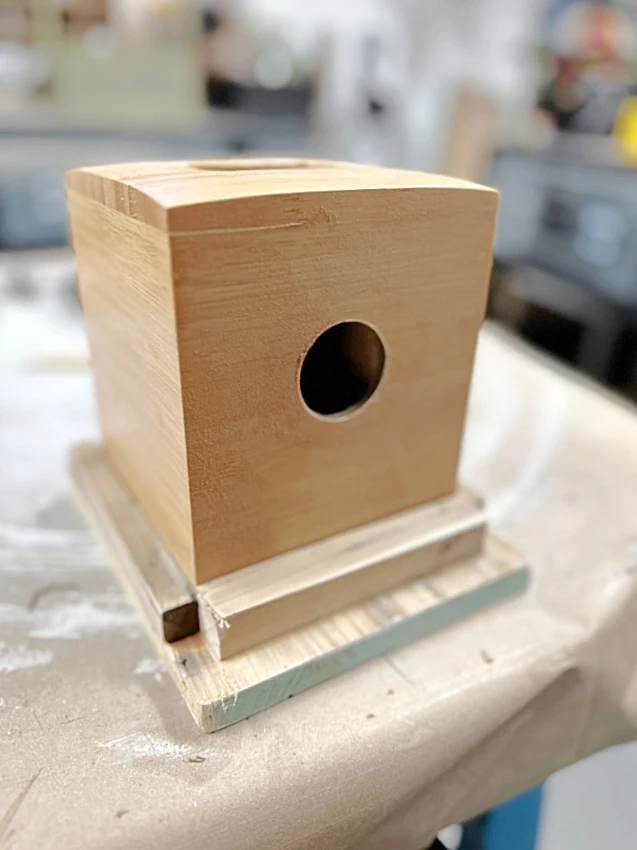
I drilled a hole in the side of the tissue box using a Diablo drill bit that I've used several times for birdhouses. It is also makes the perfect size for a tea light candle.
Once I had the hole drilled I sanded the opening smooth then glued and nailed the box into the base.
The base will eventually sit on the post in my mother's garden.
Next, because the tissue box had a hole for the tissues at the top, I made a top for the birdhouse and glued and nailed it in place.
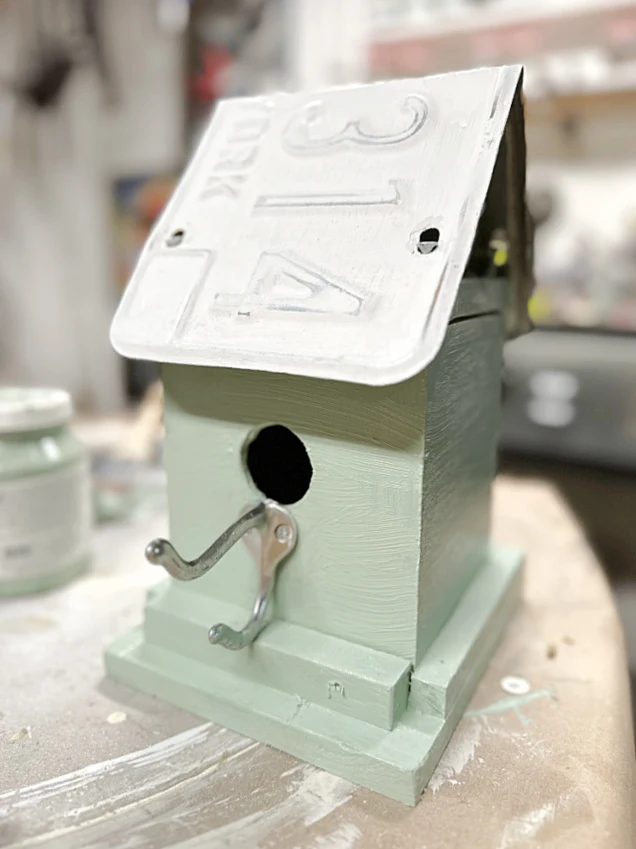
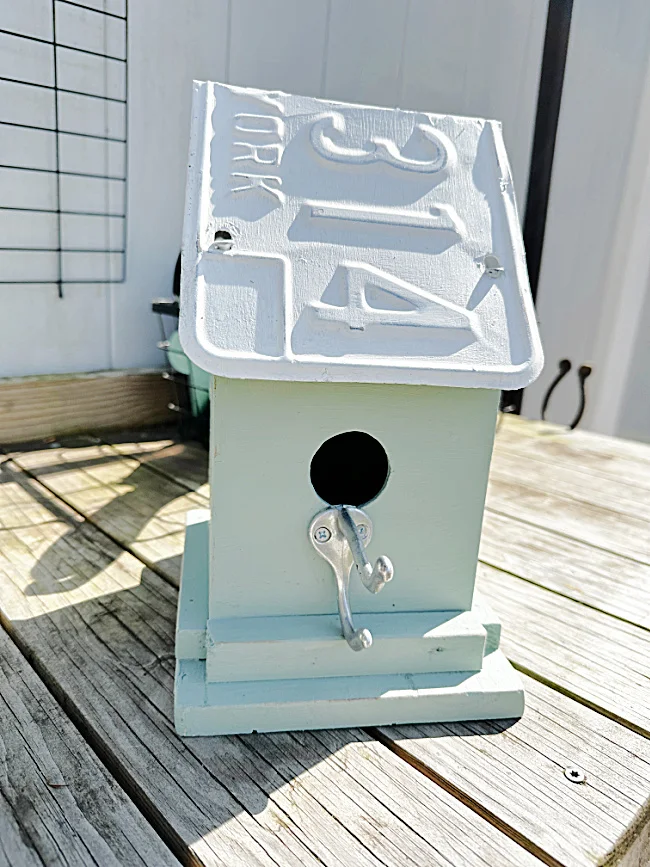
I painted the birdhouse with 2 coats of Fusion Mineral Paint in the color Brook. Fusion Mineral Paint is self sealing and stands up to the elements beautifully!
I've painted many outdoor furniture pieces and they hold up in the rain, snow and sun!
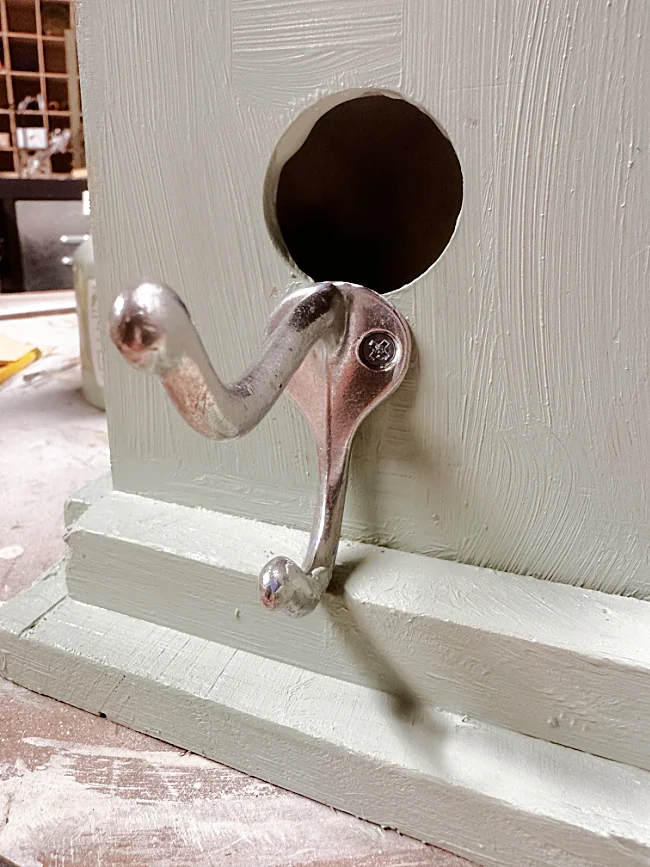
Now I needed a perch for the birds so seeing how much I love to repurpose things, I'm using an old robe hook for the perch.
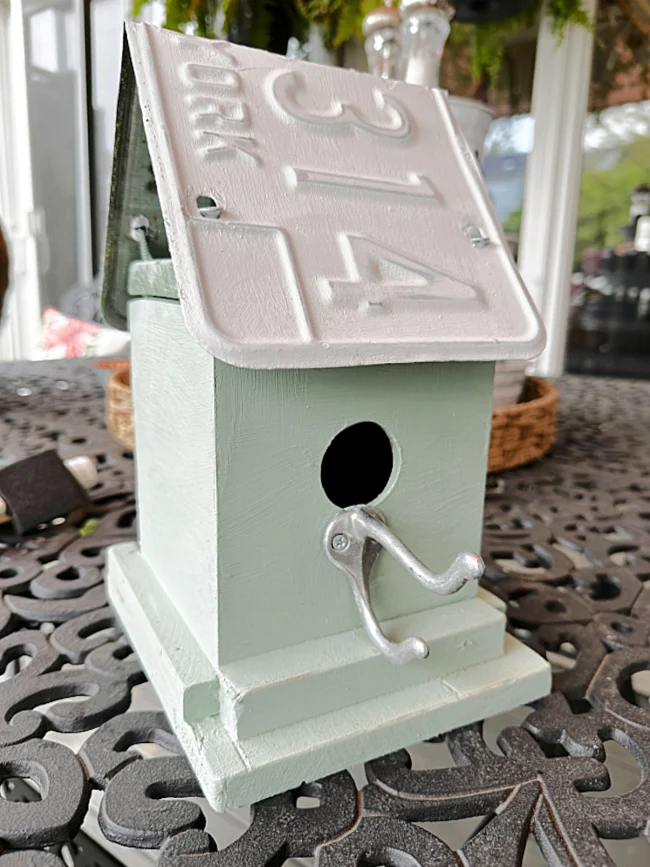
Lastly, I am adding a roof. The roof is an old license plate from my parents car which I painted white and distressed.
I attached the roof with 4 screws that went right through the license plate holes and into the top of the birdhouse.
The last thing I did was to seal the whole birdhouse and roof with Fusion Mineral Paint's Tough Coat. Tough Coat will give this birdhouse one more coat of protection from the weather.
Please pin for later --->>
If this birdhouse lasts another 12 years I will be more than happy!
I think she's going to love her new birdhouse!
Here are some of the other DIY Mother's Day gifts I've made in the past.
Happy Mother's Day to all the Moms out there!
Update: Here it is on the stand in my Mother's garden! You can see all the sticks coming out of the hole where she built her nest.
My mom tried to snap a picture of the bird flying in and out of her new home!
Thanks so much for visiting and before you go please take a minute to sign up for the Homeroad newsletters so my next DIY tutorial will go out straight to you!


